
There is a particular kind of satisfaction that comes from finding a really good price on something you know you’ll use.
Maybe the grocery store has ground beef on sale.
Maybe your warehouse club has a bulk package at a price that’s hard to pass up.
Maybe you simply want to make fewer trips to the grocery store during the busy months ahead.
The Pennsylvania Dutch girl in me immediately thinks:
How can I make this bargain work a little harder?
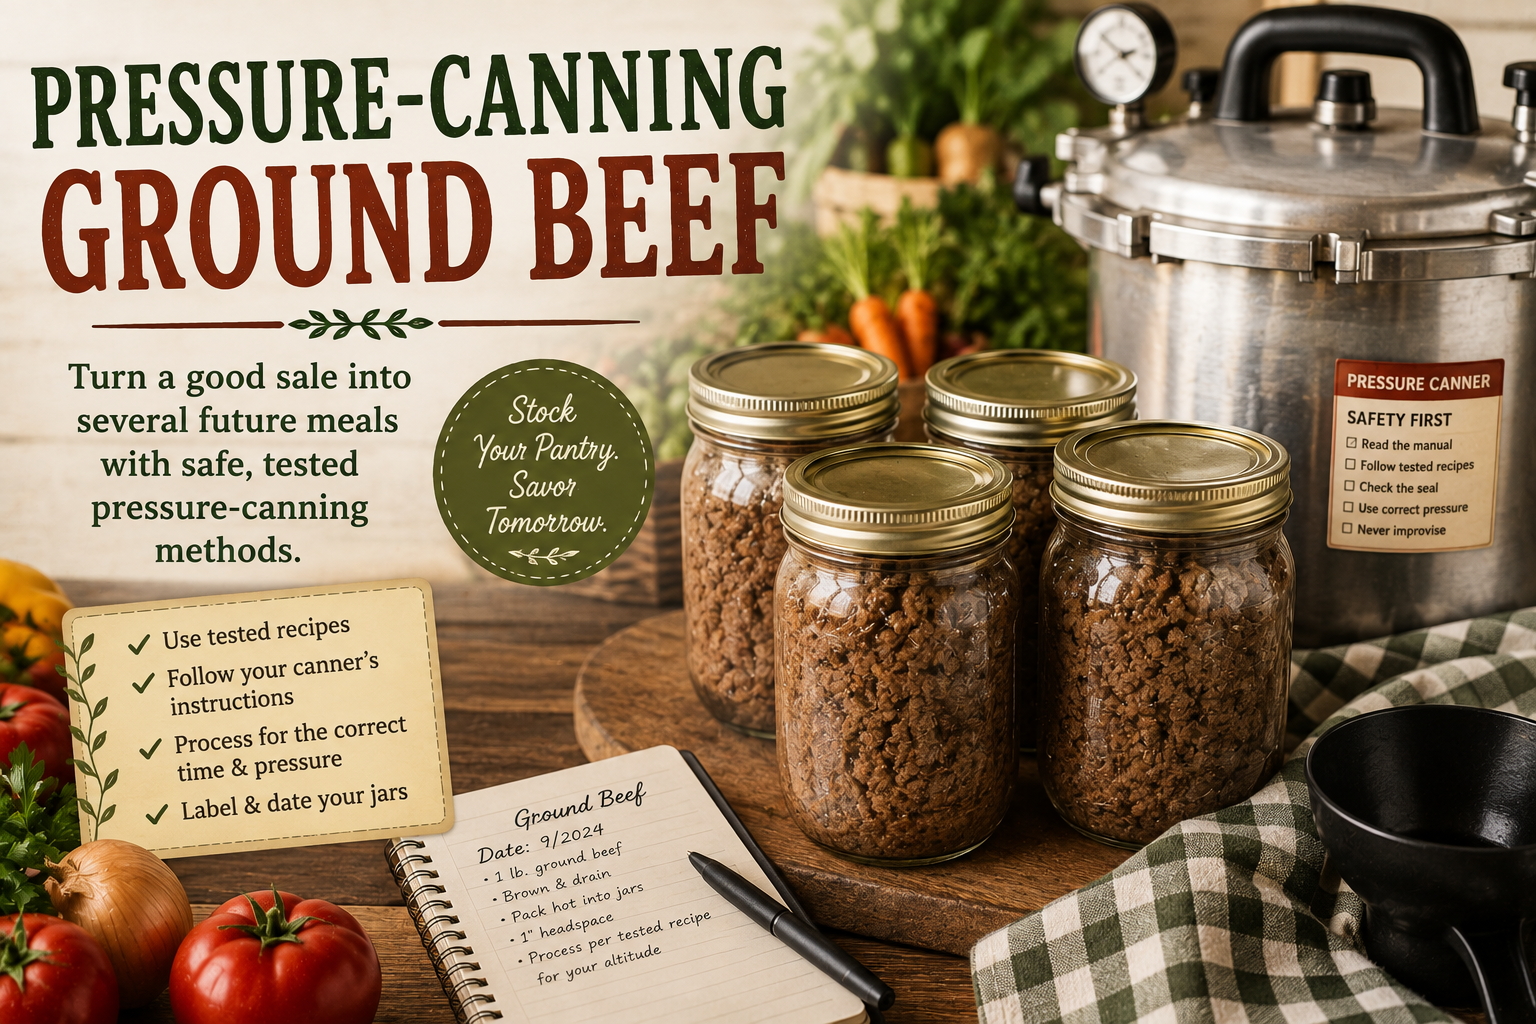
One option is to cook some for dinner, freeze some for later, and—if you have the right equipment and follow a tested process—pressure-can some for your pantry.
That’s what putting a little back is all about.
It isn’t about stockpiling.
It’s about making a good purchase today give you more options tomorrow.
🫙 Why Pressure-Can Ground Beef?
Ground beef is particularly useful to have on hand because it can become so many different meals.
A jar of properly pressure-canned ground beef can be turned into:
- Tacos
- Sloppy joes
- Chili
- Pasta sauce
- Shepherd’s pie
- Rice bowls
- Casseroles
- Soup
- Skillet meals
Instead of starting with raw meat, you’ve already got one of the main building blocks of dinner ready to go.
That’s a pretty nice thing to find on the pantry shelf on a night when you don’t feel like cooking from scratch.
🌾 The Ten-Pound Sale
Imagine your favorite store has ground beef at an unusually good price.
Instead of thinking only about tonight’s dinner, you might buy a larger quantity and divide it among several uses.
For example:
Some for this week.
Brown it for tacos, burgers, or a skillet meal.
Some for the freezer.
Portion it into meal-sized packages for future recipes.
Some for the pantry.
If you have a pressure canner and want to preserve it, follow the tested ground-meat canning process.
That’s a completely different mindset from buying food simply because it’s on sale.
You’re asking:
“What can I do with this good price that will make my future meals easier?”
⚠️ Why Ground Beef Must Be Pressure Canned
This is the part we don’t want to skip.
Meat is a low-acid food. Low-acid foods require pressure canning because the temperatures needed for safe processing cannot be reached in a boiling-water canner. USDA guidance identifies pressure canning as the appropriate method for meat and other low-acid foods.
The concern isn’t simply whether the meat “looks cooked.”
The concern is Clostridium botulinum, a bacterium whose spores can survive ordinary cooking temperatures. In an improperly canned low-acid food, the conditions inside a sealed jar can allow the organism to produce a dangerous toxin.
That’s why home canning isn’t the place for shortcuts.
Pressure canning uses controlled temperature, pressure, and processing time to make low-acid foods safe when the tested instructions are followed correctly.
And there’s an important distinction:
A pressure cooker is not automatically a pressure canner.
The National Center for Home Food Preservation does not recommend using small pressure cookers or pressure saucepans for USDA home-canning processes. A pressure canner needs to meet the appropriate equipment requirements and allow the recommended venting and pressure-control procedures.
🥩 What the Tested Ground-Beef Process Looks Like
The National Center for Home Food Preservation provides a tested process for ground or chopped meat, including beef.
The basic method begins with fresh, chilled meat.
Ground beef is cooked until lightly browned, then excess fat is removed. The meat is packed into jars and covered with boiling meat broth, tomato juice, or water, leaving 1 inch of headspace. Salt is optional.
From there, the filled jars are processed in a pressure canner according to the tested time and pressure for the jar size, canner gauge, and elevation.
For the NCHFP ground-meat process, the processing time is:
- Pints: 75 minutes
- Quarts: 90 minutes
The required pressure depends on whether you’re using a dial-gauge or weighted-gauge canner and, for dial gauges, your elevation.
That’s why we’re not giving you a single “set it to X pounds” instruction here.
Your elevation and your type of pressure canner matter.
Before you can anything, check the current tested instructions from the National Center for Home Food Preservation and your pressure canner manufacturer’s directions.
National Center for Home Food Preservation — Ground or Chopped Meat
🧺 What You Shouldn’t Do
When it comes to home canning, improvisation can be dangerous.
Don’t:
- Water-bath can ground beef.
- Use a pressure cooker that isn’t an approved pressure canner.
- Guess at processing time.
- Guess at pressure.
- Reduce processing time because you have smaller jars.
- Add ingredients that aren’t part of the tested process.
- Thicken the meat with flour or other ingredients before canning.
- Assume that because another recipe is canned, you can safely combine the two recipes.
USDA guidance specifically warns against adding ingredients such as flour, cream, milk, rice, or pasta to tested meat-and-vegetable canning processes unless the tested recipe calls for them.
Canning is one of those rare places where following the recipe exactly is actually part of the recipe.
🫙 Pantry Builder: One Jar at a Time
This is also where our new Pantry Builder idea comes in.
You don’t need to pressure-can ten pounds of beef every time you find a sale.
You don’t even have to pressure-can at all.
The goal is simply to begin thinking differently about food that is plentiful.
Maybe this week you put a few jars of properly canned ground beef on the shelf.
Next week, maybe you freeze some peppers and onions.
Another week, you might dehydrate carrots and celery.
Little by little, you’re creating a pantry that supports the way you actually cook.
And that’s much more useful than a pantry full of ingredients you bought because someone told you that you were supposed to have them.
🌾 Safety First, Always
If you’re new to pressure canning, take the time to learn how your equipment works before you start.
Read the manufacturer’s instructions for your pressure canner.
Use current, tested recipes from reliable sources such as the USDA and National Center for Home Food Preservation.
Make sure your pressure canner is in good working order. NCHFP recommends checking gauges and keeping vents and other safety components clean and unobstructed. Pressure canners must also be properly vented before processing pressure is established.
And if you ever find yourself thinking:
“I think this should be safe…”
That’s your signal to stop and check the tested guidance.
There is no prize for being adventurous with food safety.
❤️ Put a Little Back
The beautiful thing about preserving food is that it isn’t really about the jars.
It’s about options.
A jar of ground beef sitting on the pantry shelf represents a future meal that doesn’t require a trip to the store.
A freezer container represents a night when dinner is already halfway done.
A bag of dehydrated vegetables represents food that might otherwise have gone to waste.
This is what putting a little back can look like today.
Not fear.
Not excess.
Just good food, purchased thoughtfully and cared for so that today’s abundance can help feed us tomorrow.
Buy well. Use what you have. Preserve safely. And put a little back. 🌾🫙
Discover more from Simple, Practical Meals for Real Life
Subscribe to get the latest posts sent to your email.
