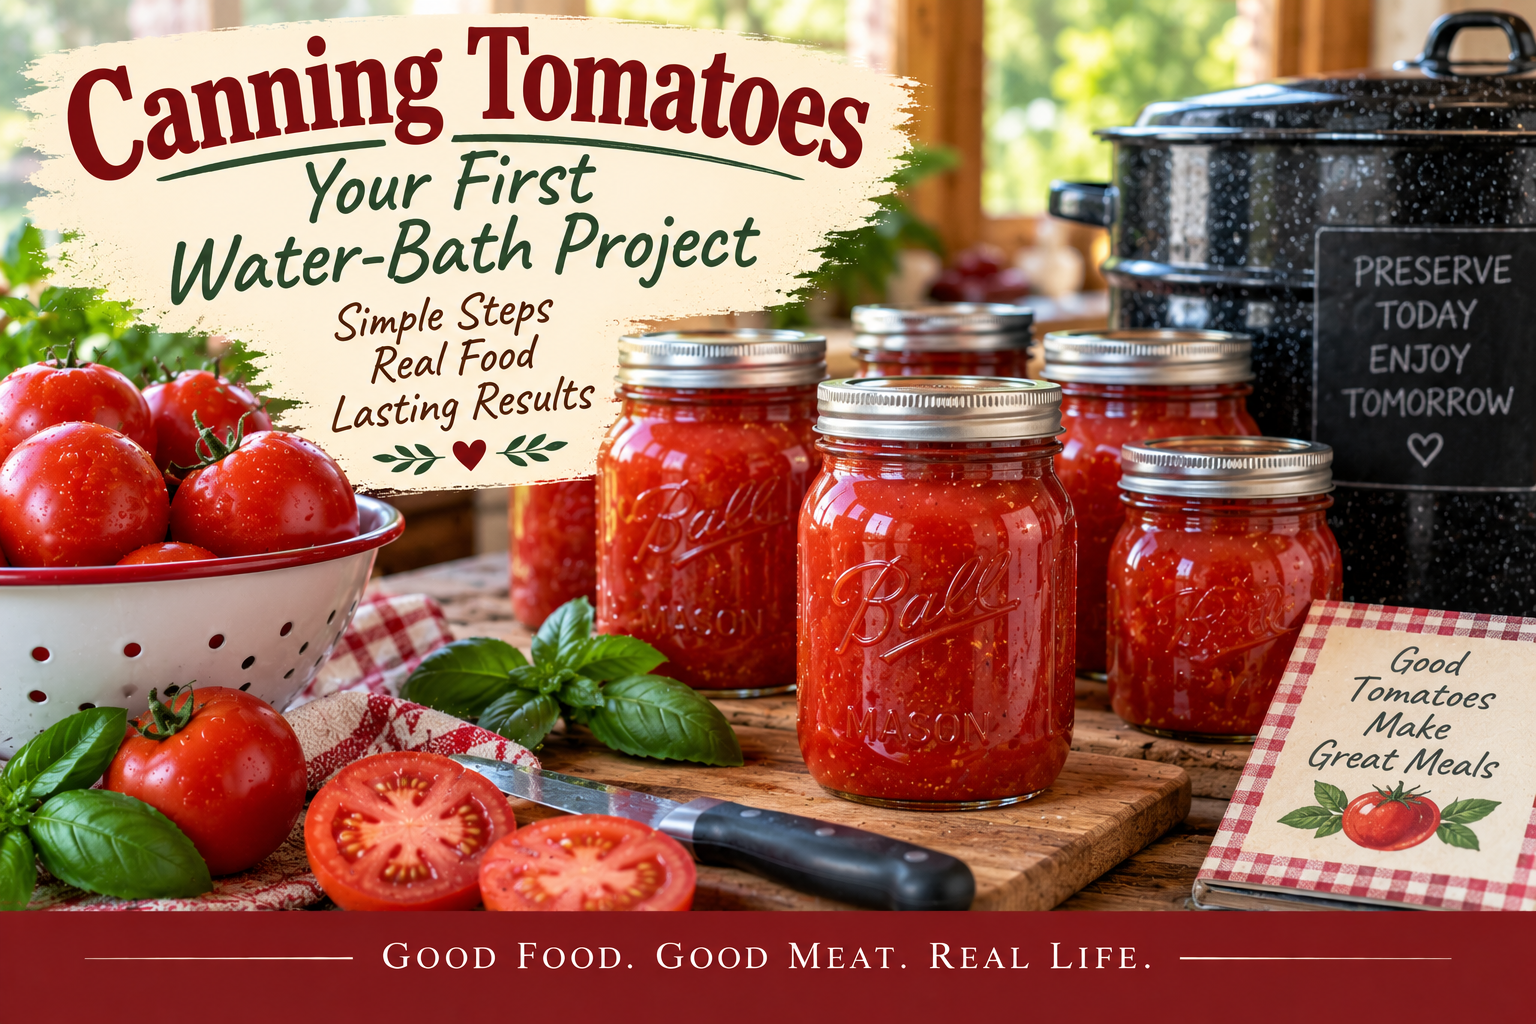
Yesterday, we talked about why tomatoes need special attention when canning.
Today, we’re going to actually put some tomatoes in jars.
If you’ve never tried water-bath canning before, tomatoes can be a good way to learn the basic process. There are several tested ways to can tomatoes, but we’re starting with one of the simplest:
Whole or Halved Tomatoes Packed in Water.
There isn’t a complicated sauce to make and no long list of ingredients. We’re simply preserving tomatoes so they’ll be ready for another meal later.
And that’s really the heart of Putting Things Back.
Before You Start
For this recipe, use sound, ripe tomatoes that are free from disease, bruises, and other signs of spoilage.
Don’t use tomatoes from dead or frost-killed vines for canning.
You’ll also need:
- A boiling-water canner with a rack
- Clean canning jars
- Two-piece canning lids appropriate for your jars
- A jar lifter
- A canning funnel, if you have one
- A large pot for preparing the tomatoes
- A clean towel for wiping jar rims
If you’re new to water-bath canning, the National Center for Home Food Preservation has a helpful overview of the equipment and basic process.
Ingredients
For the Tomatoes
- Ripe, firm tomatoes
- Boiling water, as needed
For Acidification
For each pint jar, use:
- 1 tablespoon bottled lemon juice or
- ¼ teaspoon citric acid
For each quart jar, use:
- 2 tablespoons bottled lemon juice or
- ½ teaspoon citric acid
NCHFP also allows 5% acidity vinegar as an alternative, although it notes that vinegar can cause undesirable flavor changes.
For exact current acidification guidance, see:
https://nchfp.uga.edu/how/can/how-do-i-can-tomatoes/tomato-acidification-directions
Important: Use bottled lemon juice rather than freshly squeezed lemon juice when the recipe calls for bottled lemon juice. The acidity of bottled lemon juice is standardized; fresh lemon juice isn’t.
Preparing the Tomatoes
Wash the tomatoes thoroughly under running water.
Remove the cores.
Then dip the tomatoes in boiling water for about 30 to 60 seconds, or until the skins begin to split.
Immediately transfer them to cold water.
Once they’re cool enough to handle, slip off the skins.
You can leave small tomatoes whole or cut larger tomatoes in half.
If you prefer your canned tomatoes peeled and quartered, that’s perfectly fine — but for this particular tested procedure, we’re keeping things simple with whole or halved tomatoes.
Preparing the Jars
Prepare your jars according to current safe canning practices.
Keep the jars hot until you’re ready to fill them.
Put the required amount of acid directly into each hot jar before adding the tomatoes.
That’s an important step.
Don’t assume the tomatoes themselves are acidic enough.
We’re deliberately adding a measured amount of acid to every jar so the finished product has the acidity required by the tested procedure.
Filling the Jars
There are two ways to pack these tomatoes.
Hot Pack
Place the prepared tomatoes in a large saucepan and add enough water to completely cover them.
Bring them to a gentle boil and cook for 5 minutes.
Pack the hot tomatoes into the hot jars.
Then add the hot cooking liquid, leaving ½ inch of headspace.
Raw Pack
You can also pack the prepared raw tomatoes directly into the hot jars.
Add boiling water to cover the tomatoes, again leaving ½ inch of headspace.
Either way, the acid goes into the jar first.
Remove Air Bubbles
Run a bubble remover or a nonmetallic utensil around the inside of the jar to release trapped air.
Add more liquid if necessary to maintain the ½-inch headspace.
Wipe the rim of the jar with a clean, damp cloth.
Place the prepared lid on the jar and apply the ring according to the manufacturer’s directions.
Don’t overtighten.
Into the Water-Bath Canner
Place the filled jars on the rack in your boiling-water canner.
The jars should not sit directly on the bottom of the pot.
Make sure the jars are covered with water according to the canner’s instructions.
Bring the water to a full rolling boil before starting the processing time.
Processing Time
For whole or halved tomatoes packed in water, the current NCHFP processing times in a boiling-water canner are:
| Jar Size | 0–1,000 ft | 1,001–3,000 ft | 3,001–6,000 ft | Above 6,000 ft |
| Pints | 40 minutes | 45 minutes | 50 minutes | 55 minutes |
| Quarts | 45 minutes | 50 minutes | 55 minutes | 60 minutes |
These times are from the National Center for Home Food Preservation’s tested procedure:
https://nchfp.uga.edu/how/can/how-do-i-can-tomatoes/whole-or-halved-tomatoes-packed-in-water
Know your elevation. Processing times change with altitude, so don’t automatically use the 0–1,000-foot time if you live at a higher elevation.
Once the processing time is complete, turn off the heat and carefully remove the lid.
Let the jars stand in the canner for about 5 minutes before removing them.
Use a jar lifter to transfer the jars to a towel-covered surface, leaving space between the jars.
Don’t tighten the rings or press the lids.
Let the jars cool undisturbed for 12 to 24 hours.
Check Your Jars
Once the jars have cooled completely, check the seals.
A properly sealed lid should be concave and should not flex when pressed in the center.
If a jar hasn’t sealed, refrigerate it and use the contents promptly, or follow current NCHFP guidance for handling an unsealed jar.
Remove the rings before storing the sealed jars, and wipe the jars clean.
Label them with the contents and date.
Then put them on the pantry shelf and admire your work.
Seriously.
There’s something satisfying about looking at a row of jars and knowing that today’s tomatoes have become tomorrow’s meals.
How Many Tomatoes Do You Need?
This is one of those questions that sounds simple until you start buying tomatoes.
The amount you’ll need depends on the size and type of tomato, how tightly you pack the jars, and whether you’re making whole or halved tomatoes.
Rather than giving you a made-up “X pounds makes exactly X jars” number, I recommend buying or picking a little more than you think you’ll need.
Any tomatoes left over can become tonight’s dinner.
And that’s hardly a hardship.
Kitchen Confidence
If you’re nervous about water-bath canning, notice what we actually did here.
We didn’t need a complicated recipe.
We didn’t need twenty ingredients.
We needed:
good tomatoes + measured acid + clean jars + the correct headspace + the correct processing time.
That’s it.
Well… plus boiling water.
The important thing is that each part of the process has a purpose.
Once you understand that, canning becomes a lot less intimidating.
Stretch Every Grocery Dollar
Canning doesn’t always save money on every single batch.
That’s worth saying.
If you’re buying expensive tomatoes at the grocery store specifically to can them, you may not save much compared with buying canned tomatoes.
But when tomatoes are abundant at a farmers market, roadside stand, garden, or grocery-store sale, preserving them can be a very different calculation.
You’re buying them when they’re available and putting them away for later.
That’s one of the basic ideas behind Putting Things Back:
Buy or harvest food when it’s plentiful, then turn it into future meals.
Waste Not, Want Not
Don’t throw away the tomato scraps simply because you’re canning.
Save the usable bits for another purpose.
Tomato trimmings can go into sauces, soups, or other cooked dishes. And if you have a few tomatoes that aren’t quite right for canning, use them fresh rather than trying to force them into the canning batch.
Canning is about preserving good food.
It’s not about finding a way to preserve everything.
Cooking for One or Two
One of the things I particularly like about canned tomatoes is that they don’t require you to have a large household to make preserving worthwhile.
You can use a single pint in a skillet meal, soup, sauce, casserole, or stew.
And that’s where the real payoff begins.
A jar sitting on the shelf isn’t dinner.
A jar that becomes dinner is.
Tomorrow, we’ll talk about exactly that.
What Can You Do With Those Tomatoes?
Once you’ve put tomatoes on the shelf, the next question is obvious:
What are you going to do with them?
Tomorrow, we’ll look at practical ways to turn those jars into meals — because putting food back is only half the story.
The other half is bringing it back out when you need it.
Source for This Recipe
This recipe is adapted from the tested Whole or Halved Tomatoes (packed in water) procedure from the National Center for Home Food Preservation:
https://nchfp.uga.edu/how/can/how-do-i-can-tomatoes/whole-or-halved-tomatoes-packed-in-water
For the general tomato-canning information and acidification requirements:
https://nchfp.uga.edu/how/can/how-do-i-can-tomatoes/canning-tomatoes-introduction
For specific tomato acidification directions:
https://nchfp.uga.edu/how/can/how-do-i-can-tomatoes/tomato-acidification-directions
Always use current tested canning procedures rather than changing ingredients, jar sizes, headspace, or processing times on your own.