
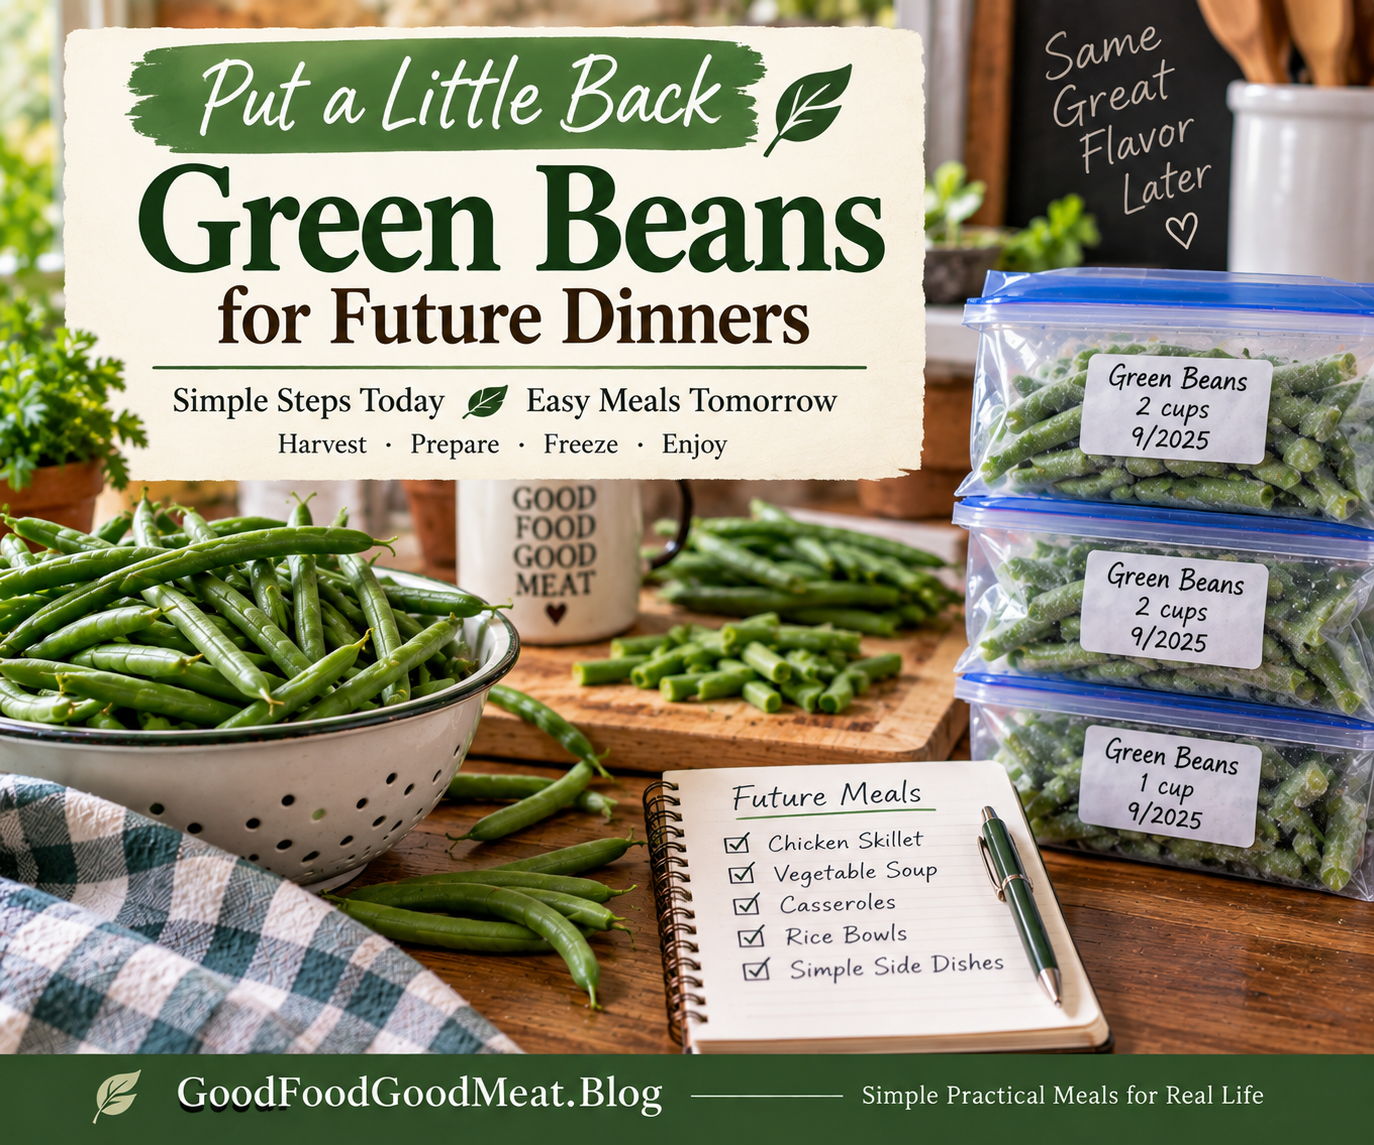
There is something satisfying about looking at a basket of fresh green beans and realizing that today’s harvest doesn’t have to be eaten today.
Maybe you found a great price at the farmers’ market.
Maybe your garden is producing faster than you can keep up.
Or maybe you simply bought more green beans than your household can reasonably eat this week.
Instead of letting the extras sit in the refrigerator until they’re past their prime, put a little back.
Today, we’re putting green beans in the freezer—not just to preserve them, but to give ourselves an ingredient for future dinners.
Why Green Beans Are Worth Putting Back
Green beans are one of those wonderfully useful vegetables.
They can be a side dish, but they don’t have to stay in the side-dish category.
Frozen green beans can become part of:
- Chicken and green bean skillets
- Vegetable soup
- Casseroles
- Rice bowls
- Pasta dishes
- Pot pies
- Simple vegetable sides
That’s exactly what we’re looking for when we build a freezer for a small household.
We aren’t simply collecting frozen vegetables.
We’re collecting future meal ingredients.
Start With Good Green Beans
For the best quality, start with fresh, tender beans.
The National Center for Home Food Preservation’s guidance for freezing green, snap, or wax beans recommends selecting young, tender pods.
Give the beans a good wash in cold water. Trim the ends, then leave them whole or cut them into pieces that make sense for the meals you expect to make.
For my purposes, I like pieces that are easy to scoop into a skillet, soup pot, or casserole.
That’s one of those small decisions that makes future cooking easier.
Blanch Before Freezing
This is the one part of the process where I don’t recommend improvising.
Green beans should be blanched before freezing.
Blanching briefly heats the vegetables to slow enzyme activity that can otherwise affect flavor, color, and texture during frozen storage. The National Center for Home Food Preservation explains why blanching matters and provides the recommended times for different vegetables.
For green beans, the NCHFP’s specific instructions call for 3 minutes of water blanching.
A Simple Green Bean Freezing Process
- Wash and trim the beans.
- Cut them into useful pieces, or leave them whole.
- Bring a large pot of water to a vigorous boil.
- Add the prepared beans and blanch for 3 minutes.
- Cool them promptly in cold water.
- Drain them thoroughly.
- Package, leaving the recommended headspace.
- Seal, label, and freeze.
The NCHFP blanching guidance recommends cooling vegetables promptly and thoroughly after blanching, using cold water or ice water, and cooling for approximately the same amount of time as the blanching period. Thorough draining is important because excess moisture can reduce quality during freezing.
And if you’re doing a larger batch, don’t try to blanch an enormous amount at once. The water needs to return to a boil quickly, and the NCHFP recommends using about one gallon of water per pound of prepared vegetables for water blanching.
Freeze Them in Meal-Sized Portions
Here’s where I want to depart a little from the traditional idea of “putting up” food.
If you’re cooking for one or two people, you don’t necessarily want one giant bag of green beans.
Think about how you’ll use them.
If your typical recipe uses about two cups, freeze approximately two cups together.
If you regularly add a handful of vegetables to a soup or skillet, make some smaller portions.
You might end up with:
2 cups — Chicken & Green Bean Skillet
2 cups — Vegetable Soup
1 cup — Side Dish
1–2 cups — Rice Bowls
You don’t actually have to write the intended meal on the package, of course. But thinking this way while you’re packaging the beans helps you decide what portion sizes will be most useful.
Label Them Before They Go Into the Freezer
This is one of those little tasks that’s incredibly easy to skip when you’re standing in the kitchen with a pile of freshly blanched vegetables.
Don’t skip it.
Label each package with:
- Green beans
- Amount
- Date
For example:
Green Beans — 2 cups — Sept. 2026
Future-you will be very happy you did.
And if you’ve been following this week’s freezer theme, you may already see where we’re going.
We’re not just putting green beans into the freezer.
We’re beginning to build a freezer inventory.
What Will Those Green Beans Become?
This is my favorite part.
A package of frozen green beans isn’t particularly exciting sitting on a freezer shelf.
But give it a purpose and suddenly it’s different.
Chicken & Green Bean Skillet
Combine your frozen green beans with cooked chicken, a little broth or sauce, and whatever other vegetables or seasonings fit your pantry.
That’s dinner.
Vegetable Soup
Green beans are right at home in a pot of vegetable soup.
Add carrots, corn, tomatoes, potatoes, broth, and whatever other vegetables need using.
That’s dinner.
Casseroles
Frozen green beans can add color, texture, and vegetables to a simple casserole.
That’s dinner.
Rice Bowls
Add green beans to rice with chicken, turkey, or another protein and finish with a simple sauce.
That’s dinner.
A Simple Side Dish
Sometimes you really do just want green beans alongside the main course.
Season them simply and serve.
That’s dinner, too.
Don’t Forget the Bigger Picture
This is why I like the phrase “put a little back.”
You don’t have to preserve twenty pounds of beans.
You don’t have to spend an entire weekend filling the freezer.
You don’t have to turn September into a marathon of food preservation.
You can put away a few meal-sized packages at a time.
And if you do that with several foods throughout the season, those little packages begin adding up.
A handful of green beans.
Some cooked chicken.
A container of broth.
A few portions of corn.
Some peppers.
Maybe a little fruit.
Suddenly, the freezer is working for you.
Keep the Freezer at the Right Temperature
For food safety and best quality, the USDA recommends keeping your freezer at 0°F or below. An appliance thermometer can help you verify that your freezer is maintaining the proper temperature.
And remember that freezing doesn’t make food immune to quality loss. Proper packaging and keeping foods frozen consistently help protect the food you’ve taken the time to preserve.
The National Center for Home Food Preservation’s freezing guidance is a good resource to keep bookmarked when you’re preserving different foods because preparation and freezing recommendations vary from one food to another.
Today’s Green Beans Are Tomorrow’s Dinner
That’s really the whole point.
You aren’t freezing green beans because having a freezer full of vegetables sounds virtuous.
You’re freezing them because you can already imagine using them.
Maybe next week they’ll go into a chicken skillet.
A few weeks later they’ll become part of soup.
Later in the fall, they’ll find their way into a casserole.
And one evening when you’re standing in the kitchen wondering what on earth you’re going to make for dinner, you’ll remember that little package sitting in the freezer.
You already did some of the work.
You already bought the vegetables.
You already prepared them.
You already put them away.
Now you just have to turn them into dinner.
That’s what successful preservation looks like to me.
Today’s harvest. Tomorrow’s meal.
And that’s why we’re putting a little back.
Discover more from Simple, Practical Meals for Real Life
Subscribe to get the latest posts sent to your email.
