Posted in Skillet Meals

Rustic Beef & Cabbage Skillet

Cabbage is one of those vegetables that doesn’t get nearly enough credit.

It’s inexpensive, keeps well in the refrigerator, and can turn a small amount of meat into a satisfying meal. The trick is knowing how to cook it without reducing it to a pile of mush.

This Rustic Beef & Cabbage Skillet keeps things simple: browned ground beef, plenty of cabbage, onions, carrots, and a handful of familiar seasonings. Everything cooks together in one skillet until the cabbage is tender but still has enough texture to make the dish interesting.

It’s the kind of meal that feels old-fashioned in the best possible way — hearty, economical, and uncomplicated.

And because we’re talking about Cooking Today, Planning for Tomorrow, you can easily cook an extra portion or two to use later in the week.

Why You’ll Love This Recipe

  • Cabbage does a lot of work for very little money.
  • One skillet keeps cleanup easy.
  • The flavors are mild and familiar, rather than heavily spiced.
  • Ground beef makes it filling and protein-rich.
  • It reheats well, making it a natural make-ahead meal.
  • The vegetables can be adjusted according to what’s already in your refrigerator.
  • It works equally well on a stovetop or in an electric skillet at the campground.

🥬 Kitchen Confidence: How to Cook Cabbage Without Making It Mushy

The secret is simple: don’t drown it.

Cabbage naturally releases quite a bit of water as it cooks. Adding a lot of liquid at the beginning can turn a skillet meal into boiled cabbage.

Instead:

  1. Cut the cabbage into bite-sized pieces. Thin ribbons cook quickly; slightly wider pieces give you more texture.
  2. Cook the cabbage in stages. Give the firmer vegetables a head start.
  3. Let the cabbage have contact with the skillet. A little browning adds wonderful flavor.
  4. Don’t cover the pan for the entire cooking time. Trapped steam makes cabbage soften much faster.
  5. Stop cooking when it’s tender-crisp. It will continue softening slightly from the residual heat.

You want cabbage that’s tender enough to eat easily but still has a little bite.

simplegoodfood's avatarsimplegoodfood

Rustic Beef & Cabbage Skillet

This Rustic Beef & Cabbage Skillet keeps things simple: browned ground beef, plenty of cabbage, onions, carrots, and a handful of familiar seasonings.
Prep Time 10 minutes
Cook Time 25 minutes
Total Time 35 minutes
Servings: 4
Course: Dinner, Lunch, Main Course
Cuisine: American
Calories: 365

Ingredients
  

  • 1 pound lean ground beef
  • 1 tablespoon olive oil if needed
  • 1 small onion diced
  • 2 medium carrots peeled and thinly sliced
  • 4 cups chopped green cabbage about ½ small head
  • 2 cloves garlic minced
  • 1 teaspoon dried parsley
  • 1 teaspoon dried thyme
  • ½ teaspoon paprika
  • ½ teaspoon salt or to taste
  • ¼ teaspoon black pepper
  • ½ cup low-sodium beef broth
  • 1 tablespoon Worcestershire sauce
  • 1 teaspoon Dijon mustard
Optional
  • 1 tablespoon chopped fresh parsley for serving
  • 1 teaspoon apple cider vinegar or lemon juice for a brighter finish

Method
 

  1. Brown the Beef
  2. Heat a large skillet over medium-high heat.
  3. Add the ground beef and cook for 5–7 minutes, breaking it into crumbles as it browns.
  4. When the beef is cooked through and nicely browned, drain excess fat if necessary.
  5. Kitchen Confidence reminder: Let the beef sit against the hot skillet for a minute before stirring. Constant stirring prevents the browning we’re after.
  6. Add the Onion and Carrots
  7. Reduce the heat to medium.
  8. Add the onion and carrots to the skillet with the beef.
  9. Cook for 4–5 minutes, stirring occasionally, until the onion begins to soften and the carrots are starting to become tender.
  10. Add the Cabbage
  11. Add the chopped cabbage in a couple of handfuls, stirring as it begins to wilt.
  12. Don’t worry if the skillet looks ridiculously full at first. Cabbage has a magical way of collapsing once it heats up. 😉
  13. Cook uncovered for about 5 minutes, stirring occasionally.
  14. Season Everything
  15. Add the garlic, parsley, thyme, paprika, salt, and black pepper.
  16. Stir and cook for about 30 seconds.
  17. Finish the Skillet
  18. Whisk together the beef broth, Worcestershire sauce, and Dijon mustard.
  19. Pour the mixture into the skillet and stir well.
  20. Cook uncovered for another 5–7 minutes, stirring occasionally, until the cabbage is tender but still has some texture and most of the liquid has cooked away.
  21. Taste and adjust the seasoning.
  22. Brighten It Up
  23. If you’d like a little more brightness, add a teaspoon of apple cider vinegar or lemon juice just before serving.
  24. That small splash of acid helps balance the richness of the beef and brings out the flavor of the cabbage.

Notes

🍽️ Serving Suggestions
This is a complete meal on its own, but it can also be served with:
  • cooked brown or white rice
  • boiled or roasted potatoes
  • mashed potatoes
  • a slice of whole-grain bread
For a cook-once, enjoy-more-than-once approach, I especially like this over a small scoop of potatoes or rice. The vegetables and beef make the bulk of the meal while the starch stretches it a little further.

Make It Your Own

Have extra cabbage? Add another cup or two. Just give it enough room in the skillet to cook down.

Have leftover vegetables? Carrots, mushrooms, green beans, zucchini, or even a handful of spinach can find a home here.

Want to change the flavor later? Keep the base seasoning mild. That makes leftovers much easier to transform into another meal.

Using leftover beef from Sunday’s skillet? You can absolutely do that. Skip the beef-browning step, start with the onion and carrots, then add your cooked beef once the vegetables begin to soften.

That’s a perfect example of the week’s theme: tonight’s cooking can make tomorrow’s cooking easier.

Storage & Reheating

Cool leftovers promptly and refrigerate in a covered container.

Use refrigerated leftovers within 3–4 days.

For longer storage, portion the cooled skillet into freezer-safe containers, label with the date and contents, and freeze.

Reheat gently in a skillet or microwave until heated through. If the mixture seems dry, add a tablespoon or two of water or broth while reheating.

Posted in Skillet Meals

Family-Style Beef & Vegetable Skillet

There is something wonderfully practical about cooking a little more than you need.

Not a week’s worth of meals. Not an entire Sunday spent chopping, portioning, and labeling containers. Just enough extra to make the next meal easier.

This Family-Style Beef & Vegetable Skillet is built around that idea. Ground beef is browned with onions, carrots, zucchini, mushrooms, and green beans, then finished with a simple savory seasoning that lets the vegetables and beef do most of the work.

Serve it as-is for an easy one-pan dinner, or cook a little extra and set some aside for another meal later in the week. That extra beef and vegetables can become the starting point for a rice bowl, fried rice, or another quick supper when you don’t feel like starting from scratch.

It’s simple cooking with a little bit of tomorrow built in.

Why You’ll Love This Recipe

One skillet does most of the work.

It’s packed with vegetables without feeling like a vegetable-only meal.

Ground beef keeps it affordable while adding plenty of protein.

The flavor is flexible, so the leftovers can easily become something completely different.

It’s practical for smaller households. Four servings means dinner tonight plus a couple of portions to use another day.

It fits the campground kitchen, too. An electric skillet works beautifully if you’re cooking away from home.

🥘 Kitchen Confidence: How to Brown Ground Beef Without Steaming It

If you’ve ever ended up with gray, watery ground beef instead of nicely browned meat, the problem probably wasn’t your beef. It was the pan.

For good browning:

Preheat the skillet before adding the beef. A hot cooking surface helps the meat brown instead of immediately releasing moisture into a lukewarm pan.

Don’t crowd the skillet. If you’re doubling the recipe, brown the beef in batches.

Let it sit for a minute or two. Resist the temptation to constantly stir. The meat needs contact with the hot skillet to develop those browned bits.

Break it up as it browns. Once you have some good color, continue breaking the beef into bite-sized crumbles.

Drain excess fat if necessary. With lean ground beef, you may not need much draining at all.

Those browned bits left in the bottom of the skillet are flavor. When the vegetables go in, they’ll help pick up all that goodness.

simplegoodfood's avatarsimplegoodfood

Family-Style Beef & Vegetable Skillet

There is something wonderfully practical about cooking a little more than you need.
Prep Time 15 minutes
Cook Time 25 minutes
Total Time 40 minutes
Servings: 4
Course: Dinner, Lunch, Main Course
Cuisine: American
Calories: 390

Ingredients
  

  • 1 pound lean ground beef preferably 90% lean or leaner
  • 1 tablespoon olive oil divided
  • 1 small onion diced
  • 2 medium carrots peeled and diced
  • 1 cup sliced mushrooms
  • 1 medium zucchini diced
  • 1 cup green beans cut into bite-sized pieces
  • 2 cloves garlic minced
  • 1 teaspoon dried parsley
  • 1 teaspoon dried thyme
  • ½ teaspoon paprika
  • ½ teaspoon salt or to taste
  • ¼ teaspoon black pepper
  • ½ cup low-sodium beef broth
  • 1 tablespoon Worcestershire sauce
  • 1 teaspoon cornstarch
  • 1 tablespoon cold water
Optional Serving Ideas
  • Serve the skillet as-is or spoon it over:
  • cooked brown or white rice
  • mashed potatoes
  • cooked barley
  • egg noodles
  • crusty whole-grain bread

Method
 

  1. Brown the Beef
  2. Heat a large skillet over medium-high heat.
  3. Add the ground beef and cook, breaking it into small pieces as it browns, about 5–7 minutes.
  4. Once the beef is browned, transfer it to a plate or bowl. Drain excess fat if needed.
  5. Start the Vegetables
  6. Reduce the heat to medium and add 1 teaspoon of the olive oil to the skillet.
  7. Add the onion and carrots. Cook for 3–4 minutes, stirring occasionally.
  8. Add the mushrooms and cook for another 2 minutes.
  9. Add the Quick-Cooking Vegetables
  10. Add the zucchini and green beans.
  11. Cook for 4–5 minutes, stirring occasionally, until the vegetables are beginning to soften but still have some texture.
  12. Add the garlic, parsley, thyme, paprika, salt, and pepper. Cook for about 30 seconds, just until fragrant.
  13. Bring Everything Together
  14. Return the browned beef to the skillet.
  15. Whisk together the beef broth and Worcestershire sauce and pour into the skillet. Stir well, scraping up any browned bits from the bottom.
  16. Bring to a gentle simmer and cook for 3–4 minutes.
  17. Thicken the Sauce
  18. In a small bowl, stir together the cornstarch and cold water until smooth.
  19. Pour into the skillet while stirring.
  20. Cook for 1–2 minutes, until the broth becomes a light, savory sauce that coats the beef and vegetables.
  21. Taste and adjust the seasoning if needed.
  22. Serve — and Save Some for Tomorrow
  23. Serve immediately over rice, potatoes, barley, or noodles, or enjoy it on its own.

Notes

If you’re cooking ahead, allow the extra portion to cool before transferring it to a shallow storage container. Label it with the date and refrigerate or freeze according to your meal plan.
Tip: If you’re intentionally making this for future meals, don’t sauce every portion quite as heavily. A slightly less-saucy beef-and-vegetable mixture gives you more flexibility when you turn it into another dish later.

Make It Work for Your Kitchen

Campground kitchen: An electric skillet works perfectly. You can also make this in a large cast-iron skillet.

Smaller household: Divide the finished skillet into four portions. Enjoy one or two for dinner and refrigerate or freeze the rest.

Want more vegetables? Add whatever needs to be used first — bell pepper, cabbage, spinach, or leftover cooked vegetables all work.

No fresh green beans? Frozen green beans are perfectly fine. Add them directly to the skillet.

Planning another meal? Reserve 1–2 portions of the beef and vegetables before serving. Those portions become the foundation for later meals without requiring another round of cooking.

Storage

Refrigerate leftovers in a covered container and use within 3–4 days.

For longer storage, portion the cooled beef and vegetables into freezer-safe containers, label with the date and contents, and freeze.

For best quality, thaw refrigerated portions overnight before reheating.

Posted in Monthly Introductions

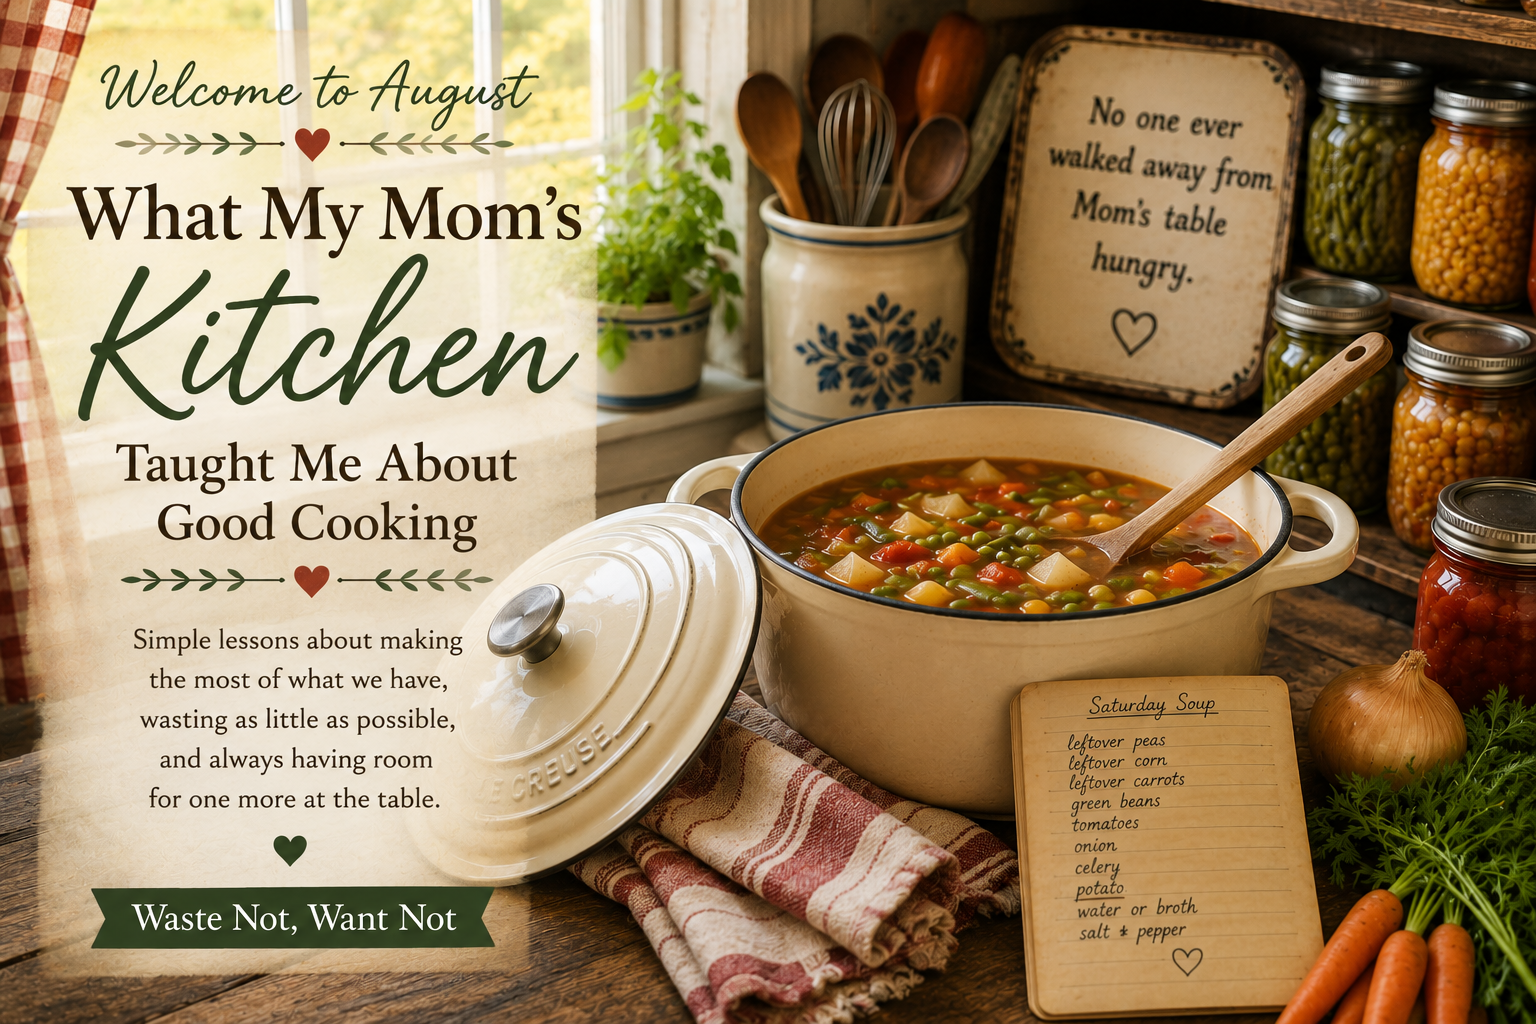
Welcome to August: What My Mom’s Kitchen Taught Me About Good Cooking

If you had asked me years ago what some of my most treasured childhood memories would be, I probably wouldn’t have said they happened in the kitchen.

But looking back now, that’s exactly where they were.

Growing up in Pennsylvania, we weren’t wealthy, but we always had enough. My parents believed in making the most of what they had, and one of the greatest lessons I ever learned came from watching my mom prepare everyday meals.

There was always a container in the freezer waiting for leftover vegetables. Every night after supper, if there were a spoonful of peas, a few carrots, some corn, or green beans left, they didn’t go into the trash. They went into that container.

By Saturday, the container was full.

Mom would pour everything into a soup pot, add broth, tomatoes, whatever else was on hand, and before long we had a hearty vegetable soup for supper. No recipe. No fancy ingredients. Just good food made from what we already had.

We didn’t call it meal prep.

We didn’t call it reducing food waste.

We didn’t call it sustainability.

It was simply the way we lived.

I also remember Saturdays spent in the kitchen canning vegetables from my Aunt Edna’s garden. Tomatoes, green beans, and whatever produce was in season filled the counters. Some came from the garden, while other vegetables came from local farmers’ markets and roadside stands. We worked together, filled jar after jar, and listened for the satisfying “pop” of lids sealing.

Those jars represented much more than food.

They meant winter meals.

They meant stretching the grocery budget.

They meant being prepared for busy days.

They meant there was always something to put on the table.

One lesson from my mom has stayed with me all these years.

No one ever walked away from her table hungry if she could help it.

If unexpected company arrived around supper time, she didn’t panic. She simply opened another jar of vegetables, added another side dish, and somehow there was always enough for one more person.

Looking back, I realize those pantry shelves weren’t just filled with food.

They were filled with hospitality.

As I planned this month’s recipes, I found myself thinking about those lessons more and more.

Today’s grocery prices encourage us to make every purchase count. Many of us are cooking for one or two instead of large families. Others are feeding grandchildren, camping, traveling in an RV, or simply trying to prepare meals without wasting food or money.

The principles haven’t changed.

Cook what you have.

Waste as little as possible.

Buy wisely.

Save a little for tomorrow.

Welcome others when you can.

Throughout August, we’ll be exploring simple, practical meals that help stretch the grocery budget without sacrificing good food. You’ll find recipes that build on leftovers, budget-friendly rice bowls, meal prep ideas that become several different dinners, and little tips for making your ingredients work harder for you.

My hope is that these recipes do more than fill your stomach.

I hope they make your kitchen a little less stressful, your grocery budget go a little farther, and your table a place where there’s always room for one more.

Welcome to August.

Let’s make the most of what we have—one simple, practical meal at a time.