September has a way of making the kitchen feel a little more abundant.
The farm stands are full. Corn is piled high. Tomatoes, peppers, zucchini, onions, potatoes, and other seasonal vegetables are everywhere you look. It’s tempting to bring home a little bit of everything.
But making the most of the harvest isn’t about buying everything you can carry.
It’s about buying what you’ll use, enjoying what’s fresh, putting a little back, and making tomorrow’s meals easier.
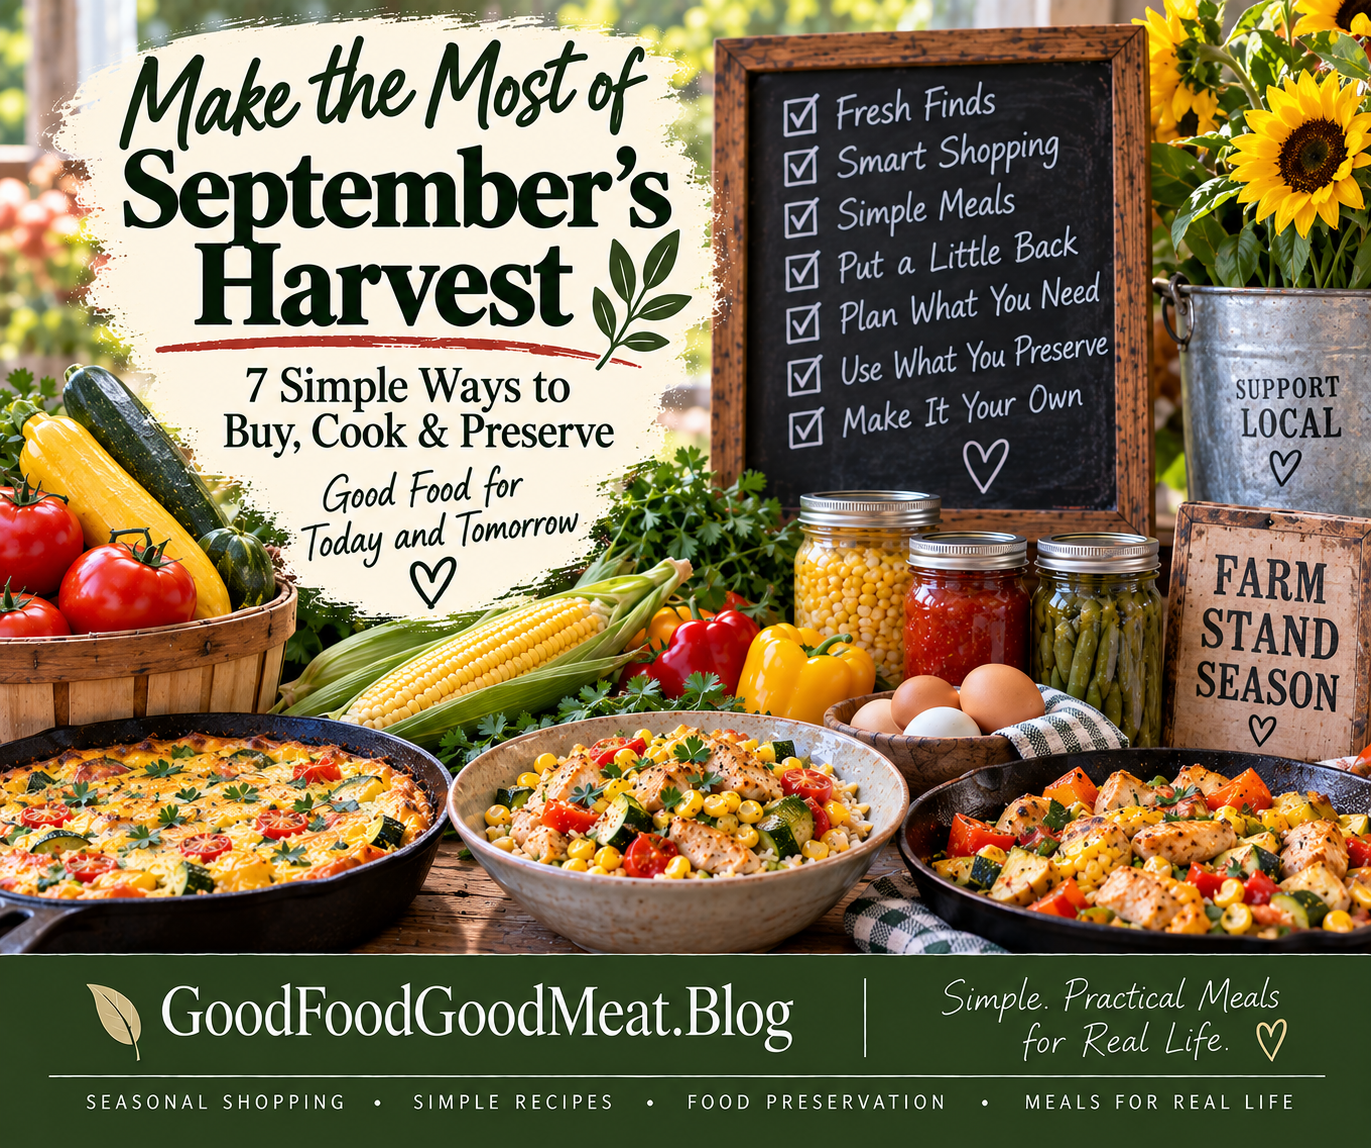
That’s the idea behind this week’s collection of GoodFoodGoodMeat.Blog posts.
🍂 The September Harvest Approach
There are really four steps to making the most of seasonal abundance:
Buy it at its peak.
Look for what’s plentiful, fresh, and reasonably priced.
Use it well.
Build simple meals around what you already have.
Put a little back.
When something is especially good and plentiful, preserve an amount that makes sense for your household.
Use it later.
The food you preserve isn’t just something sitting in the freezer or pantry. It’s an ingredient waiting for a future meal.
That’s the philosophy behind all seven posts in this week’s harvest collection.
🌽 This Week’s Harvest Collection


Start With What’s in Front of You
Our week begins at the farm stand.
When the Farm Stand is Full
A full farm stand is an invitation to pay attention—not necessarily an invitation to buy everything.
The opening article looks at how to recognize seasonal abundance and make thoughtful choices about what comes home with you.
The goal is simple:
Buy what is good. Buy what you’ll use. And when it makes sense, buy a little extra for later.
🛒 Shop With a Plan
Once you know what’s plentiful, the next question is what actually belongs in your basket.
Smart Shopper Spotlight: What to Buy When It’s in Season
Seasonal shopping can be a great way to find fresh produce at good prices, but the smartest purchase isn’t necessarily the biggest one.
This article looks at how to think about:
- What’s actually in season
- How much you’ll realistically use
- Whether you have room to store it
- Whether you have time to preserve it
- How buying seasonal produce can help reduce waste
- When buying extra makes sense
Because a bargain isn’t really a bargain if half of it ends up in the trash.
🍗 Cook the Harvest Now
Fresh seasonal vegetables don’t have to become an elaborate project.
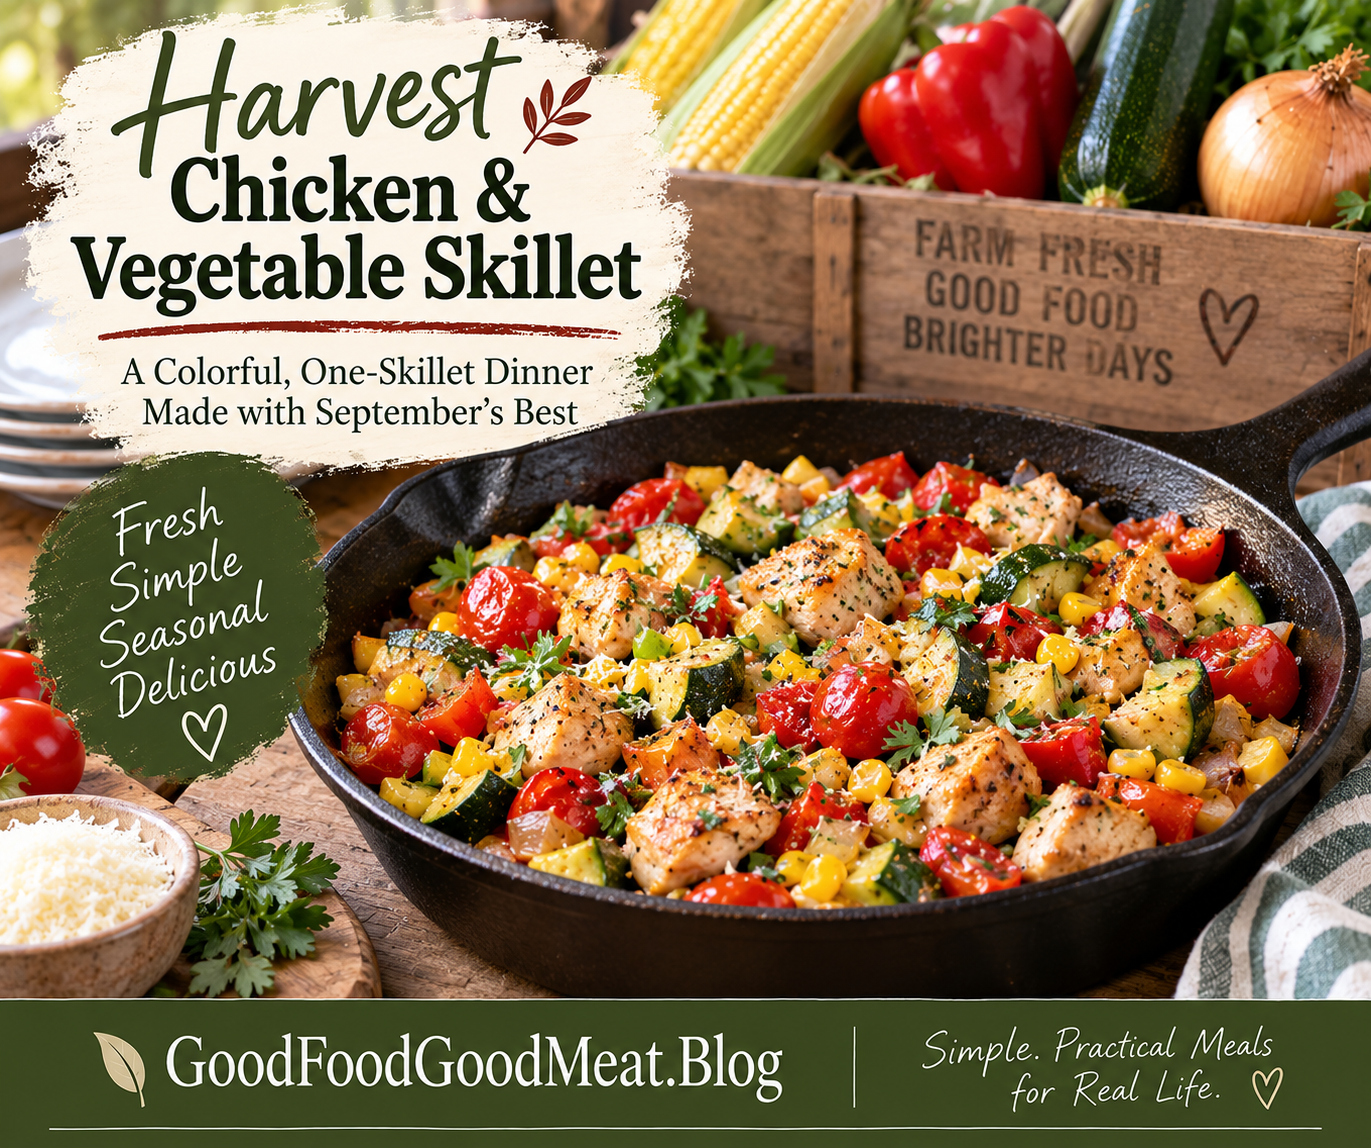
Harvest Chicken & Vegetable Skillet
This colorful one-skillet dinner brings together tender chicken with sweet corn, zucchini, bell pepper, tomatoes, and onion.
It’s exactly the kind of meal that makes seasonal shopping worthwhile.
You don’t need a complicated recipe when good ingredients are already doing most of the work.
And because the recipe is flexible, it’s also a good reminder that a recipe can be a starting point rather than a set of rules.
Use what looks good.
Use what you have.
Make dinner.
🫙 Put a Little Back
Of course, you don’t have to eat every bit of the harvest this week.
Some of it can become future meals.
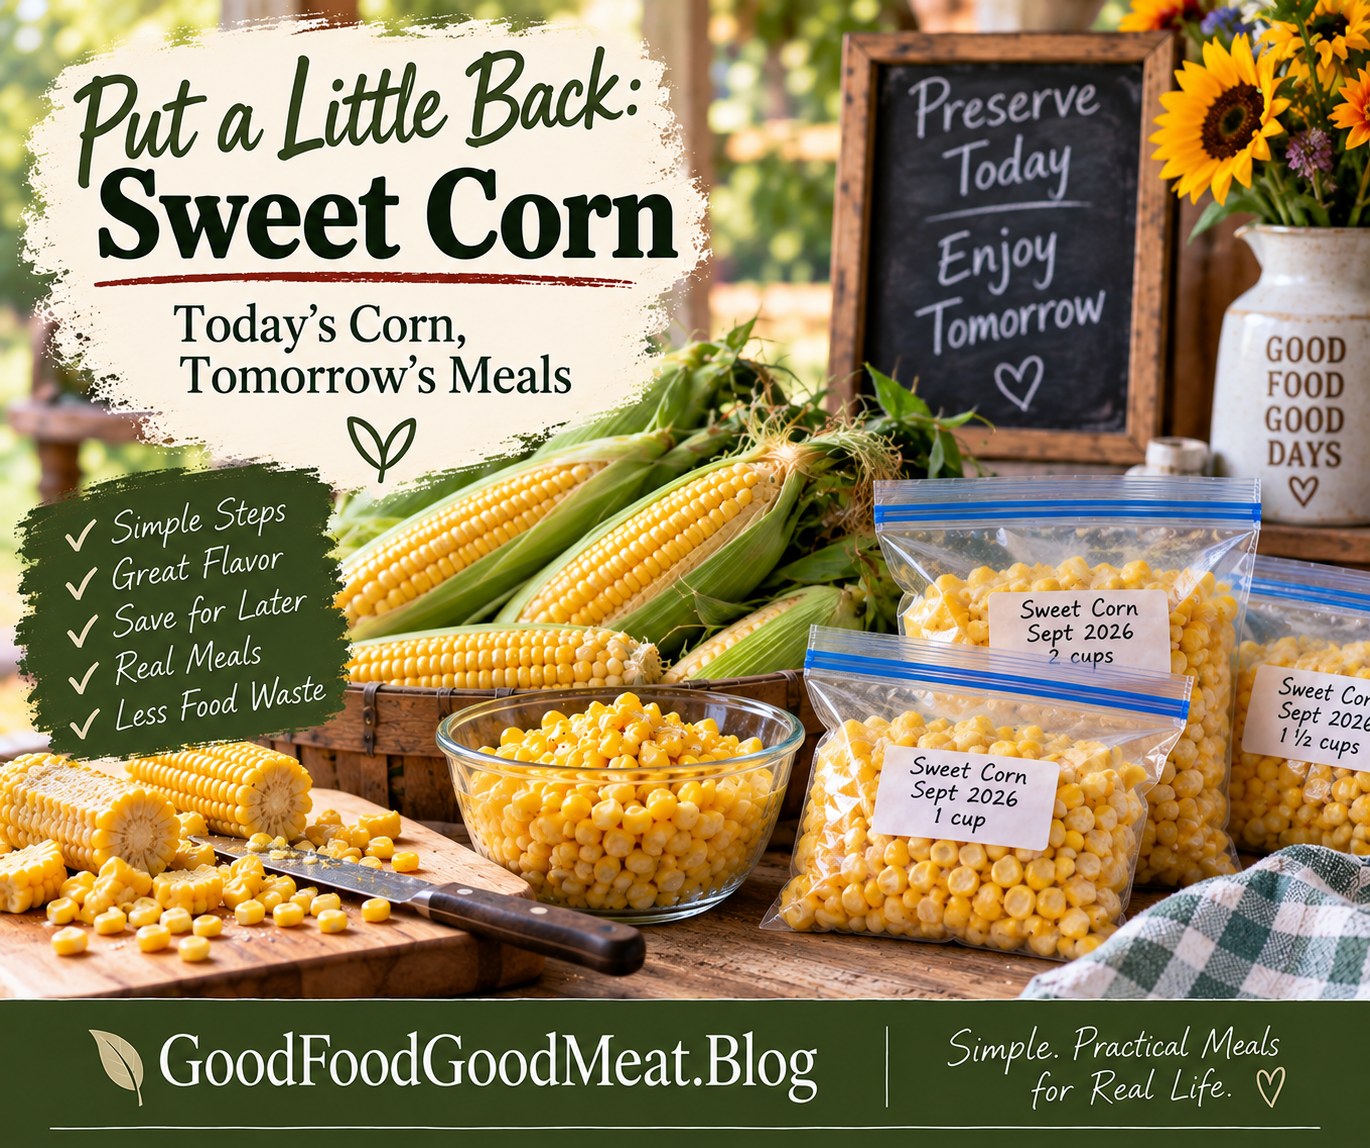
Put a Little Back: Sweet Corn — Today’s Corn, Tomorrow’s Meals
Sweet corn is a perfect example.
When it’s fresh and plentiful, you can enjoy some now and freeze some for later.
This post walks through the basic process for freezing whole-kernel sweet corn, including blanching, cooling, cutting the kernels from the cob, portioning, packaging, and labeling.
The goal isn’t to fill the freezer.
It’s to create useful portions of a food you already know you’ll eat.
Today’s corn becomes tomorrow’s ingredient.
When preserving food at home, always check current, tested recommendations for the specific food and preservation method you’re using. The National Center for Home Food Preservation is an excellent source for research-based home-preservation guidance.
📦 How Much Is Enough?
Once you start thinking about preserving food, another question naturally follows:
How much should I actually put away?
How Much Should You Actually Preserve?
The answer isn’t the same for everyone.
Someone cooking for one has different needs from a family of six. A person with a small freezer has different options from someone with a large chest freezer.
Your preservation plan should be based on:
- What you actually eat
- How often you eat it
- How much you use at a time
- How much you’ll continue buying fresh
- How much storage space you have
- How much time you have available for preservation
Think in meals and portions, not just pounds and bushels.
The goal isn’t the fullest pantry.
The goal is having enough of the foods you actually use.
🥣 Turn “Later” Into Dinner
And this is where the whole idea comes together.
Harvest Corn & Chicken Rice Bowls
Remember that sweet corn we put away?
Here’s one way to use it.
These rice bowls combine chicken, sweet corn, seasonal vegetables, and brown rice for a simple meal that works beautifully with either fresh corn or the frozen corn you saved earlier.
That’s the payoff of preservation.
You aren’t preserving food simply so you can say you preserved it.
You’re creating future meal ingredients.
A package of corn in the freezer becomes part of dinner.
🥚 And Don’t Forget What’s Already in the Refrigerator
Not every harvest meal needs to begin with a trip to the farm stand.
Sometimes the smartest thing you can do is look around your own kitchen.
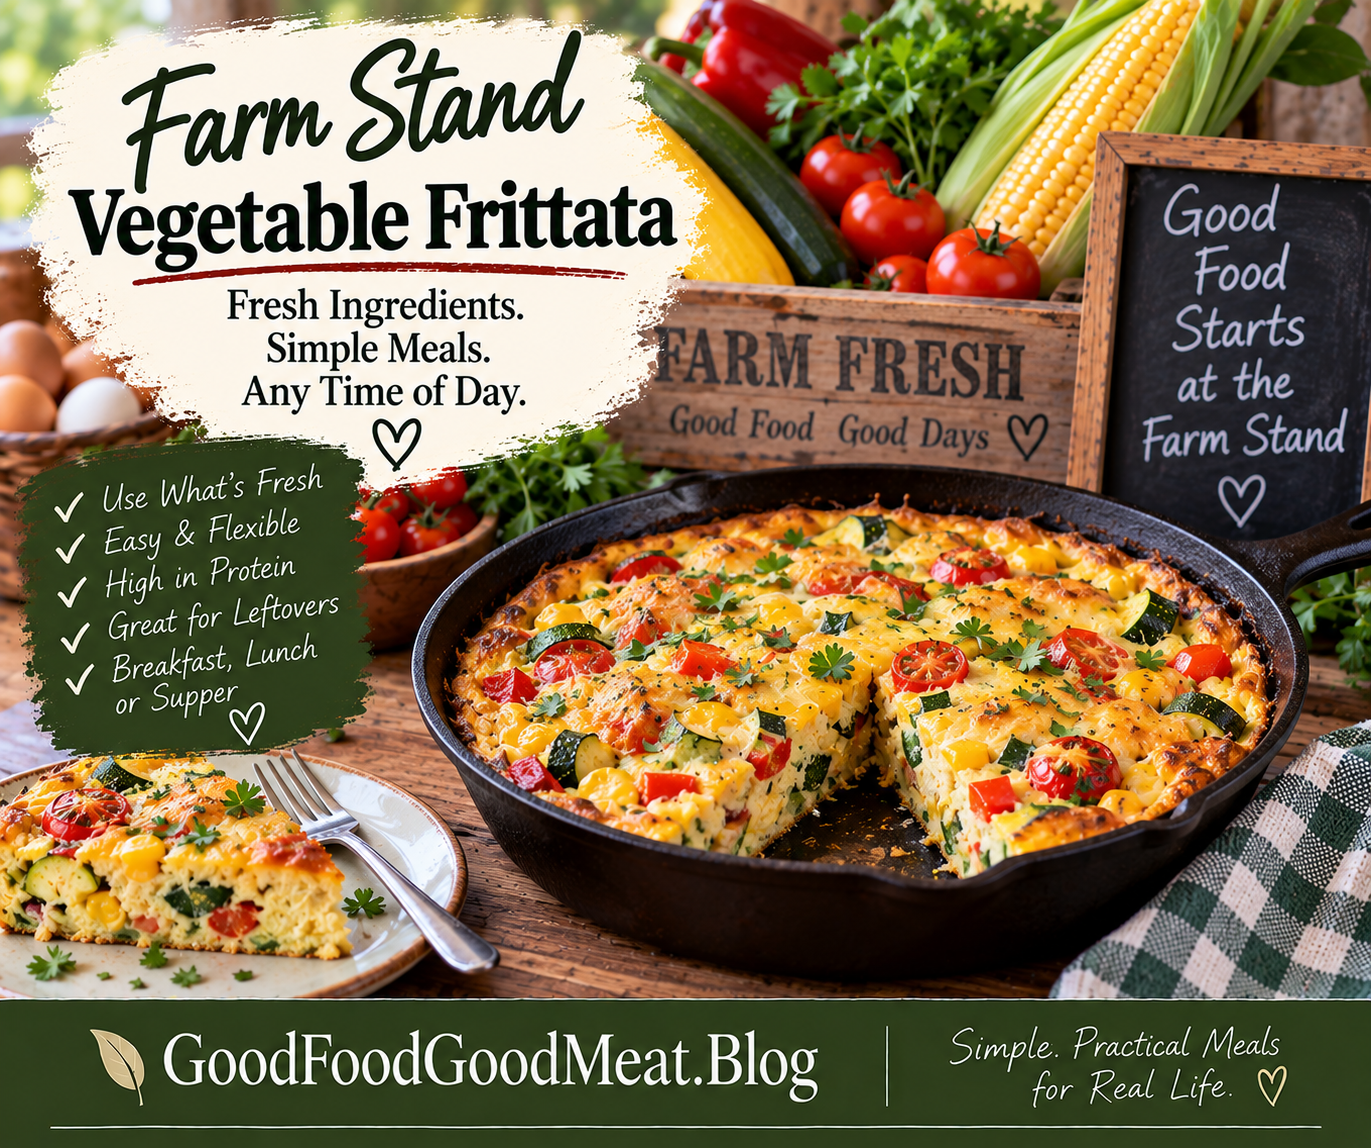
Farm Stand Vegetable Frittata
A frittata is one of those wonderfully forgiving recipes that can turn a handful of vegetables into a real meal.
Zucchini.
Peppers.
Tomatoes.
Corn.
Onions.
Leftover roasted vegetables.
A few eggs can bring them all together.
It’s a particularly good recipe for the end of the week because it encourages us to use what we have rather than buying something new.
Good food doesn’t have to be complicated to be useful.
The “Put a Little Back” Philosophy
If there’s one idea I hope sticks with you from this week’s collection, it’s this:
You don’t have to preserve everything.
You don’t need a freezer packed to the ceiling.
You don’t need dozens of jars lined up in the pantry.
You don’t need to spend every weekend of harvest season working in the kitchen.
You simply need to recognize what makes sense for your household.
Maybe that’s a few bags of sweet corn.
Maybe it’s a batch of tomato sauce.
Maybe it’s some dehydrated vegetables for winter soups.
Maybe it’s nothing at all this week because you already have enough.
All of those choices are perfectly reasonable.
The purpose of preservation isn’t to create more work.
It’s to make good use of abundance.
Buy It at Its Peak. Use It Well.
That’s really the story of this entire week.
The farm stand is full.
You notice what’s plentiful.
You buy what you’ll actually use.
You cook some while it’s fresh.
You preserve a little when it makes sense.
And later, when you’re standing in the kitchen wondering what’s for dinner, you discover that your past self already did you a favor.
“Oh, good. I already have some.”
That’s one of my favorite benefits of putting food back.
It’s not about stockpiling.
It’s about cooking for your future self.
A Little Harvest Wisdom
There’s another benefit to thinking this way.
When you start looking at food in terms of use, storage, and future meals, you naturally become a little more aware of what you buy.
You notice what’s sitting in the refrigerator.
You think twice before buying more.
You find ways to use leftovers.
You learn which foods are worth preserving for your household—and which aren’t.
And that brings us right back to an old-fashioned idea that still makes plenty of sense:
Waste not, want not.
You don’t have to use every scrap perfectly every single time.
You just have to keep looking for ways to make good use of what you have.
Before You Preserve
Food preservation is one area where “that’s how I’ve always done it” isn’t necessarily enough.
Different foods require different preservation methods, and safe processing depends on the food, the method, and the recipe or procedure being used.
Before freezing, drying, or especially canning food, check current, tested guidance from the National Center for Home Food Preservation.
For broader food-safety and storage questions, the USDA Food Safety and Inspection Service provides additional guidance.
A few minutes spent checking current recommendations is worth it.
We’re putting food back because we want to enjoy it later—not because we want to take unnecessary chances with it.
Make September Work for You
You don’t have to follow every idea in this collection.
Pick the ones that fit your life.
Maybe you’re a regular farmers-market shopper.
Maybe you have a tiny refrigerator freezer.
Maybe you’re cooking for one.
Maybe you’re feeding two people and deliberately trying to keep grocery spending under control.
Maybe you simply hate throwing good food away.
Wherever you start, the principle is the same:
Buy what is good.
Use what you have.
Put a little back.
Enjoy it later.
That’s how we make the most of September’s harvest.
And that’s how today’s good food becomes tomorrow’s good meal.