Posted in Pork Meals, Seasonal

Pork & Cabbage Rustic Bowl

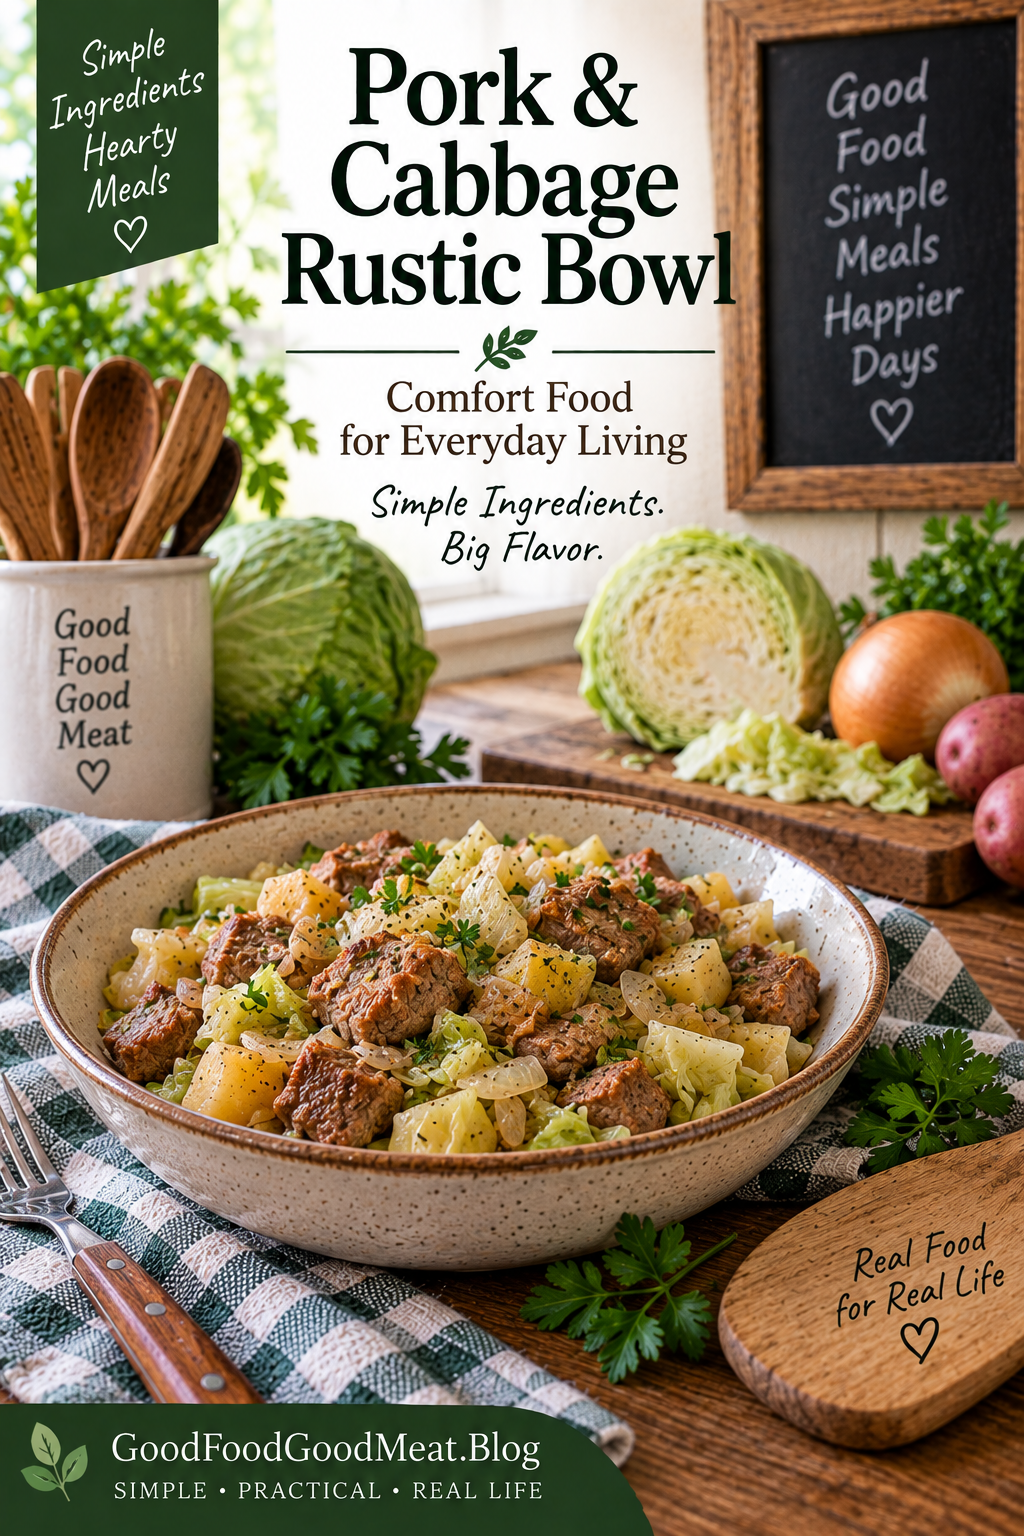
Tender pork, cabbage, potatoes, and simple pantry ingredients come together in a hearty small-batch bowl that makes good use of what you already have on hand.

Introduction

Not every meal that comes from the pantry needs to be a soup.

Sometimes you want something a little more substantial—a bowl of food with distinct ingredients, different textures, and enough variety that it feels like a complete meal.

That’s where this Pork & Cabbage Rustic Bowl comes in.

It’s the kind of meal I like for a small household because it doesn’t require a huge roast or a refrigerator full of leftovers. A modest amount of cooked pork can be stretched with cabbage, potatoes, onion, and a few pantry staples.

And if you’ve been putting a little back through dehydration, some of those ingredients can come straight from your pantry.

This is rustic food in the best sense: simple ingredients, simple cooking, and very little fuss.

Why You’ll Love This Recipe

  • Small-batch friendly — Makes two generous servings.
  • A great use for leftover pork or cooked pork from another meal.
  • Uses pantry staples along with fresh cabbage.
  • Flexible enough to use dehydrated vegetables.
  • One skillet meal with minimal cleanup.
  • Budget-friendly because a small amount of pork stretches across two meals.
  • Comforting without being complicated.
simplegoodfood's avatarsimplegoodfood

Pork & Cabbage Rustic Bowl

Use simple ingredients to create another small-batch meal without needing a refrigerator full of leftovers.
Prep Time 10 minutes
Cook Time 30 minutes
Total Time 40 minutes
Servings: 2
Course: Dinner, Lunch
Cuisine: American
Calories: 450

Ingredients
  

  • 6 ounces cooked pork chopped or shredded
  • 2 cups thinly sliced fresh cabbage
  • 1 cup diced cooked potatoes
  • 2 tablespoons dehydrated onion
  • ½ cup chicken or vegetable broth
  • 1 tablespoon olive oil
  • 1 teaspoon apple cider vinegar
  • ½ teaspoon garlic powder
  • ¼ teaspoon dried parsley
  • ¼ teaspoon salt or to taste
  • Black pepper optional
Optional
  • ¼ cup dehydrated carrots rehydrated before adding
  • A small amount of cooked rice
  • Chopped fresh parsley for serving

Method
 

Start the Cabbage
  1. Heat the olive oil in a medium skillet over medium heat.
  2. Add the sliced cabbage and dehydrated onion.
  3. Cook for about 5 minutes, stirring occasionally, until the cabbage begins to soften.
Add the Broth
  1. Pour in the broth and add the garlic powder, parsley, and salt.
  2. Stir well.
  3. Cover the skillet and cook for about 8–10 minutes, until the cabbage is tender but still has some texture.
  4. If using dehydrated carrots, add them with the broth.
Add the Potatoes
  1. Stir in the cooked potatoes.
  2. Continue cooking for about 5 minutes, stirring occasionally.
  3. If the skillet becomes dry, add another splash of broth.
Add the Pork
  1. Add the cooked pork and stir everything together.
  2. Cook for another 5–7 minutes, just until the pork is heated through.
  3. Because the pork is already cooked, we’re simply warming it and allowing the flavors to come together.
Finish the Bowl
  1. Remove the skillet from the heat.
  2. Drizzle the apple cider vinegar over the mixture and gently stir.
  3. Taste and adjust the salt and pepper.
  4. Divide between two bowls and garnish with fresh parsley if desired.

Notes

Kitchen Confidence
Don’t overcook the cabbage.
For this bowl, I like the cabbage to remain recognizable rather than cooking it until it’s completely soft.
You’re looking for tender with a little texture.
Use the pork you have.
Leftover pork roast, pork chops, or pulled pork can all work.
If the pork is already seasoned, reduce the added salt and garlic powder accordingly.
What about dehydrated cabbage?
If you’ve dehydrated cabbage yourself, you can certainly use it here.
Because dehydrated cabbage needs additional liquid to rehydrate, I’d add it with the broth and allow it to cook until tender.
But fresh cabbage works particularly well because it gives the finished bowl some color and texture.

Stretch Every Grocery Dollar

Pork doesn’t have to be the largest ingredient in the bowl.

Six ounces of cooked pork is enough for two servings when combined with cabbage and potatoes.

That’s one of my favorite ways to use leftovers: don’t simply reheat the original meal. Turn the leftovers into something new.

A small amount of leftover pork becomes the protein for an entirely different dinner.

Waste Not, Want Not

This is a perfect leftover meal.

Have a little pork left from Sunday dinner?

Use it here.

Have one or two potatoes that need to be used?

Add them.

A little cabbage left from another recipe?

Into the skillet it goes.

And if you have dehydrated vegetables in the pantry, this is another opportunity to use them.

The best pantry ingredient is one that actually gets eaten.

Cooking for One or Two

This recipe makes two servings, but it’s easy to make a single serving.

Simply divide the ingredients in half and cook in a small skillet.

Or make the full recipe and save the second bowl for another meal.

For someone cooking for one, I particularly like the second option. One cooking session gives you two meals without creating a mountain of leftovers.

Meal Prep Note

Cooked pork can be portioned into small containers and refrigerated or frozen for future meals.

When you have a small amount of cooked pork available, think beyond sandwiches.

It can become:

  • A rustic bowl
  • Fried rice
  • A skillet meal
  • Soup
  • Tacos
  • A breakfast hash

Having a few small portions of cooked protein available can be incredibly useful when freezer space is limited.

Storage & Freezing

Store leftover bowls in a covered container in the refrigerator and use within 3–4 days.

For longer storage, portion the cooled mixture into freezer-safe containers.

The cabbage and potatoes may soften somewhat after freezing and reheating, but the dish will still make a useful leftover meal.

When reheating, add a small splash of broth or water if needed.


Make It Your Own

This is one of those recipes where the ingredient list is more of a starting point than a set of rules.

You could add:

  • Dehydrated carrots
  • Green beans
  • A little corn
  • Cooked rice
  • Different herbs
  • A spoonful of mustard
  • A splash more vinegar for brightness

You could even swap the pork for cooked chicken or turkey.

The idea is simple:

Start with what you have and build a bowl.


From the Pantry to the Bowl

This week we’ve been talking about turning dehydrated vegetables into useful ingredients.

This bowl shows another side of that idea.

You don’t need every ingredient to come from a jar.

In fact, I think it’s better when they don’t.

The fresh cabbage provides texture and color.

The cooked pork provides protein.

The potatoes make the meal filling.

And the dehydrated onion gives you a convenient pantry ingredient that’s ready whenever you need it.

That’s what a practical pantry looks like to me.

Some fresh.
Some preserved.
Some shelf-stable.
All working together.

You don’t have to choose between eating fresh food and preserving food.

You can use both.

And when you’re working with limited refrigerator, freezer, and pantry space, that flexibility can make everyday cooking a whole lot easier.

Sometimes putting a little back doesn’t mean putting away an entire meal.

Sometimes it just means putting away one useful ingredient that will help you make the next meal.

And that’s plenty. 🥬🥔🍖
Posted in Chicken Meals, Rice Bowls, Seasonal

Harvest Chicken & Green Bean Rice Bowls

Remember those green beans we put in the freezer earlier this week?

Now they’re dinner.

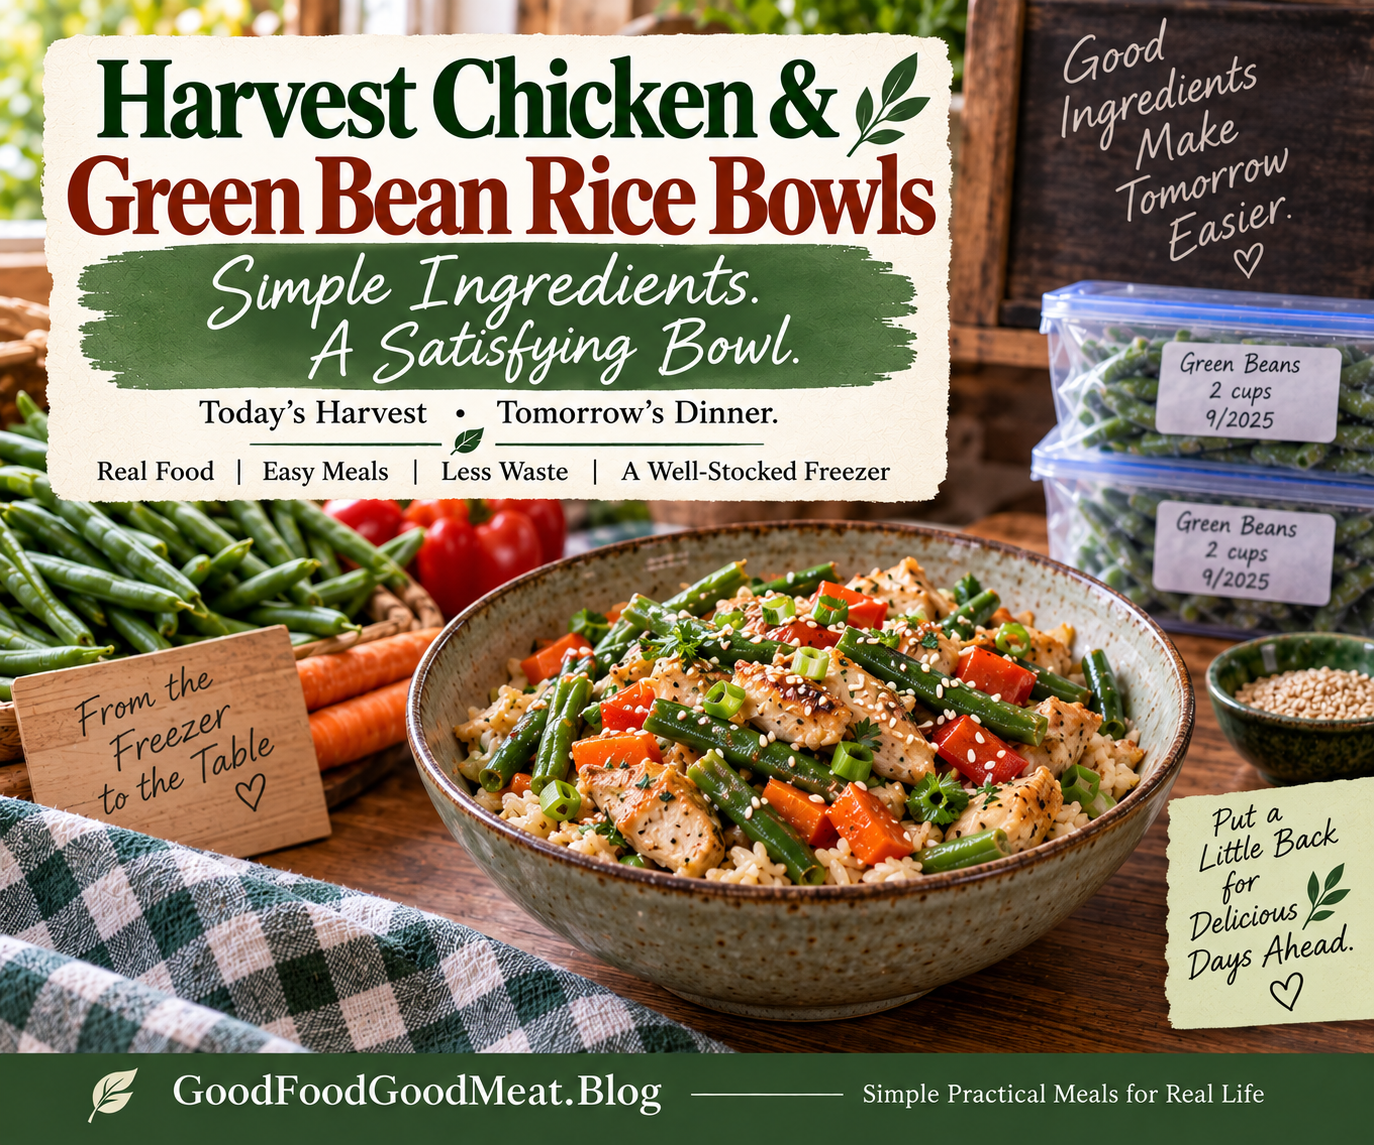
These Harvest Chicken & Green Bean Rice Bowls are a simple example of why I like preserving ingredients instead of only preserving finished meals. A portion of frozen green beans, some cooked chicken, rice, and a handful of pantry staples come together in a warm, satisfying bowl.

It’s not complicated.

It’s not fancy.

It’s just a good meal waiting in the freezer.

And that’s exactly what we’re after this September.

Why You’ll Love This Recipe

  • Uses frozen green beans, making it a great follow-up to our Put a Little Back feature.
  • A practical way to use leftover or meal-prepped chicken.
  • Makes just 2 servings, perfect for a small household.
  • Uses inexpensive pantry staples.
  • The vegetables, protein, and grain are all in one bowl.
  • Easy to customize with whatever vegetables you have available.
  • A good example of turning preserved ingredients into an actual meal.

🥣 Build Your Bowl

Base

Cooked brown or white rice.

Protein

Cooked chicken, shredded or chopped.

Vegetables

Frozen green beans, plus optional additional vegetables such as carrots, corn, or bell peppers.

Sauce

A simple savory garlic-soy sauce.

Fresh Finish

Fresh parsley or sliced green onion adds a little brightness.

Optional Toppings

  • Sesame seeds
  • Sliced green onion
  • A small sprinkle of shredded Parmesan
  • A squeeze of lemon

Make It Your Own

This is a bowl, not a rulebook.

Use whatever rice you have. Swap the chicken for cooked turkey. Add another vegetable. Change the sauce.

The important part is the basic formula:

Grain + protein + vegetables + sauce = dinner.

simplegoodfood's avatarsimplegoodfood

Harvest Chicken & Green Bean Rice Bowls

A portion of frozen green beans, some cooked chicken, rice, and a handful of pantry staples come together in a warm, satisfying bowl.
Prep Time 10 minutes
Cook Time 10 minutes
Total Time 20 minutes
Servings: 2
Course: Dinner, Lunch, Main Course
Cuisine: American
Calories: 475

Ingredients
  

For the Bowls
  • 1 1/2 cups cooked rice
  • 2 cups frozen green beans prepared for freezing and thawed
  • 2 cups cooked chicken chopped or shredded
  • 1/2 cup diced carrots
  • 1/2 cup diced bell pepper
  • 1 teaspoon olive oil
  • 1/4 teaspoon garlic powder
  • 1/4 teaspoon dried thyme
  • 1/4 teaspoon black pepper
  • 1/8 teaspoon salt or to taste
For the Simple Sauce
  • 2 tablespoons low-sodium soy sauce
  • 1 tablespoon low-sodium chicken broth or water
  • 1 teaspoon honey
  • 1 teaspoon rice vinegar or lemon juice
  • 1/4 teaspoon garlic powder
For Serving
  • 1 tablespoon sliced green onion or fresh parsley
  • 1 teaspoon sesame seeds optional

Method
 

Prepare the Rice
  1. If you don’t already have cooked rice available, prepare enough for about 1 1/2 cups cooked rice.
  2. Leftover rice is perfect for this recipe.
  3. If you’re using refrigerated leftover rice, make sure it has been stored properly and reheat it thoroughly before serving.
Make the Sauce
  1. In a small bowl, whisk together the soy sauce, chicken broth or water, honey, rice vinegar or lemon juice, and garlic powder.
  2. Set aside.
Cook the Vegetables
  1. Heat the olive oil in a 10-inch skillet over medium heat.
  2. Add the carrots and bell pepper. Cook for about 3–4 minutes, stirring occasionally.
  3. Add the frozen green beans.
  4. Cook for another 4–5 minutes, stirring occasionally, until the vegetables are hot and tender-crisp.
  5. If the green beans are already fully cooked from a previous preparation, they only need enough time to heat through.
Add the Chicken
  1. Add the cooked chicken to the skillet.
  2. Sprinkle with the garlic powder, thyme, black pepper, and salt.
  3. Stir everything together and cook until the chicken is heated through.
Add the Sauce
  1. Pour the sauce over the chicken and vegetables.
  2. Stir gently and cook for another 1–2 minutes, just long enough for the sauce to coat everything.
  3. Taste and adjust the seasoning if needed.
Build the Bowls
  1. Divide the warm rice between two bowls.
  2. Top each with half of the chicken and vegetable mixture.
  3. Finish with fresh parsley or green onion and sesame seeds, if desired.
  4. Serve warm.

Notes

A Very Good Use for Frozen Green Beans

This is exactly why I like freezing vegetables in meal-sized portions.
The green beans don’t have to become a recipe all by themselves.
They can simply become part of a recipe.
On Wednesday, they’re a package in the freezer.
On Friday, they’re vegetables in dinner.
That’s a pretty good return on a little bit of preservation work.

Use What You Have

The basic combination here is chicken, green beans, and rice, but you can easily adjust it.

Swap the Protein

Try:

  • Cooked turkey
  • Leftover pork
  • Rotisserie chicken
  • Cooked shrimp

Change the Vegetables

Use what needs to be used.

Try:

  • Corn
  • Peas
  • Broccoli
  • Cauliflower
  • Zucchini
  • Mushrooms
  • Extra carrots
  • Frozen mixed vegetables

Change the Grain

Rice is inexpensive and versatile, but you could also use:

  • Brown rice
  • Wild rice blend
  • Quinoa
  • Barley
  • Farro

Or skip the grain and serve the chicken and vegetables over mashed potatoes.

A Simple Sauce Goes a Long Way

You don’t need a complicated sauce to make a good bowl.

The combination of a little low-sodium soy sauce, honey, acid, and garlic gives the chicken and vegetables plenty of flavor without making the meal heavily seasoned.

If you prefer a different direction, try a simple lemon-herb sauce instead.

Or use a spoonful of your favorite prepared sauce from the refrigerator.

This is one of the advantages of bowl meals:

the basic ingredients can stay the same while the flavor changes.

Stretch Every Grocery Dollar

This is a particularly economical meal because several of the ingredients can do double duty.

Cook a little extra chicken for another meal.

Make extra rice and refrigerate or freeze it in useful portions.

Buy green beans when they’re plentiful and preserve some for later.

Use the last carrot or bell pepper in the refrigerator instead of letting it become waste.

You’re not trying to make an elaborate meal from expensive ingredients.

You’re combining inexpensive ingredients that you already know how to use.

Waste Not, Want Not

This recipe is practically designed for leftovers.

Have half a bell pepper?

Use it.

A lonely carrot?

Dice it up.

A little leftover chicken?

Perfect.

Some cooked rice from yesterday?

Even better.

That’s one of my favorite kinds of cooking—looking at what you already have and figuring out how to make it into something worth eating.

Cooking for One or Two

This recipe makes 2 servings, but it’s easy to adjust.

Cooking for one?

Make one bowl and refrigerate the remaining ingredients separately for another meal.

Cooking for two?

Make both bowls and enjoy dinner together.

If you’re planning ahead, you can also prepare the chicken, vegetables, and rice separately and assemble the bowls when you’re ready to eat.

Meal Prep Note

This recipe works especially well as a small meal-prep project.

Prepare the chicken, rice, and vegetables ahead of time and refrigerate them separately.

When you’re ready for dinner, reheat what you need and add the sauce.

You can also portion the cooked components into two meal containers for easy lunches.

The key is keeping the components useful enough that you’re not locked into eating exactly the same meal twice.

Storage & Freezing

Refrigerate leftovers promptly in a covered container.

For best quality, enjoy refrigerated leftovers within 3–4 days.

If you’re using previously frozen green beans, thaw them safely and keep them refrigerated until you’re ready to cook them.

I don’t recommend refreezing the completed rice bowl. Instead, freeze the individual ingredients when appropriate and assemble fresh bowls when you’re ready to eat.

For current food-storage and food-safety recommendations, the USDA’s guidance on Freezing and Food Safety is a useful reference.

Recipe Information

Yield: About 4 cups, 2 servings
Prep Time: 10 minutes
Cook Time: 10 minutes
Total Time: About 20 minutes
Equipment: 10-inch skillet, small mixing bowl

Today’s Harvest, Tomorrow’s Dinner

This bowl is really the whole September preservation idea in miniature.

You bought or harvested the green beans while they were plentiful.

You prepared and froze them.

You labeled them and put them away.

And now you’ve pulled them back out and made dinner.

That’s the point of putting food back.

Not a freezer full of food you never use.

Not a collection of containers that eventually become mystery packages.

Just good ingredients, saved at the right time, ready when you need them.

Today’s harvest really can become tomorrow’s dinner.

Posted in Chicken Meals, Seasonal, Skillet Meals

Chicken & Vegetable Pot Pie Skillet

There are nights when you want chicken pot pie, but you don’t necessarily want to make an entire pie.

That’s where this Chicken & Vegetable Pot Pie Skillet comes in.

Tender chicken and vegetables are tucked into a simple creamy sauce, then topped with golden biscuits and baked right in the skillet. It has all the cozy appeal of pot pie without rolling out a crust or making a full-size casserole.

And it’s exactly the kind of meal that makes a well-stocked freezer worthwhile.

Those vegetables you put away when they were plentiful? This is one of the dinners they were waiting for.

Why You’ll Love This Recipe

  • All the comfort of chicken pot pie without making a pie crust.
  • Uses convenient cooked chicken, making it a great way to use meal-prepped or leftover chicken.
  • Frozen vegetables work beautifully here.
  • Everything starts in one skillet and finishes in the oven.
  • Makes 4 servings, so it works for a small household with leftovers for lunch.
  • Easy to adapt based on what’s in your freezer.
  • Mildly seasoned rather than heavily spiced.
simplegoodfood's avatarsimplegoodfood

Chicken & Vegetable Pot Pie Skillet

There are nights when you want chicken pot pie, but you don't necessarily want to make an entire pie.
Prep Time 15 minutes
Cook Time 20 minutes
Total Time 35 minutes
Servings: 4
Course: Dinner, Lunch, Main Course
Cuisine: American
Calories: 390

Ingredients
  

For the Filling
  • 2 cups cooked chicken shredded or chopped
  • 2 cups mixed vegetables such as carrots, peas, corn, and green beans
  • 1 tablespoon olive oil
  • 1/2 cup finely diced onion
  • 2 tablespoons all-purpose flour
  • 2 cups low-sodium chicken broth
  • 1/2 cup milk
  • 1/2 teaspoon dried thyme
  • 1/4 teaspoon garlic powder
  • 1/4 teaspoon salt or to taste
  • 1/4 teaspoon black pepper or to taste
For the Biscuit Topping
  • 1 cup baking mix
  • 1/3 cup milk
  • 1 tablespoon grated Parmesan cheese optional
  • 1/4 teaspoon dried parsley optional

Equipment

  • 1 10-inch Oven-safe Skillet

Method
 

Prepare the Skillet
  1. Preheat the oven to 400°F.
  2. Heat a 10-inch oven-safe skillet over medium heat. Add the olive oil and diced onion. Cook for about 3–4 minutes, stirring occasionally, until the onion begins to soften.
Make the Sauce
  1. Sprinkle the flour over the onion and stir well. Cook for about 1 minute to remove the raw flour taste.
  2. Gradually pour in the chicken broth, stirring constantly to prevent lumps.
  3. Add the milk, thyme, garlic powder, salt, and pepper. Continue cooking for 3–5 minutes, stirring frequently, until the sauce thickens enough to coat the back of a spoon.
Add the Chicken and Vegetables
  1. Stir in the cooked chicken and mixed vegetables.
  2. If you’re using frozen vegetables, there’s no need to thaw them first. Allow the mixture to heat through for several minutes.
Taste and adjust the seasoning if needed.
  1. The filling should be creamy but still loose enough that it can bubble around the biscuit topping. If it seems too thick, add another splash of broth or milk.
Make the Biscuit Topping
  1. In a small bowl, stir together the baking mix and milk until just combined.
  2. Don’t overmix. A few small lumps are perfectly fine.
  3. If using them, gently stir in the Parmesan and dried parsley.
Add the Biscuits
  1. Drop the biscuit dough by spoonfuls over the chicken mixture, leaving a little space between the biscuits so steam can escape.
  2. You don’t need to completely cover the filling. In fact, leaving a few little windows of creamy chicken and vegetables showing makes the finished skillet look especially inviting.
Bake
  1. Carefully transfer the skillet to the preheated oven.
  2. Bake for 15–20 minutes, or until the biscuits are golden brown and cooked through and the filling is bubbling around the edges.
  3. If the biscuits brown before they’re completely cooked inside, loosely cover the skillet with foil and continue baking until done.
Rest and Serve
  1. Let the skillet rest for about 5 minutes before serving.
  2. That gives the filling a chance to settle while the biscuits finish soaking up a little of that creamy sauce.
  3. Spoon directly from the skillet and enjoy.

Notes

Make It Your Own

This is exactly the kind of recipe where your freezer can do the heavy lifting.
Use whatever vegetables you have available, as long as they’re suitable for cooking in a creamy filling.
Good choices include:
  • Green beans
  • Peas
  • Corn
  • Carrots
  • Broccoli
  • Cauliflower
  • Diced zucchini
  • Mixed vegetables
You can also substitute cooked turkey for the chicken.
And if you have leftover roasted vegetables, don’t be afraid to use them. Just remember that already-cooked vegetables may need less time to heat through.

Using Your Freezer Chicken

This recipe is especially useful if you’ve cooked chicken ahead and portioned it for future meals.

A freezer package containing about 2 cups of cooked chicken is practically an invitation to make this skillet.

Thaw the chicken safely in the refrigerator before using, or use chicken that has already been thawed and refrigerated.

The same goes for your frozen vegetables: keeping them portioned in meal-sized amounts means you can pull out exactly what you need without thawing an entire bag.

That’s the whole idea behind this week’s freezer theme.

You’re not just putting food away. You’re putting future meals away.

What to Serve With Chicken Pot Pie Skillet

Honestly, this skillet can stand on its own.

You’ve already got protein, vegetables, a creamy sauce, and biscuits all in one dish.

If you’d like something alongside it, keep it simple:

  • A green salad
  • Fresh fruit
  • Steamed vegetables
  • A small side of cranberry sauce

You don’t need to turn a cozy skillet supper into a production.

Storing Leftovers

Refrigerate leftovers promptly in a covered container.

For the best quality, enjoy refrigerated leftovers within 3–4 days.

The biscuit topping will soften as it sits, but reheating individual portions in the oven or air fryer can help bring back some of the crispness.

If you’re cooking for one or two, leftovers make an especially good next-day lunch.

A Little Future Dinner

This is one of my favorite reasons to preserve food.

A bag of frozen vegetables doesn’t look particularly exciting.

Neither does a container of cooked chicken.

But combine them with a few pantry staples, and suddenly you’ve got a warm, bubbling chicken pot pie skillet coming out of the oven.

That’s the payoff.

Today’s harvest becomes tomorrow’s dinner.

Recipe Details

Yield: About 6 cups, 4 servings
Prep Time: 15 minutes
Cook Time: 20 minutes
Total Time: About 35 minutes
Equipment: 10-inch oven-safe skillet

Posted in Chicken Meals, Heat & Eat

Slow Cooker BBQ Pulled Chicken Sandwiches

Heat & Eat Favorite

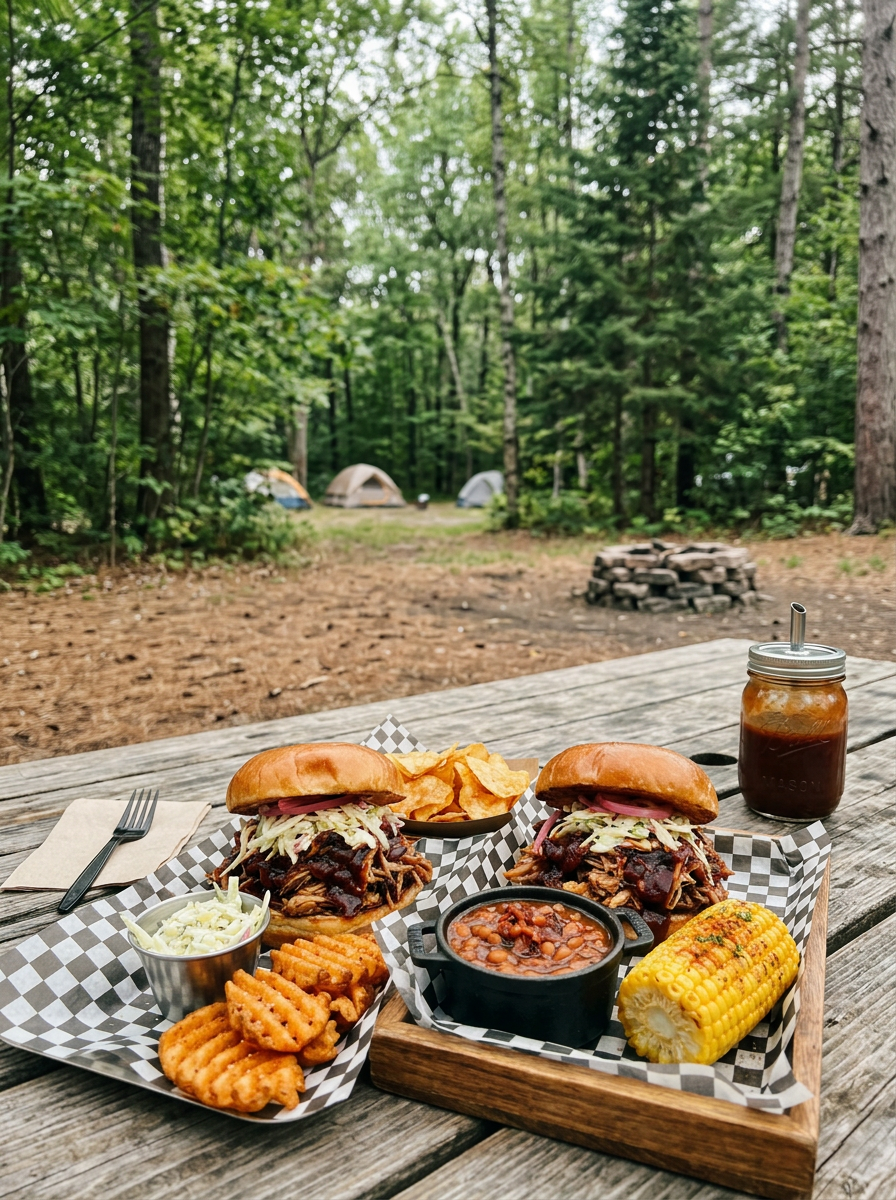
Two BBQ pulled pork sandwiches with coleslaw, waffle fries, baked beans, corn on the cob, and chips on a picnic table
simplegoodfood's avatarsimplegoodfood

Slow Cooker BBQ Pulled Chicken Sandwiches

Heat & Eat Favorite
Prep Time 5 minutes
Cook Time 6 hours
Total Time 6 hours 5 minutes
Servings: 6
Course: Dinner, Lunch, Main Course
Cuisine: American
Calories: 450

Ingredients
  

  • 2 pounds chicken breasts
  • 1 bottle BBQ sauce
  • 1 tablespoon brown sugar
  • 1 teaspoon garlic powder
  • 6 sandwich buns

Method
 

  1. Place chicken in slow cooker.
  2. Add BBQ sauce, brown sugar, and garlic powder.
  3. Cook on LOW for 6 hours.
  4. Shred chicken with forks.
  5. Serve on buns.

Notes

Serving Ideas
  • Coleslaw
  • Potato salad
  • Corn chips
Bonus Tip
Freeze leftovers for future campground meals.
 
Serve With
  • Potato salad
  • Chips
  • Baked beans
Bonus Variation
Serve leftovers over baked potatoes.
If you have one with you, a hand mixer can also be used to shred the chicken while it’s warm. Cut the chicken breasts into cubes before shredding them with the mixer.

#CampgroundCooking, #RVMeals, #OnePanDinner, #EasySummerDinners,
#ComfortFoodRecipes, #ElectricSkilletMeals, #EasyDinnerIdeas, #BudgetFriendlyMeals,
#SummerCooking, #SkilletDinner, #SimpleSuppers, #FamilyDinnerIdeas,
#EasyWeeknightDinner,

Posted in Campground Meals, Recipe Roundup, Simple Meals, Soups & Stews

Easy Rustic Summer Meals

There’s just something special about simple summer cooking — the kind of meals that fill the kitchen with good smells, bring everyone to the table, and don’t require complicated ingredients or hours of prep. This week’s recipes were all about rustic comfort food made easy, from hearty skillet suppers to cozy baked dishes and even a sweet homemade dessert to finish things off.

Whether you’re cooking for a busy weeknight, a quiet weekend at home, or just looking for meals that feel warm and comforting without being heavy, these recipes capture the laid-back flavor of summer perfectly. Cast iron favorites, simple ingredients, fresh seasonal touches, and easy family-style meals all come together in this collection of rustic summer favorites.

So grab your favorite skillet, pour a glass of sweet tea, and settle in for a week of easy comfort food that was simply made for summer. 🌿🍳🍓

Cast Iron Sausage & Potato Supper
Rusticone-skillet sausage & potatoes make the perfect easy summer supper!
Check out this recipe
Cast iron skillet with cooked potatoes, peppers, and sausage on a picnic table at a campground with RVs and pine trees
Dutch Oven Chicken & Rice
This one-pot chicken & rice recipe is pure cozy comfort food!
Check out this recipe
Casserole dish filled with cooked rice, chicken thighs, peas, carrots, celery, and herbs
Porch Supper BBQ Chicken Sandwiches
Easy BBQ chicken sandwiches are perfect for simple summer suppers!
Check out this recipe
Easy BBQ chicken sandwiches are perfect for simple summer suppers! 🍔 #SummerMeals #EasyDinnerIdeas
Rustic Creamy Corn & Bacon Pasta
Creamy corn & bacon pasta is cozy comfort food with a summer twist!
Check out this recipe
Bowl of creamy rigatoni pasta topped with bacon, corn, herbs, and black pepper
Skillet Peach Cobbler
Warm cast iron peach cobbler is the ultimate summer dessert!
Check out this recipe
Cast iron skillet with peach cobbler and vanilla ice cream on side
Posted in Meatless Meals, Weekend Suppers

Black Bean & Sweet Potato Enchilada Bake

Black Bean & Sweet Potato Enchilada Bake (Meatless Comfort Food)

This Black Bean & Sweet Potato Enchilada Bake is a hearty meatless comfort food that’s perfect for a Sunday supper or holiday weekend meal.

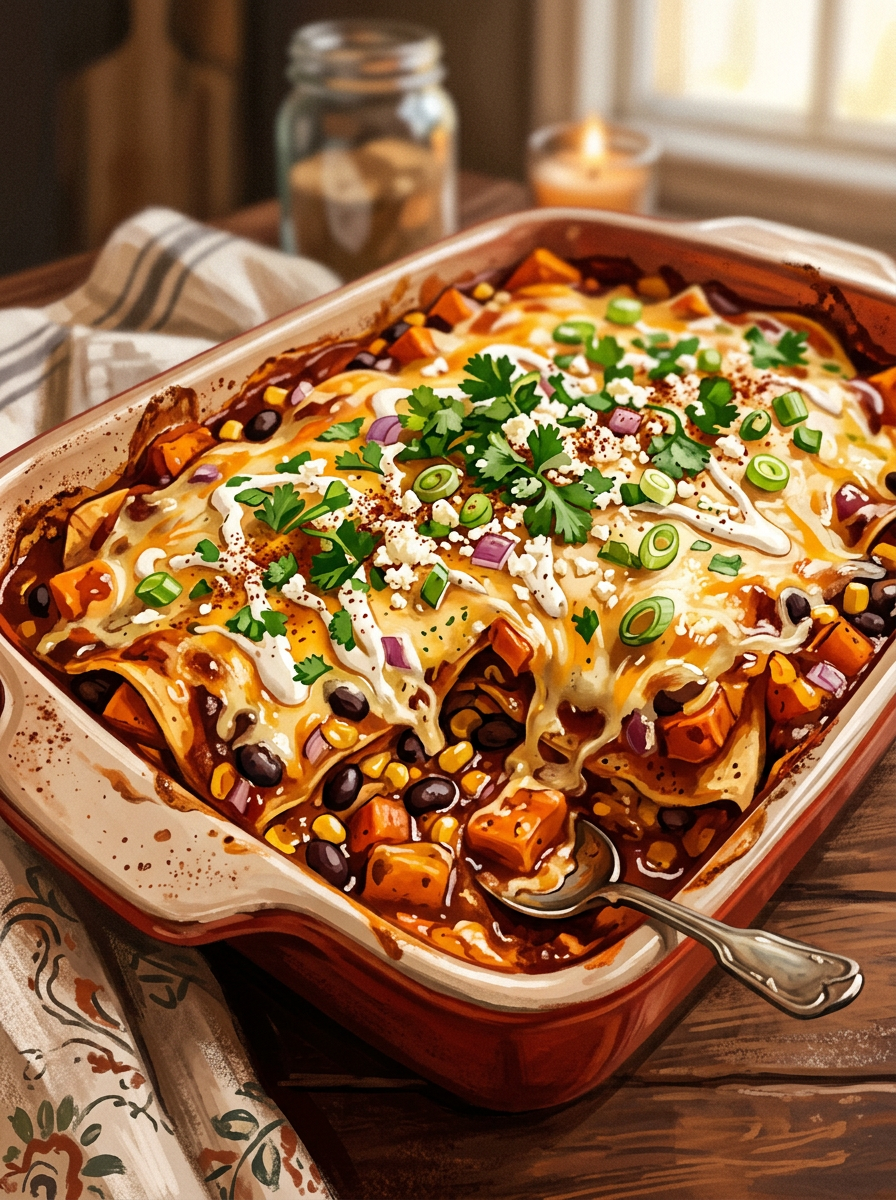
Baked enchilada casserole with black beans, corn, cheese, sour cream, and cilantro

Black Bean & Sweet Potato Enchilada Bake

This Black Bean & Sweet Potato Enchilada Bake is a hearty meatless comfort food that’s perfect for a Sunday supper or holiday weekend meal.
Prep Time 10 minutes
Cook Time 30 minutes
Total Time 40 minutes
Servings: 4
Course: Dinner, Main Course
Cuisine: American
Calories: 250

Ingredients
  

  • 1 medium sweet potato peeled and diced
  • 1 cup black beans drained and rinsed
  • 1 cup enchilada sauce
  • 4 small tortillas cut into pieces
  • ½ cup shredded cheese optional
  • ¼ tsp cumin
  • ¼ tsp garlic powder
  • Black pepper

Method
 

  1. Preheat oven to 350°F.
  2. Boil or microwave sweet potato until slightly tender.
  3. In a bowl, mix sweet potato, black beans, enchilada sauce, tortillas, and seasonings.
  4. Pour into a small casserole dish.
  5. Sprinkle cheese on top if using.
  6. Bake 25–30 minutes until hot and bubbly.
  7. Let sit 5–10 minutes before serving.

#HeartHealthy, #LowCholesterol, #LowA1C, #BloodSugarFriendly, #WeekendSuppers, #ComfortFood, #HealthyComfortFood, #CozyMeals,

#SaturdaySupper, #SundayDinner, #HomeCooking, #SlowFoodStyle, #FoodLovers, #WhatsForDinner,