Posted in Heat & Eat

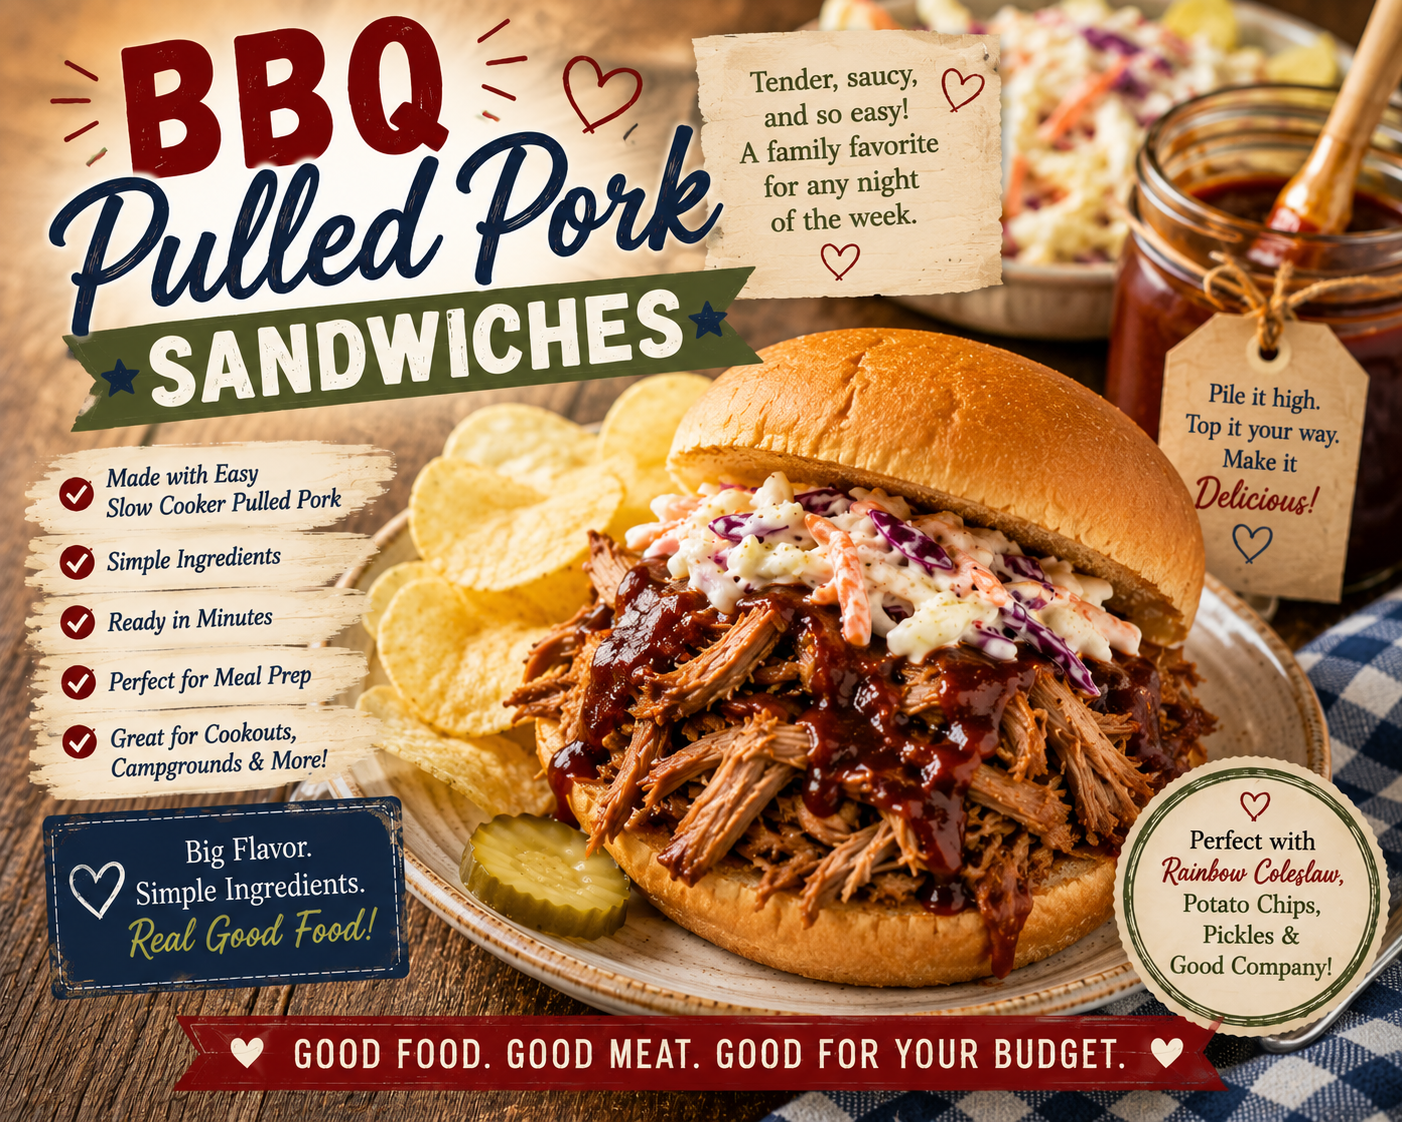
BBQ Pulled Pork Sandwiches

One of the best rewards for spending a few minutes preparing a slow cooker meal is how easy dinner becomes the next day. These BBQ Pulled Pork Sandwiches come together in just minutes using precooked Easy Slow Cooker Pulled Pork, making them perfect for busy weeknights, relaxed weekends, or campground meals.

With a toasted bun, warm pulled pork, your favorite barbecue sauce, and a scoop of creamy homemade coleslaw, you’ve got a hearty meal that’s satisfying without requiring hours in the kitchen. It’s proof that leftovers don’t have to feel like leftovers—they can become something everyone looks forward to eating.


❤️ Why You’ll Love This Recipe

  • Ready in about 15 minutes
  • Perfect use for planned leftovers
  • Budget-friendly and filling
  • Easy enough for beginning cooks
  • Great for lunch or dinner
  • Campground and RV friendly

simplegoodfood's avatarsimplegoodfood

BBQ Pulled Pork Sandwiches

One of the best rewards for spending a few minutes preparing a slow cooker meal ishow easy dinner becomes the next day.
Prep Time 5 minutes
Cook Time 10 minutes
Total Time 15 minutes
Servings: 4
Course: Dinner, Lunch
Cuisine: American
Calories: 425

Ingredients
  

  • 3 to 4 cups Easy Slow Cooker Pulled Pork
  • ½ to ¾ cup your favorite barbecue sauce
  • 4 hamburger buns
  • 1 tablespoon butter optional, for toasting buns
Optional Toppings:
  • Homemade Creamy Coleslaw
  • Dill pickle slices
  • Sliced red onion
  • Jalapeño slices
  • Extra barbecue sauce

Method
 

  1. Place the pulled pork in a saucepan over medium-low heat.
  2. Stir in the barbecue sauce until the pork is evenly coated and heated through.
  3. If desired, butter the cut sides of the hamburger buns and toast them lightly in a skillet until golden.
  4. Spoon a generous amount of pulled pork onto each bun.
  5. Top with creamy coleslaw, pickles, onions, or your favorite toppings.
  6. Serve immediately with chips, baked beans, potato salad, or fresh fruit.

Notes

🧺 Kitchen Confidence
This Week’s Skill: Toasting Sandwich Buns
Toasting your buns is a simple step that makes a big difference. A lightly toasted bun stays firmer, adds extra flavor, and helps keep juicy barbecue sauce from soaking through too quickly.
Simply butter the cut sides lightly and toast them in a dry skillet for 2 to 3 minutes, watching carefully so they don’t burn.

💰 Stretch Every Grocery Dollar

Buying a larger pork shoulder may cost a few dollars more upfront, but it creates multiple meals throughout the week. Instead of buying deli sandwiches or takeout, one batch of pulled pork can provide several delicious lunches and dinners for less money.


♻️ Waste Not, Want Not

Only warm the amount of pulled pork you plan to eat today. Leaving the remaining pork refrigerated allows you to use it later this week for rice bowls, baked potatoes, or another easy meal.


🍽️ Cooking for One or Two

This recipe is easy to scale down. Warm only one or two servings of pulled pork and freeze the rest in individual portions. Keeping meal-sized containers in the freezer means you’ll always have the start of a homemade dinner ready to go.


🥣 Meal Prep Note

If you’re following this week’s menu, save some of your pulled pork for tomorrow’s BBQ Pulled Pork Rice Bowl. Cooking a batch of rice tonight will make tomorrow’s dinner even faster.


Storage & Freezing

Refrigerator: Store precooked pulled pork in an airtight container for up to 4 days.

Freezer: Freeze precooked pulled pork in meal-sized portions for up to 3 months.

Reheating: Warm gently with a splash of broth or barbecue sauce to keep the meat moist.
Posted in Heat & Eat, Miscellaneous (Unsorted)

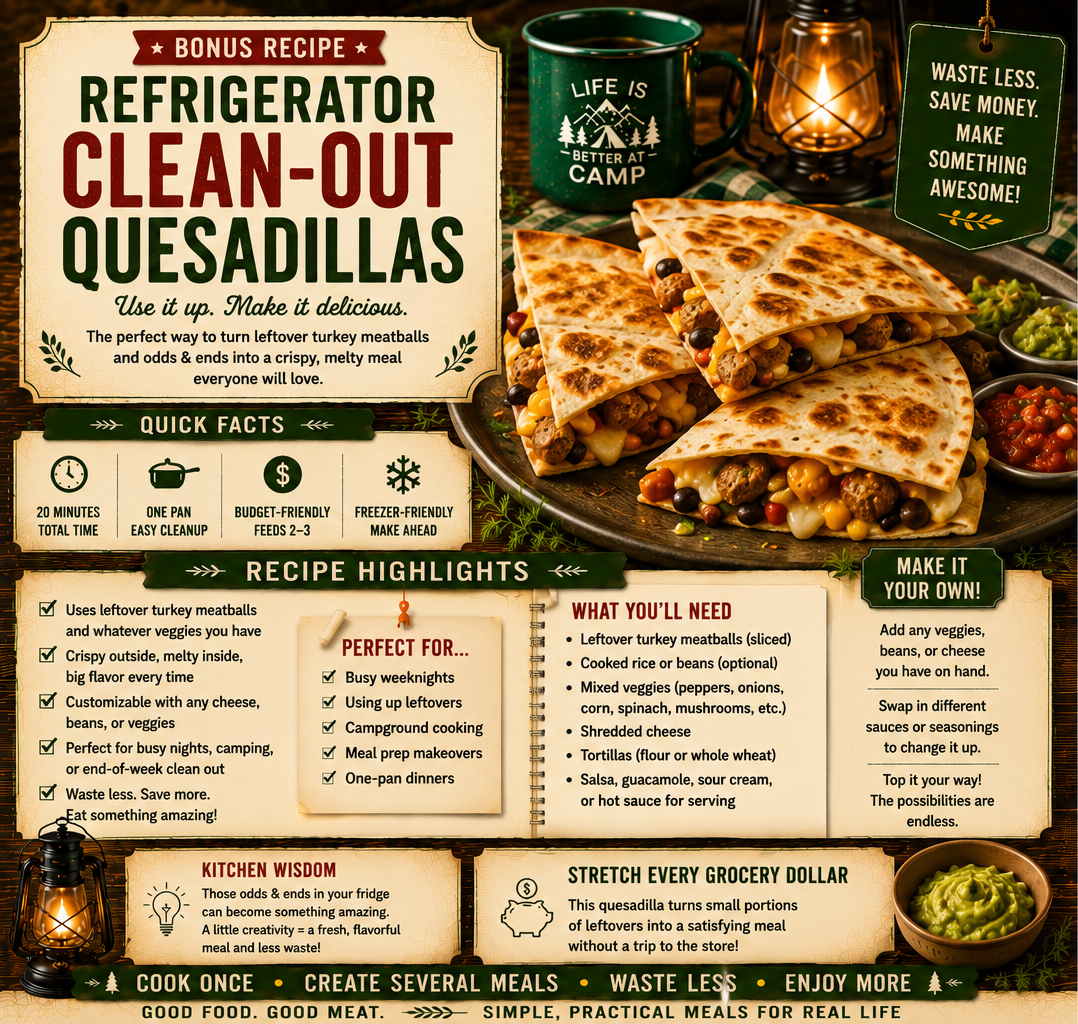
Refrigerator Clean-Out Quesadillas

Quesadillas are one of the easiest “clean out the refrigerator” meals you can make.

Almost any cooked meat, vegetable, or cheese can become a delicious filling. Before buying more groceries, challenge yourself to build one meal using what’s already in your refrigerator. You’ll save money, reduce food waste, and might even discover a new favorite combination.

simplegoodfood's avatarsimplegoodfood

Refrigerator Clean-Out Quesadillas

Almost any leftover meat, vegetables, cheese, or rice can become a quesadilla.
Prep Time 5 minutes
Cook Time 10 minutes
Total Time 15 minutes
Servings: 2
Course: Breakfast, Dinner, Lunch
Cuisine: American
Calories: 510

Ingredients
  

  • 4 large flour tortillas 8-inch
  • 4 –6 cooked turkey meatballs chopped
  • 1 cup shredded cheese Cheddar, Monterey Jack, Mexican blend, or whatever you have
  • 1 cup assorted leftover vegetables chopped
  • o Bell peppers
  • o Onions
  • o Corn
  • o Mushrooms
  • o Spinach
  • o Zucchini
  • o Tomatoes drained
  • o Cooked broccoli
  • 1 teaspoon olive oil or butter
  • Salsa Greek yogurt, or sour cream for serving (optional)

Method
 

  1. Heat a large skillet over medium heat.
  2. Lightly brush one side of each tortilla with olive oil or butter.
  3. Place one tortilla, oiled side down, in the skillet.
  4. Sprinkle half of the cheese over the tortilla.
  5. Add the chopped turkey meatballs and leftover vegetables in an even layer.
  6. Top with the remaining cheese and place the second tortilla on top, oiled side up.
  7. Cook for 3–4 minutes until golden brown.
  8. Carefully flip and cook the second side until crisp and the cheese has melted.
  9. Repeat with the remaining ingredients.
  10. Slice into wedges and serve with salsa, Greek yogurt, or sour cream.

Notes

Tips & Variations
  • Add a spoonful of black beans for extra protein and fiber.
  • Sprinkle in taco seasoning or Italian seasoning to change the flavor.
  • Mix different cheeses for more flavor.
  • Serve with a simple side salad or fresh fruit.
  • Leftover cooked chicken, pork, roast beef, or vegetables work just as well.
Don’t overstuff your quesadilla. It can be tempting to use every last bit of leftovers, but a thinner layer of filling lets the cheese melt around everything like glue. If you have lots of leftovers, make two quesadillas instead of one giant one.

Related Reading

🍽️ Keep Cooking Smarter

Continue building your budget-friendly kitchen with these helpful articles and recipes:

  • Stretch This Week’s Groceries Even Farther
  • Five Ways to Stretch Ground Turkey
  • Freezer & Make-Ahead Meals
  • Pantry Meal Starters
  • Side Dish Library
  • Meal Prep Collections
Posted in Heat & Eat

Italian Turkey Meatball Subs

Introduction

One of the easiest ways to stretch your grocery budget is to transform leftovers into something that feels completely new. These Italian Turkey Meatball Subs take yesterday’s homemade turkey meatballs and turn them into warm, cheesy sandwiches that taste like they came from your favorite neighborhood deli.

With toasted rolls, rich marinara sauce, and gooey melted mozzarella, this hearty meal comes together in just minutes while giving your family (or yourself) a dinner that never feels like leftovers.

💡 Meal Prep Shortcut

This recipe uses the Simple Italian Turkey Meatballs you made earlier this week as part of our Stretch Every Grocery Dollar series.

Joining us midweek? No problem! Simply substitute 12 fully cooked frozen turkey meatballs (about 1 pound), thawed and heated through. Your meal will still be delicious, although the homemade version offers the best flavor and the greatest savings.

simplegoodfood's avatarsimplegoodfood

Italian Turkey Meatball Subs

Oneof the easiest ways to stretch your grocery budget is to transform leftoversinto something that feels completely new.
Prep Time 10 minutes
Cook Time 10 minutes
Total Time 20 minutes
Servings: 4
Course: Dinner, Lunch
Cuisine: American
Calories: 455

Ingredients
  

  • 12 cooked Italian Turkey Meatballs
  • 2 cups marinara sauce
  • 4 hoagie rolls or sturdy sandwich rolls
  • cups shredded mozzarella cheese
  • ¼ cup grated Parmesan cheese
  • 1 teaspoon Italian seasoning
  • Fresh parsley chopped (optional)

Method
 

  1. Preheat the oven to 375°F.
  2. Place the meatballs and marinara sauce in a saucepan. Heat over medium-low until the meatballs are hot, about 8–10 minutes.
  3. Split the hoagie rolls without cutting all the way through.
  4. Lightly toast the rolls for 3–4 minutes if desired.
  5. Place 3 meatballs inside each roll and spoon additional marinara over the top.
  6. Sprinkle generously with mozzarella and Parmesan cheese.
  7. Return the sandwiches to the oven for 5–7 minutes, or until the cheese is melted and bubbly.
  8. Garnish with parsley and serve immediately.

Notes

Easy Variations
Pepper & Onion Subs
Add sautéed bell peppers and onions before topping with cheese.
Garlic Bread Subs
Brush the rolls with garlic butter before toasting.
Pizza Meatball Subs
Add sliced pepperoni or mushrooms before baking.
Campground Version
Wrap assembled sandwiches in foil and heat on a campfire grate or campground grill for about 10 minutes over medium heat.
Serving Suggestions
Serve with:
  • Oven fries
  • Coleslaw
  • Garden salad
  • Fresh fruit
  • Roasted vegetables
Storage
These sandwiches are best assembled fresh, but leftover meatballs in marinara will keep in the refrigerator for up to 4 days.
Tips
  • Toasting the rolls first helps prevent soggy sandwiches.
  • Warm the marinara before assembling for even heating.
  • Use part-skim mozzarella for a lighter meal.
  • If your rolls are large, add a fourth meatball for extra heartiness.

🍽️ This Week’s Menu: Stretch Every Grocery Dollar

Sunday – Simple Italian Turkey Meatballs

The perfect meal prep recipe that starts this week’s budget-friendly menu.

Monday – Italian Turkey Meatball SubsToday’s Recipe

Warm toasted rolls filled with homemade turkey meatballs, marinara sauce, and melted mozzarella.

Tuesday – Mediterranean Turkey Rice Bowls

Fresh vegetables, seasoned rice, and sliced turkey meatballs with a bright Mediterranean flavor.

Wednesday – Turkey Meatball Vegetable Soup

A hearty soup that stretches the last of the meatballs into another comforting meal.

Thursday – Taco Turkey Rice Bowls

A Tex-Mex makeover using rice, beans, salsa, and leftover turkey.

Friday – Five Ways to Stretch Ground Turkey

Simple money-saving ideas to help one package of ground turkey go even further.

Saturday – Six Budget-Friendly Turkey Meals

A roundup of this week’s recipes plus extra ideas for reducing food waste.

Bonus Recipes This Week

  • Turkey Fried Rice
  • Refrigerator Clean-Out Quesadillas

➡️ Stop back tomorrow for our Mediterranean Turkey Rice Bowls!

Posted in Heat & Eat

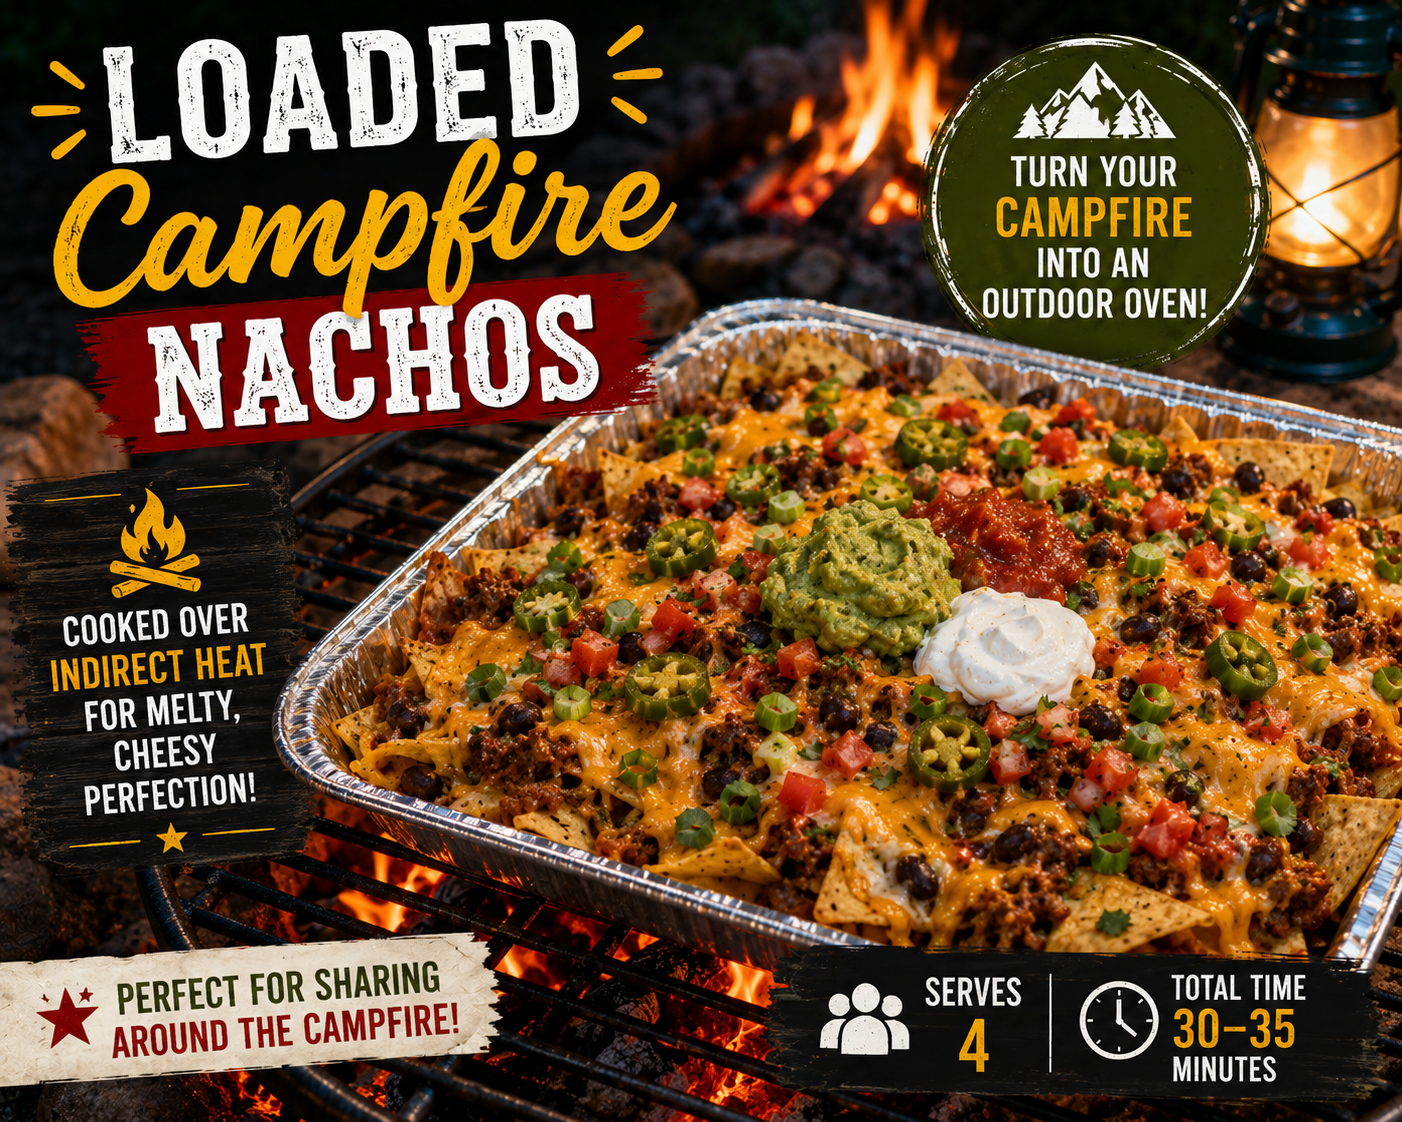
Loaded Campfire Nachos

Loaded Campfire Nachos are proof that campground cooking can be both easy and impressive. Instead of placing food directly over the flames, this recipe uses indirect heat to turn your campfire into an outdoor oven. Layers of tortilla chips, seasoned beef, beans, cheese, and toppings cook together in a foil pan until hot and melty. Whether you’re feeding hungry campers or looking for a fun meal to share around the fire, these nachos are always a crowd-pleaser.

simplegoodfood's avatarsimplegoodfood

Loaded Campfire Nachos

A foil-pan meal cooked with indirect campfire heat. This ties directly into the future Outdoor Oven article concept.
Prep Time 15 minutes
Cook Time 20 minutes
Total Time 35 minutes
Servings: 4
Course: Appetizer, Side Dish, Snack
Cuisine: American
Calories: 560

Ingredients
  

  • 1 pound lean ground beef
  • 1 tablespoon taco seasoning
  • ¼ cup water
  • 1 15-ounce can black beans, drained and rinsed
  • 8 ounces tortilla chips
  • 2 cups shredded Mexican-blend cheese
  • 1 jalapeño sliced (optional)
  • 1 Roma tomato diced
  • 2 green onions sliced
Optional Toppings
  • Salsa
  • Guacamole
  • Sour cream
  • Sliced black olives
  • Fresh cilantro

Method
 

Cook the Beef
  1. Heat a skillet over medium heat.
  2. Brown the ground beef until fully cooked.
  3. Drain excess grease if needed.
  4. Stir in the taco seasoning and water.
  5. Cook for 2–3 minutes until the seasoning is absorbed.
Assemble the Nachos
  1. Spray a disposable foil pan lightly with cooking spray.
  2. Spread half of the tortilla chips in the pan.
  3. Top with half of the beef mixture.
  4. Add half of the black beans.
  5. Sprinkle with half of the cheese.
  6. Repeat the layers with the remaining chips, beef, beans, and cheese.
  7. Add jalapeño slices if using.
Prepare the Campfire
  1. Build a campfire and allow it to burn down to a good bed of coals.
  2. Push the majority of the coals to one side of the fire ring.
  3. Place a grill grate over the fire ring.
Cook the Nachos
  1. Place the foil pan on the cooler side of the grate away from the direct heat.
  2. Cover the pan loosely with foil.
  3. Cook for 15–20 minutes, until the cheese is melted and bubbly.
Finish and Serve
  1. Carefully remove the pan from the fire.
  2. Top with diced tomato and green onions.
  3. Add any desired toppings.
  4. Serve immediately.

Notes

Storage & Reheating Tips
  • Nachos are best eaten fresh.
  • If leftovers remain, store toppings separately.
  • Reheat in a skillet or foil pan on the grill.
  • Avoid microwaving if possible, as the chips can become soggy.
Posted in Heat & Eat

Loaded BBQ Chicken Nachos

When you’re camping, quick and easy meals are always a win—and these Loaded BBQ Chicken Nachos deliver big flavor with minimal effort. Layers of crispy tortilla chips, tender chicken, smoky barbecue sauce, melted cheese, and fresh toppings come together in a foil pan on the grill or campfire. They’re perfect for feeding hungry campers after a day of outdoor adventures and make a fun meal everyone can customize to their liking.

simplegoodfood's avatarsimplegoodfood

Loaded BBQ Chicken Nachos

Loaded BBQ Chicken Nachos are a quick and satisfying campground meal featuring layers of tortilla chips, barbecue chicken, melted cheese, black beans, and corn. Easy to prepare and fun to share around the campsite.
Prep Time 10 minutes
Cook Time 15 minutes
Total Time 25 minutes
Servings: 6
Course: Lunch, Snack
Cuisine: American
Calories: 510

Ingredients
  

For the Nachos
  • 1 large bag 13 ounces sturdy tortilla chips
  • 3 cups cooked chicken shredded (rotisserie chicken works great)
  • 1 cup barbecue sauce
  • 2 cups shredded cheddar cheese
  • 1 cup shredded Monterey Jack cheese
  • 1 can 15 ounces black beans, drained and rinsed
  • 1 cup corn kernels fresh, frozen, or canned and drained
  • ¼ cup sliced green onions
Optional Toppings
  • Diced tomatoes
  • Sliced jalapeños
  • Sour cream
  • Avocado or guacamole
  • Chopped cilantro

Method
 

  1. Preheat a grill to medium heat or prepare a campfire with a bed of hot coals.
  2. In a bowl, combine the shredded chicken and barbecue sauce until evenly coated.
  3. Lightly spray a disposable foil pan with cooking spray.
  4. Spread half of the tortilla chips in the pan.
  5. Top with half of the BBQ chicken, black beans, corn, and both cheeses.
  6. Repeat the layers with the remaining chips, chicken mixture, beans, corn, and cheese.
  7. Cover the pan loosely with aluminum foil.
  8. Place on the grill or over indirect campfire heat.
  9. Cook for 10–15 minutes, or until the cheese is completely melted and bubbly.
  10. Remove from heat and sprinkle with green onions.
  11. Add any desired toppings and serve immediately.
Posted in Heat & Eat

BBQ Pulled Pork Loaded Baked Potatoes

A baked potato becomes a complete meal when piled high with smoky pulled pork and your favorite toppings.

simplegoodfood's avatarsimplegoodfood

BBQ Pulled Pork Loaded Baked Potatoes

A baked potato becomes a complete meal when piled high withsmoky pulled pork and your favorite toppings.
Prep Time 5 minutes
Cook Time 0 minutes
Total Time 5 minutes
Servings: 4
Course: Dinner, Lunch, Main Course
Cuisine: American
Calories: 550

Ingredients
  

  • 4 large baked potatoes
  • 2 cups prepared pulled pork
  • ½ cup BBQ sauce
  • 1 cup shredded cheddar
  • Green onions

Method
 

  1. Warm pulled pork with BBQ sauce.
  2. Split baked potatoes.
  3. Fill with pork.
  4. Top with cheese and green onions.
  5. Serve immediately.

#CampgroundCooking, #RVMeals, #OnePanDinner, #EasySummerDinners,
#ComfortFoodRecipes, #EasyDinnerIdeas, #BudgetFriendlyMeals,
#SummerCooking, #SimpleSuppers, #FamilyDinnerIdeas,
#PotatoRecipes, #EasyWeeknightDinner, #WhatsForDinner,