Posted in Preservation

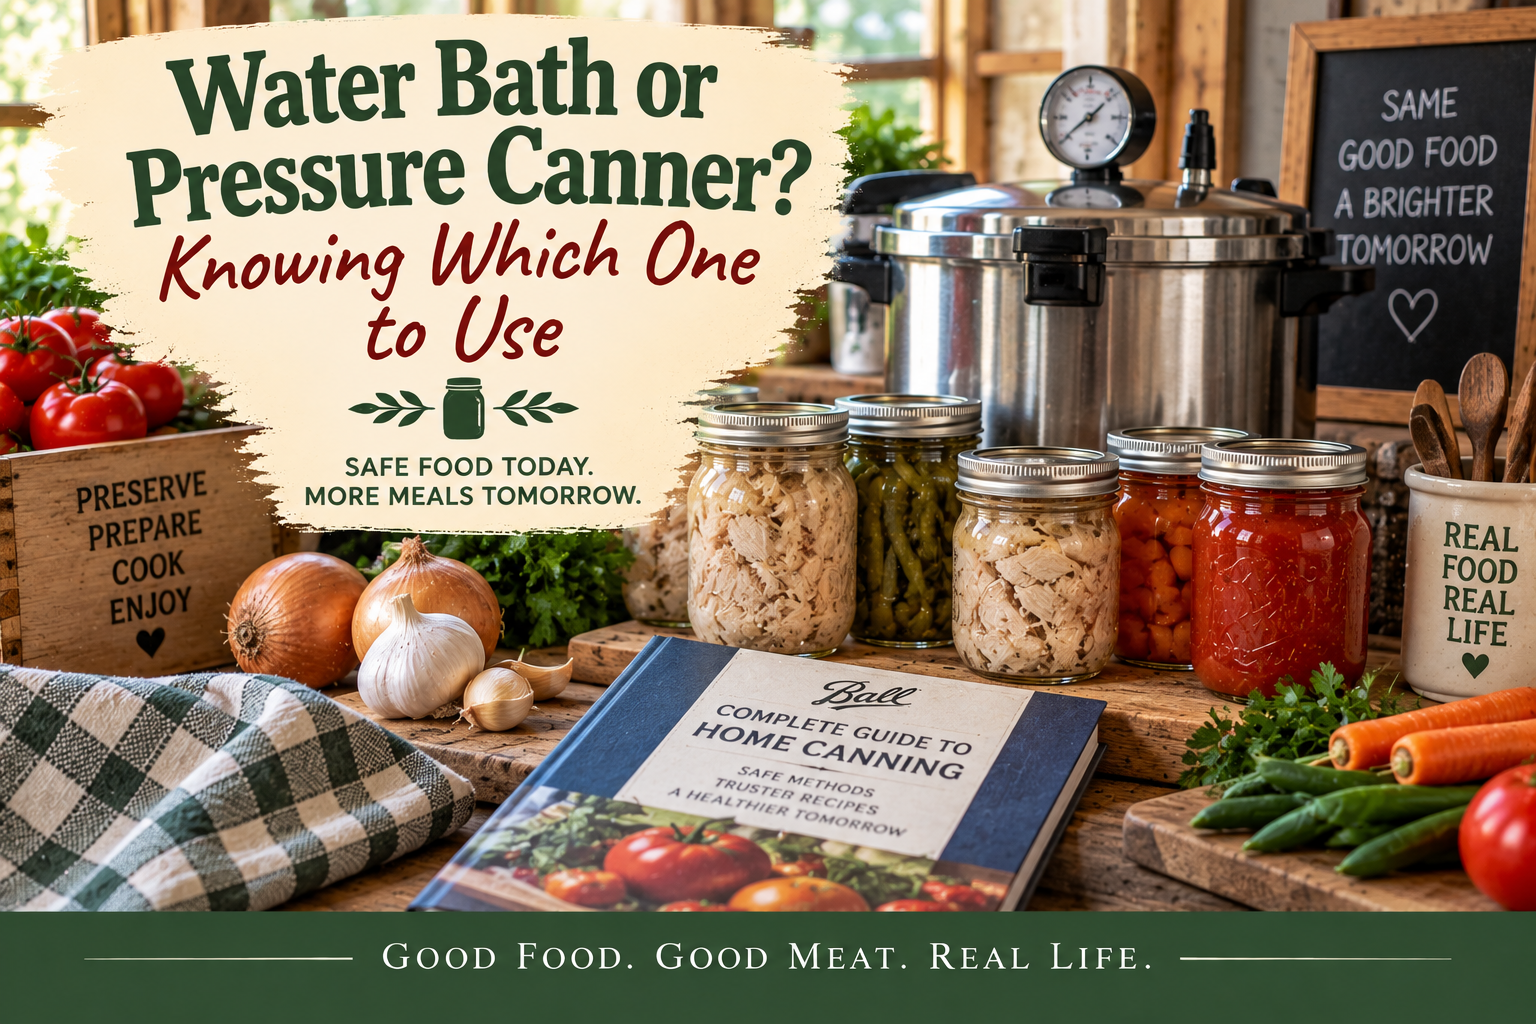
Water Bath or Pressure Canner? Knowing Which One to Use

We’ve spent the first part of this week talking about tomatoes.

We’ve talked about acidity, why tomatoes need added acid when they’re canned, and how to process them safely in a boiling-water canner.

Today, we’re going to make a change.

Because tomorrow, we’re moving from tomatoes to chicken.

And that means we’re moving from water-bath canning to pressure canning.

If you’re new to home canning, this is one of the most important distinctions to understand:

The food determines the processing method.

Not the size of your kitchen.

Not which canner happens to be sitting in your cupboard.

And definitely not what your grandmother’s recipe card says.

Let’s look at why.

Water-Bath Canning: For Acid Foods

A boiling-water canner works by surrounding the jars with boiling water.

At sea level, water boils at 212°F.

That temperature is sufficient for safely processing properly acidified high-acid foods when you follow a tested recipe and the appropriate processing time.

Foods commonly processed this way include:

  • Fruits
  • Pickles
  • Jams and jellies
  • Fruit spreads
  • Properly acidified tomatoes and tomato products

That’s why we started this week with tomatoes.

They can be safely processed using a boiling-water canner when the tested recipe’s acidification and processing instructions are followed.

Pressure Canning: For Low-Acid Foods

Now let’s talk about chicken.

Meat and poultry are low-acid foods.

And boiling water isn’t hot enough to safely process low-acid foods for shelf-stable storage.

That’s where pressure canning comes in.

A pressure canner allows the temperature inside the canner to rise above the boiling point of water.

That higher temperature is necessary to destroy microorganisms of concern in low-acid foods when the food is processed according to a tested pressure-canning procedure.

That’s why you don’t take a water-bath recipe and simply put it in a pressure canner.

The pressure canner isn’t a magic safety button.

The recipe still needs to be tested for that particular food, preparation, jar size, processing time, and pressure.

So Which Canner Should You Buy?

Here’s where things get interesting.

If you’re just starting out and can only afford one canner, I would seriously consider buying a pressure canner.

Why?

Because a pressure canner gives you the ability to safely process low-acid foods such as meat, poultry, and many vegetables.

And it can also be used for boiling-water processing of foods that are appropriate for that method.

That means one piece of equipment can cover both types of processing.

But There’s an Important Catch

You don’t pressure-can an acid food simply because you’re using a pressure canner.

When you’re using the pressure canner as a boiling-water canner, you are not building pressure.

You’re using it as a large boiling-water canner.

That’s something I’ve done myself.

My pressure canner has a rack that keeps the jars up off the bottom of the pot, and because the canner is larger than some of my other pots, I can sometimes fit more jars in it.

For a boiling-water recipe, I use the canner as a boiling-water bath rather than sealing it up and processing under pressure.

The important thing is to follow the tested recipe’s instructions for water level, jar placement, processing time, and any other requirements.

One Canner Doesn’t Mean One Method

This is worth repeating.

A pressure canner can be used for boiling-water processing.

But that does not mean:

“If I put a water-bath recipe under pressure, it’s automatically safe.”

Those are two different processes.

And I learned another lesson the hard way:

Jelly Doesn’t Necessarily Like Pressure

I once tried pressure-processing a jelly recipe.

The result?

It didn’t jell.

I had changed the processing environment from what the recipe was designed for, and the jelly wasn’t happy about it.

That’s a pretty good kitchen lesson:

Equipment can sometimes be versatile. Recipes aren’t necessarily interchangeable.

So if you’re making jelly, use a tested jelly recipe and the processing method specified for that recipe.

If you’re canning chicken, use a tested pressure-canning recipe.

If you’re canning tomatoes, use a tested tomato recipe.

The canner doesn’t replace the recipe.

What About Tomatoes in a Pressure Canner?

Here’s another point that sometimes causes confusion.

Some tested tomato procedures can be processed in a pressure canner.

But that doesn’t mean you can skip the acidification step.

NCHFP’s tomato guidance specifically provides acidification directions for tomatoes regardless of whether they are processed in a boiling-water canner or pressure canner.

https://nchfp.uga.edu/how/can/how-do-i-can-tomatoes/tomato-acidification-directions

So don’t think of pressure canning as a way around tomato acidification.

The method and the acidity are two separate parts of the safety equation.

The Easy Way to Remember It

If you’re trying to decide which method to use, start with the food.

Think Water Bath

High-acid foods

Think:

🍓 Fruit
🍎 Apples
🍇 Jams and jellies
🥒 Pickles
🍅 Properly acidified tomatoes

Think Pressure Canner

Low-acid foods

Think:

🍗 Chicken
🥩 Meat
🌽 Many vegetables
🥣 Some soups and combination foods

There are exceptions and special cases, which is why we use tested recipes rather than relying on a simple list.

But this is a good starting point.

Don’t Guess With Combination Foods

This is particularly important when you start getting creative.

Suppose you want to make a jar containing:

  • Chicken
  • Rice
  • Vegetables
  • Broth
  • Seasonings

Sounds like dinner, right?

It does.

But you can’t simply decide how long to pressure-can that jar based on how long it takes to cook those ingredients on the stove.

Different ingredients heat differently.

The density of the food matters.

The jar size matters.

The preparation matters.

The processing time and pressure matter.

That’s why tested recipes are so important for combination foods.

And that’s exactly where we’re headed tomorrow.

Tomorrow: Chicken Meal Starter

Tomorrow I’ll show you the Chicken Meal Starter I put together for my own pantry.

This isn’t just a theoretical recipe.

I actually made these jars.

My canner holds 12 half-pint jars, and I filled all twelve during the batch:

  • 8 jars with the Chicken Meal Starter
  • 2 jars with extra vegetables and broth
  • 2 jars with broth

That’s a lot of future meals sitting on one shelf.

And those jars are going to give us something even more valuable than a canning tutorial:

a real example of how a preserved food can become the starting point for future meals.

Stretch Every Grocery Dollar

This is where pressure canning starts to make sense beyond simply learning another preservation technique.

Chicken can be expensive.

But when you can preserve a larger quantity safely, you can turn one cooking session into multiple future meal starters.

That’s the same philosophy we’ve been talking about all month:

Buy when you can. Preserve when it makes sense. Use it later.

The goal isn’t to have the biggest pantry.

The goal is to have a pantry that works for you.

Kitchen Confidence

If you’ve been intimidated by pressure canning, don’t let the equipment make the whole process seem mysterious.

Understand the basic rule first:

High-acid foods can generally be processed in a boiling-water canner. Low-acid foods require pressure canning.

Then learn the tested recipe.

Then learn your equipment.

You don’t need to memorize every canning rule before you begin.

You just need to understand why you’re doing what you’re doing — and follow the tested procedure.

Tomorrow, we’ll put that knowledge to work.

And we’ll put some chicken in the pantry. 🍗


Reliable Canning Resources

National Center for Home Food Preservation — Ensuring Safe Canned Foods

https://nchfp.uga.edu/how/can/general-information/ensuring-safe-canned-foods

NCHFP — Canning Tomatoes: Introduction

https://nchfp.uga.edu/how/can/how-do-i-can-tomatoes/canning-tomatoes-introduction

NCHFP — Tomato Acidification Directions

https://nchfp.uga.edu/how/can/how-do-i-can-tomatoes/tomato-acidification-directions

USDA Complete Guide to Home Canning

https://nchfp.uga.edu/resources/category/usda-guide

For pressure-canning meat and poultry, always use a current, tested procedure rather than adapting a cooking recipe for canning.
Posted in Preservation

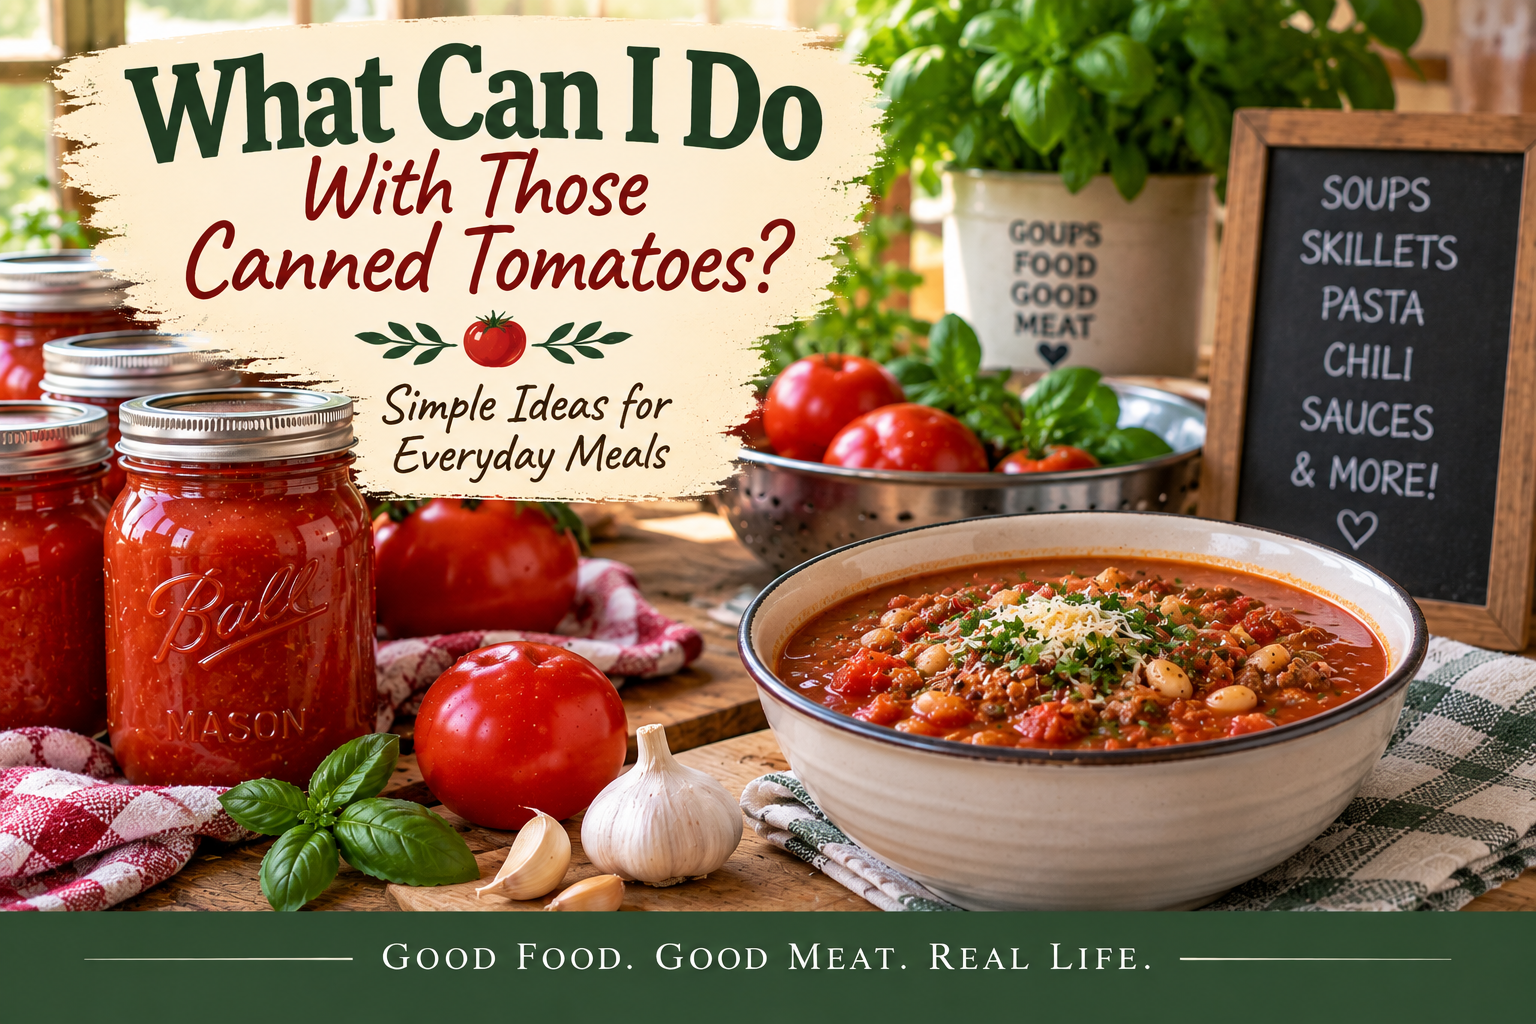
What Can I Do With Those Canned Tomatoes?

So you’ve canned some tomatoes.

They’re sitting on the pantry shelf, looking all neat and pretty, and you’re feeling pretty good about having put some of the harvest away.

Now comes the important question:

What are you going to do with them?

Because as much as I enjoy looking at a shelf full of home-canned food, the real reason I preserve food is so I can use it later.

A jar of tomatoes isn’t the end of the process.

It’s the beginning of another meal.

Start With the Simplest Possibility

One of the nicest things about home-canned tomatoes is that they don’t have to become anything complicated.

Open a jar, add them to a skillet with some cooked meat and vegetables, season it to taste, and you’ve already got the beginnings of supper.

That makes canned tomatoes particularly useful for the kind of cooking I do most often:

simple meals for one or two.

You don’t have to open a large commercial can and wonder what you’re going to do with the leftovers.

Open a pint.

Use what you need.

Put the rest in the refrigerator for another meal.

According to USDA guidance, opened high-acid canned foods such as tomato products can generally be refrigerated for 5 to 7 days. For best quality, transfer the leftovers to a glass or plastic storage container rather than leaving them in the opened can.

🍝 Turn Them Into Pasta Sauce

A jar of canned tomatoes can become a simple pasta sauce with very little effort.

Sauté a little onion and garlic, add the tomatoes, season them, and let everything simmer until the flavors come together.

You can keep it meatless or add cooked ground meat, sausage, chicken, or another protein.

And you don’t have to make a huge pot.

That’s one of the advantages of having tomatoes preserved in pint-sized portions.

A pint can be just enough to turn a couple of pantry staples into dinner.

A Canning Caution

There’s an important distinction here.

Using your home-canned tomatoes to make dinner is not the same thing as canning a new sauce.

You can improvise your supper.

You cannot safely improvise a shelf-stable canning recipe.

If you decide you want to can tomato sauce, salsa, spaghetti sauce, or another tomato product for the pantry, use a tested recipe designed specifically for that product.

The National Center for Home Food Preservation has tested recipes for tomato sauce, spaghetti sauce, salsa, crushed tomatoes, and other tomato products.

🍲 Add Them to Soup

Canned tomatoes are practically made for soup.

Add them to:

  • Vegetable soup
  • Chicken soup
  • Bean soup
  • Lentil soup
  • Beef soup
  • Italian-style soups
  • Tomato-based stews

And don’t overlook the liquid in the jar.

Depending on how the tomatoes were canned and what you’re making, that tomato juice can become part of the cooking liquid for the meal.

That’s another little way to stretch what you’ve already put away.

🥘 Build a Skillet Meal

This might be my favorite use.

Canned tomatoes are an easy way to turn odds and ends into an actual supper.

Start with:

Protein + vegetables + canned tomatoes + a starch

For example:

  • Chicken + vegetables + tomatoes + rice
  • Sausage + cabbage + tomatoes + potatoes
  • Ground meat + onions + tomatoes + pasta
  • Beans + corn + tomatoes + rice

And suddenly the question isn’t:

“What am I going to do with these leftovers?”

It’s:

“What can I make with what I already have?”

That’s a much nicer question.

🍳 Breakfast Can Use Them, Too

Don’t save those tomatoes exclusively for dinner.

A spoonful or two can be wonderful with eggs.

Try simmering some tomatoes with a little onion and seasoning, then adding eggs.

Or add chopped canned tomatoes to an omelet, breakfast skillet, or breakfast casserole.

You don’t need a complicated recipe.

Sometimes the best use for a jar of preserved food is simply making an ordinary meal a little better.

🥣 Make a Small Batch of Tomato Soup

If you have a pint of tomatoes, you already have a head start on a small batch of tomato soup.

Add the tomatoes to a saucepan with broth, onion, garlic, and your preferred seasonings.

Simmer until everything is tender, then blend if you’d like a smoother soup.

You can add milk, cream, or another ingredient you normally use in tomato soup when you’re actually preparing the meal.

Again, we’re cooking here — not canning.

That’s an important distinction.

You can make your dinner however you like.

The rules change when you’re putting that finished product into a jar for room-temperature storage.

🍕 Use Them as a Pizza or Flatbread Topping

Drain some of the tomatoes and chop them fairly small.

Add them to a flatbread or pizza along with cheese, cooked vegetables, chicken, sausage, or whatever else needs using.

You may not end up with a traditional pizza sauce, but that’s okay.

We’re not trying to make every jar perform the same job.

We’re trying to make the food we’ve preserved useful.

🥪 Don’t Forget Sandwiches and Wraps

A little tomato can add moisture and flavor to a sandwich or wrap.

Try chopped, well-drained tomatoes with:

  • Chicken
  • Turkey
  • Tuna
  • Egg salad
  • Melted cheese
  • Leftover cooked meat

If the tomatoes are particularly juicy, drain them well before adding them to bread.

Otherwise, lunch can get messy in a hurry.

Ask me how I know. 😉

🥣 A Jar Can Become Part of a Bigger Meal

This is probably the most important idea I want to leave you with.

You don’t have to use a whole jar in one recipe.

A pint of tomatoes can become:

  • Part of tonight’s skillet supper
  • The base of tomorrow’s soup
  • A sauce for pasta later in the week
  • An addition to scrambled eggs
  • Part of a casserole

That’s how a pantry starts working for you.

You’re not just storing ingredients.

You’re storing possibilities.

Stretch Every Grocery Dollar

This is where preserving food starts making even more sense to me.

When tomatoes are plentiful and reasonably priced, you have an opportunity.

Instead of thinking only about what you need for tonight’s supper, you can think:

What can I put away for October? November? January?

That jar sitting on the shelf represents a meal you won’t have to buy later.

Maybe it becomes soup.

Maybe it’s part of a casserole.

Maybe it saves a grocery trip when the weather is bad.

Maybe you simply don’t feel like cooking something complicated.

That’s what I mean by Putting Things Back.

Today’s tomatoes become tomorrow’s convenience.

Waste Not, Want Not

And here’s another reason I like preserving tomatoes.

You’re giving good tomatoes a second chance to become something useful rather than letting them sit in the refrigerator until they’re past their prime.

But preservation isn’t an excuse to can questionable food.

Start with sound, good-quality tomatoes. The NCHFP recommends disease-free, preferably vine-ripened, firm tomatoes for canning and specifically says not to can tomatoes from dead or frost-killed vines.

Preserve good food. Don’t try to rescue spoiled food.

That’s an important distinction.

Cooking for One or Two

This is where I think home-canned tomatoes really shine.

A pint isn’t an enormous commitment.

You can open one when you need it and build a small meal around it.

And because the tomatoes have already been prepared and preserved, you’ve done some of the work before you even started cooking dinner.

That’s what a well-stocked pantry should do.

It should make your life easier.

The Point Isn’t the Jar

There’s a temptation when you’re learning to preserve food to get focused on the jars.

How many jars did I put up?

How many more can I fill?

How pretty does my pantry shelf look?

And yes…

A full shelf of beautiful jars is pretty satisfying. 😄

But the real measure of success comes later.

Did those jars make your life easier?

Did they help you put a meal on the table?

Did they keep you from running to the grocery store?

Did they allow you to make a good supper from ingredients you already had?

If the answer is yes, then those tomatoes have done their job.

Your Turn: Put a Jar to Work

If you’ve got home-canned tomatoes sitting on your shelf, pick one jar and make something with it this week.

It doesn’t have to be fancy.

Add them to soup.

Make a skillet meal.

Turn them into pasta sauce.

Put them in a breakfast dish.

Or simply open the jar and see what dinner starts to look like.

Then come back and tell me:

What did you make with your tomatoes?

Because putting food back is only half the story.

The other half is bringing it back out when you need it. 🍅


A Note About Canning Tomato Products

This post is about using already-canned tomatoes in everyday cooking.

If you want to preserve a finished tomato sauce, salsa, soup, or other combination for shelf storage, don’t simply use one of these cooking ideas as a canning recipe.

Use a current, research-tested canning recipe specifically designed for that product.

The National Center for Home Food Preservation has tested tomato recipes here:

Posted in Preservation

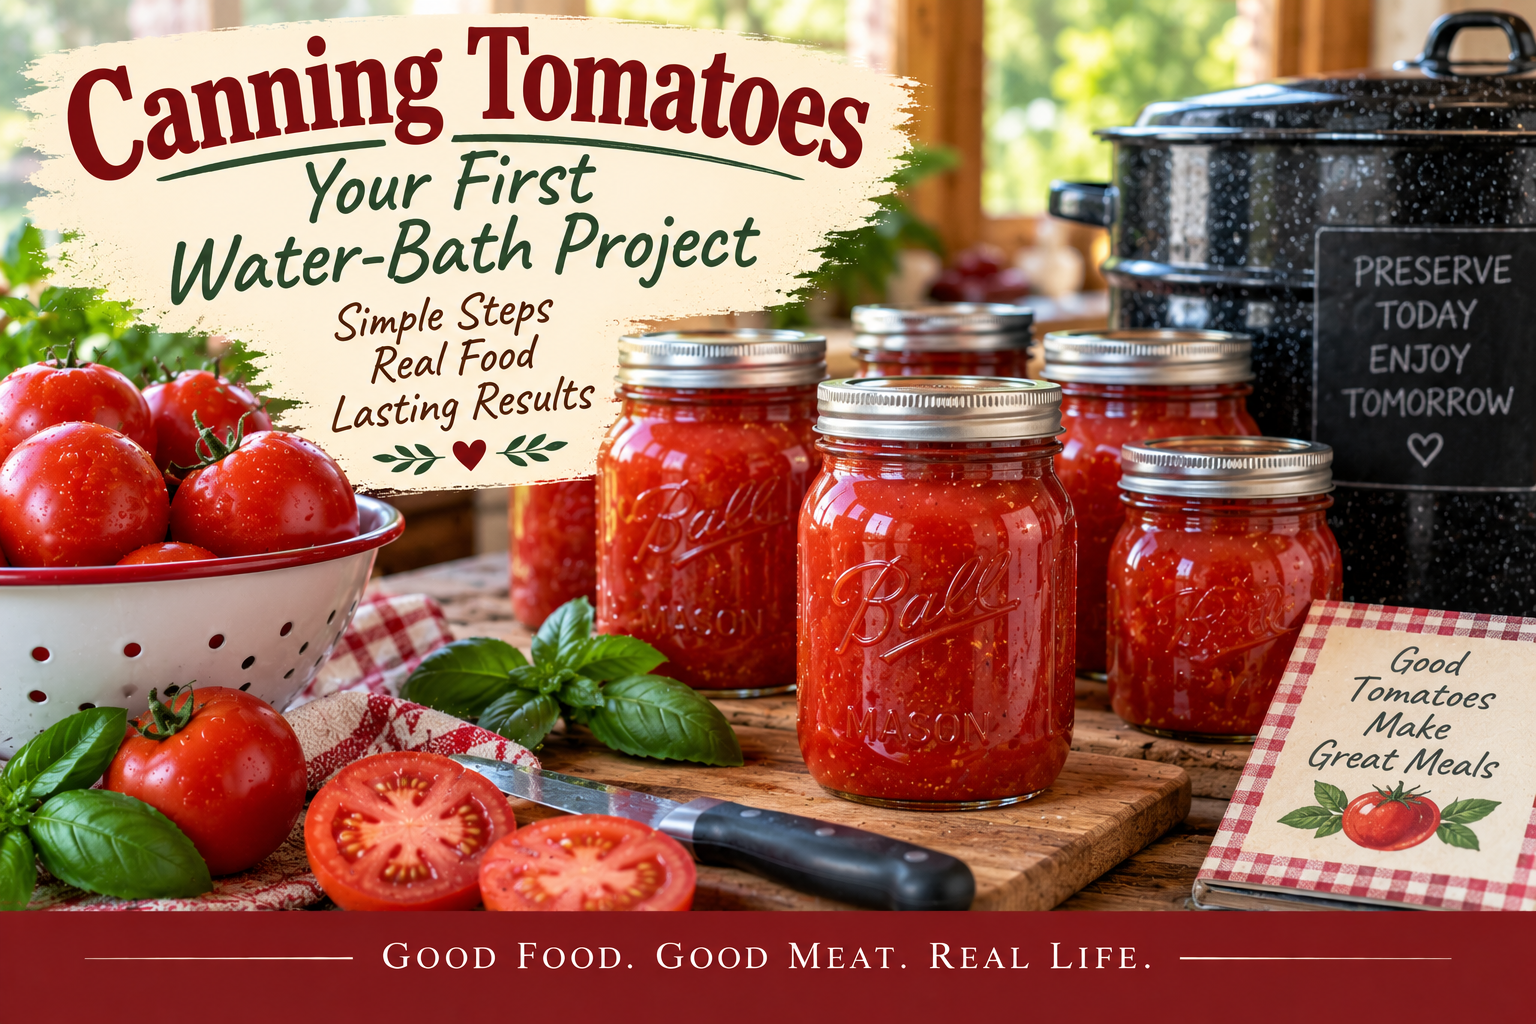
Canning Tomatoes: Your First Water-Bath Project

Yesterday, we talked about why tomatoes need special attention when canning.

Today, we’re going to actually put some tomatoes in jars.

If you’ve never tried water-bath canning before, tomatoes can be a good way to learn the basic process. There are several tested ways to can tomatoes, but we’re starting with one of the simplest:

Whole or Halved Tomatoes Packed in Water.

There isn’t a complicated sauce to make and no long list of ingredients. We’re simply preserving tomatoes so they’ll be ready for another meal later.

And that’s really the heart of Putting Things Back.

Before You Start

For this recipe, use sound, ripe tomatoes that are free from disease, bruises, and other signs of spoilage.

Don’t use tomatoes from dead or frost-killed vines for canning.

You’ll also need:

  • A boiling-water canner with a rack
  • Clean canning jars
  • Two-piece canning lids appropriate for your jars
  • A jar lifter
  • A canning funnel, if you have one
  • A large pot for preparing the tomatoes
  • A clean towel for wiping jar rims

If you’re new to water-bath canning, the National Center for Home Food Preservation has a helpful overview of the equipment and basic process.

https://nchfp.uga.edu/how/can

Ingredients

For the Tomatoes

  • Ripe, firm tomatoes
  • Boiling water, as needed

For Acidification

For each pint jar, use:

  • 1 tablespoon bottled lemon juice or
  • ¼ teaspoon citric acid

For each quart jar, use:

  • 2 tablespoons bottled lemon juice or
  • ½ teaspoon citric acid

NCHFP also allows 5% acidity vinegar as an alternative, although it notes that vinegar can cause undesirable flavor changes.

For exact current acidification guidance, see:

https://nchfp.uga.edu/how/can/how-do-i-can-tomatoes/tomato-acidification-directions

Important: Use bottled lemon juice rather than freshly squeezed lemon juice when the recipe calls for bottled lemon juice. The acidity of bottled lemon juice is standardized; fresh lemon juice isn’t.

Preparing the Tomatoes

Wash the tomatoes thoroughly under running water.

Remove the cores.

Then dip the tomatoes in boiling water for about 30 to 60 seconds, or until the skins begin to split.

Immediately transfer them to cold water.

Once they’re cool enough to handle, slip off the skins.

You can leave small tomatoes whole or cut larger tomatoes in half.

If you prefer your canned tomatoes peeled and quartered, that’s perfectly fine — but for this particular tested procedure, we’re keeping things simple with whole or halved tomatoes.

Preparing the Jars

Prepare your jars according to current safe canning practices.

Keep the jars hot until you’re ready to fill them.

Put the required amount of acid directly into each hot jar before adding the tomatoes.

That’s an important step.

Don’t assume the tomatoes themselves are acidic enough.

We’re deliberately adding a measured amount of acid to every jar so the finished product has the acidity required by the tested procedure.

Filling the Jars

There are two ways to pack these tomatoes.

Hot Pack

Place the prepared tomatoes in a large saucepan and add enough water to completely cover them.

Bring them to a gentle boil and cook for 5 minutes.

Pack the hot tomatoes into the hot jars.

Then add the hot cooking liquid, leaving ½ inch of headspace.

Raw Pack

You can also pack the prepared raw tomatoes directly into the hot jars.

Add boiling water to cover the tomatoes, again leaving ½ inch of headspace.

Either way, the acid goes into the jar first.

Remove Air Bubbles

Run a bubble remover or a nonmetallic utensil around the inside of the jar to release trapped air.

Add more liquid if necessary to maintain the ½-inch headspace.

Wipe the rim of the jar with a clean, damp cloth.

Place the prepared lid on the jar and apply the ring according to the manufacturer’s directions.

Don’t overtighten.

Into the Water-Bath Canner

Place the filled jars on the rack in your boiling-water canner.

The jars should not sit directly on the bottom of the pot.

Make sure the jars are covered with water according to the canner’s instructions.

Bring the water to a full rolling boil before starting the processing time.

Processing Time

For whole or halved tomatoes packed in water, the current NCHFP processing times in a boiling-water canner are:

Jar Size0–1,000 ft1,001–3,000 ft3,001–6,000 ftAbove 6,000 ft
Pints40 minutes45 minutes50 minutes55 minutes
Quarts45 minutes50 minutes55 minutes60 minutes

These times are from the National Center for Home Food Preservation’s tested procedure:

https://nchfp.uga.edu/how/can/how-do-i-can-tomatoes/whole-or-halved-tomatoes-packed-in-water

Know your elevation. Processing times change with altitude, so don’t automatically use the 0–1,000-foot time if you live at a higher elevation.

Once the processing time is complete, turn off the heat and carefully remove the lid.

Let the jars stand in the canner for about 5 minutes before removing them.

Use a jar lifter to transfer the jars to a towel-covered surface, leaving space between the jars.

Don’t tighten the rings or press the lids.

Let the jars cool undisturbed for 12 to 24 hours.

Check Your Jars

Once the jars have cooled completely, check the seals.

A properly sealed lid should be concave and should not flex when pressed in the center.

If a jar hasn’t sealed, refrigerate it and use the contents promptly, or follow current NCHFP guidance for handling an unsealed jar.

Remove the rings before storing the sealed jars, and wipe the jars clean.

Label them with the contents and date.

Then put them on the pantry shelf and admire your work.

Seriously.

There’s something satisfying about looking at a row of jars and knowing that today’s tomatoes have become tomorrow’s meals.

How Many Tomatoes Do You Need?

This is one of those questions that sounds simple until you start buying tomatoes.

The amount you’ll need depends on the size and type of tomato, how tightly you pack the jars, and whether you’re making whole or halved tomatoes.

Rather than giving you a made-up “X pounds makes exactly X jars” number, I recommend buying or picking a little more than you think you’ll need.

Any tomatoes left over can become tonight’s dinner.

And that’s hardly a hardship.

Kitchen Confidence

If you’re nervous about water-bath canning, notice what we actually did here.

We didn’t need a complicated recipe.

We didn’t need twenty ingredients.

We needed:

good tomatoes + measured acid + clean jars + the correct headspace + the correct processing time.

That’s it.

Well… plus boiling water.

The important thing is that each part of the process has a purpose.

Once you understand that, canning becomes a lot less intimidating.

Stretch Every Grocery Dollar

Canning doesn’t always save money on every single batch.

That’s worth saying.

If you’re buying expensive tomatoes at the grocery store specifically to can them, you may not save much compared with buying canned tomatoes.

But when tomatoes are abundant at a farmers market, roadside stand, garden, or grocery-store sale, preserving them can be a very different calculation.

You’re buying them when they’re available and putting them away for later.

That’s one of the basic ideas behind Putting Things Back:

Buy or harvest food when it’s plentiful, then turn it into future meals.

Waste Not, Want Not

Don’t throw away the tomato scraps simply because you’re canning.

Save the usable bits for another purpose.

Tomato trimmings can go into sauces, soups, or other cooked dishes. And if you have a few tomatoes that aren’t quite right for canning, use them fresh rather than trying to force them into the canning batch.

Canning is about preserving good food.

It’s not about finding a way to preserve everything.

Cooking for One or Two

One of the things I particularly like about canned tomatoes is that they don’t require you to have a large household to make preserving worthwhile.

You can use a single pint in a skillet meal, soup, sauce, casserole, or stew.

And that’s where the real payoff begins.

A jar sitting on the shelf isn’t dinner.

A jar that becomes dinner is.

Tomorrow, we’ll talk about exactly that.

What Can You Do With Those Tomatoes?

Once you’ve put tomatoes on the shelf, the next question is obvious:

What are you going to do with them?

Tomorrow, we’ll look at practical ways to turn those jars into meals — because putting food back is only half the story.

The other half is bringing it back out when you need it.


Source for This Recipe

This recipe is adapted from the tested Whole or Halved Tomatoes (packed in water) procedure from the National Center for Home Food Preservation:

https://nchfp.uga.edu/how/can/how-do-i-can-tomatoes/whole-or-halved-tomatoes-packed-in-water

For the general tomato-canning information and acidification requirements:

https://nchfp.uga.edu/how/can/how-do-i-can-tomatoes/canning-tomatoes-introduction

For specific tomato acidification directions:

https://nchfp.uga.edu/how/can/how-do-i-can-tomatoes/tomato-acidification-directions

Always use current tested canning procedures rather than changing ingredients, jar sizes, headspace, or processing times on your own.

Posted in Preservation

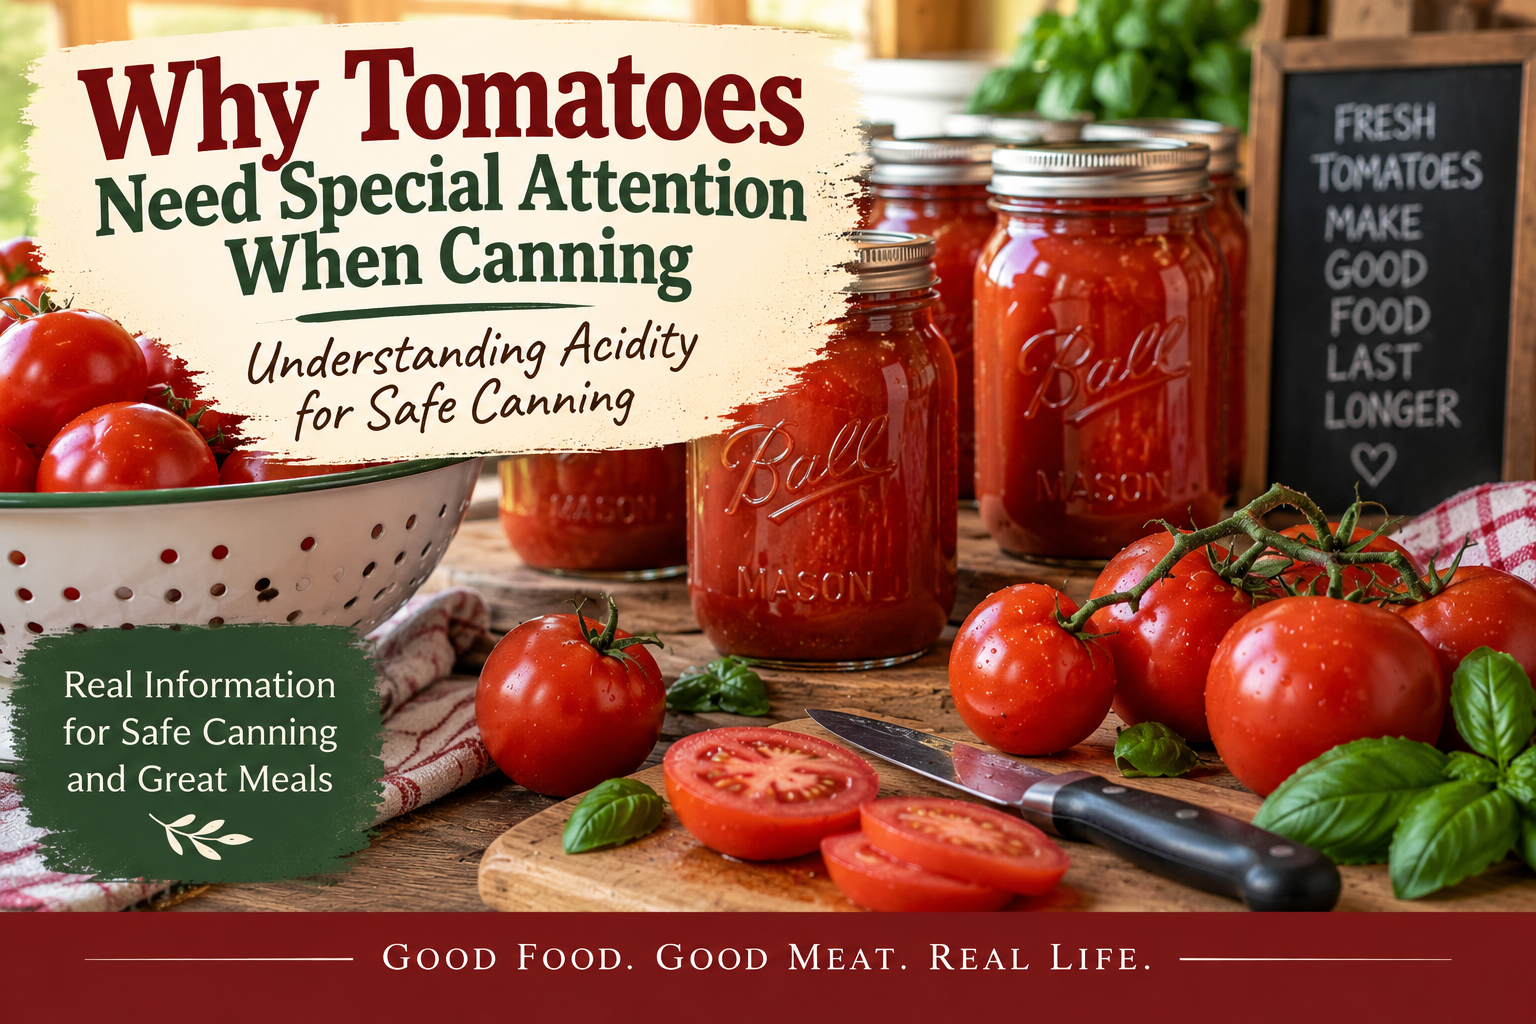
Why Tomatoes Need Special Attention When Canning

Tomatoes seem like they should be one of the easiest foods to preserve.

They grow abundantly in late summer, they’re naturally acidic, and generations of home cooks have been putting tomatoes into jars for years.

So why do tomatoes need special attention when you’re canning them?

Because “acidic” doesn’t always mean acidic enough.

And understanding that little distinction is one of the most important things a beginning home canner can learn.

What Does Acidity Have to Do With Canning?

When we’re talking about home canning, foods are generally divided into two broad groups:

Acid foods have a pH of 4.6 or lower.

Low-acid foods have a pH above 4.6.

That dividing line matters because the microorganisms we’re concerned about in home-canned foods behave differently depending on the acidity of the food.

Low-acid foods require pressure canning because a pressure canner reaches temperatures considerably higher than the boiling point of water. Those higher temperatures are necessary to safely process foods such as meat, poultry, and many vegetables.

Acid foods can generally be processed using a boiling-water canner.

That’s the basic idea.

But then we get to tomatoes.

Aren’t Tomatoes Acidic?

Yes.

Usually.

And that’s where things get interesting.

Tomatoes have traditionally been treated as an acid food for home-canning purposes. But some tomatoes can have a pH above 4.6, which means they aren’t reliably acidic enough to be treated as a safe acid food without additional acidification.

That’s why current USDA/NCHFP recommendations call for adding bottled lemon juice, citric acid, or 5% acidity vinegar when canning plain tomatoes and certain tomato products.

The National Center for Home Food Preservation explains the reasoning and current recommendations here:

https://nchfp.uga.edu/how/can/how-do-i-can-tomatoes/canning-tomatoes-introduction

In other words:

You don’t get to skip the acid just because the tomatoes taste acidic.

Your taste buds aren’t a pH meter.

Want the Exact Acidification Amounts?

NCHFP has a separate page with the current amounts for bottled lemon juice, citric acid, and 5% acidity vinegar for tomatoes.

https://nchfp.uga.edu/how/can/how-do-i-can-tomatoes/tomato-acidification-directions

That’s a page worth bookmarking if you’re going to be canning tomatoes.

Why Does This Matter?

Because we’re not simply trying to make tomatoes taste good in a jar.

We’re trying to make them safe to store at room temperature.

That’s why home-canning recipes aren’t something to casually modify.

The amount of acid, the ingredients, the jar size, the headspace, and the processing method all work together.

A tested canning recipe has already taken those factors into account.

That’s also why you’ll sometimes find older tomato-canning recipes that don’t look quite like today’s recommendations.

Home-canning guidance has changed as researchers have learned more about the natural variation in tomato acidity and about the conditions necessary for safe preservation.

So if you have an old family recipe tucked into a cookbook or handwritten on an index card, treasure it for the memories — but check current tested guidance before using it for shelf-stable canning.

What Is a Water-Bath Canner?

A boiling-water canner is essentially a large pot designed to hold jars while they are covered with boiling water.

The jars sit on a rack rather than directly on the bottom of the pot, allowing hot water to circulate around them.

For properly acidified tomatoes and other appropriate acid foods, boiling-water processing can provide the heat treatment called for by the tested recipe.

NCHFP’s general food-safety information explains the principles behind safe home canning here:

https://nchfp.uga.edu/how/can/general-information/ensuring-safe-canned-foods

And this is where water-bath canning becomes a very approachable place to start.

You don’t need a complicated piece of equipment.

You need the right equipment, the right recipe, and a little patience.

What About a Pressure Canner?

A pressure canner is a different tool for a different job.

Pressure canning is necessary for low-acid foods because it allows the food to reach temperatures higher than boiling water can provide.

That’s why we’ll be talking about pressure canning later this week when we move from tomatoes to chicken.

And here’s an important point:

Pressure canning doesn’t automatically make every canning recipe interchangeable with every other recipe.

A tested recipe tells you which processing method to use, how long to process, and at what pressure when pressure canning is called for.

Follow the method that goes with the recipe.

One More Reason Tomatoes Deserve Respect

There’s another thing I want beginning canners to understand.

Tomatoes are forgiving in the kitchen.

Canning tomatoes is not the place to be casual about food-safety rules.

You can change a fresh tomato recipe because you don’t like onions.

You can add a little more garlic to tonight’s tomato sauce.

You can decide you want extra basil in the pot.

But when you’re making a shelf-stable canned product, don’t assume that a change that works perfectly well for cooking will also work for canning.

That’s where tested recipes matter.

The Good News

None of this means tomato canning is difficult.

Quite the opposite.

Once you understand why the acid matters, the process starts making a lot more sense.

And tomatoes are still a wonderful place for a beginning canner to learn about boiling-water canning.

Tomorrow, we’ll move from the why to the how.

I’ll walk you through a tested tomato-canning method, including the preparation, acidification, jar filling, processing, and the little details that make the difference between simply putting tomatoes in a jar and actually preserving them safely.

Because that’s really what Putting Things Back is about.

We’re not just filling jars.

We’re putting food away for another day — safely.

A Few Reliable Canning Resources

If you’re learning to can, these are the sources I’d bookmark rather than relying on a random recipe you happen to find online.

National Center for Home Food Preservation — Canning Tomatoes

https://nchfp.uga.edu/how/can/how-do-i-can-tomatoes/canning-tomatoes-introduction

This is the NCHFP’s overview of tomato canning, including current guidance on tomato acidity and acidification.

NCHFP — Tomato Acidification Directions

https://nchfp.uga.edu/how/can/how-do-i-can-tomatoes/tomato-acidification-directions

This page gives the specific acidification directions for tomatoes.

NCHFP — Ensuring Safe Canned Foods

https://nchfp.uga.edu/how/can/general-information/ensuring-safe-canned-foods

This explains the principles behind safe home canning and why the appropriate processing method matters.

USDA Complete Guide to Home Canning

https://nchfp.uga.edu/resources/category/usda-guide

The NCHFP hosts the USDA’s Complete Guide to Home Canning, including information on fruits, vegetables, tomatoes, meats, poultry, jams, jellies, and other home-preserved foods.

For this week’s canning posts, these are the sources I’m using as the safety foundation. When it comes to home canning, tested recipes and current recommendations matter.

Posted in Cookbooks

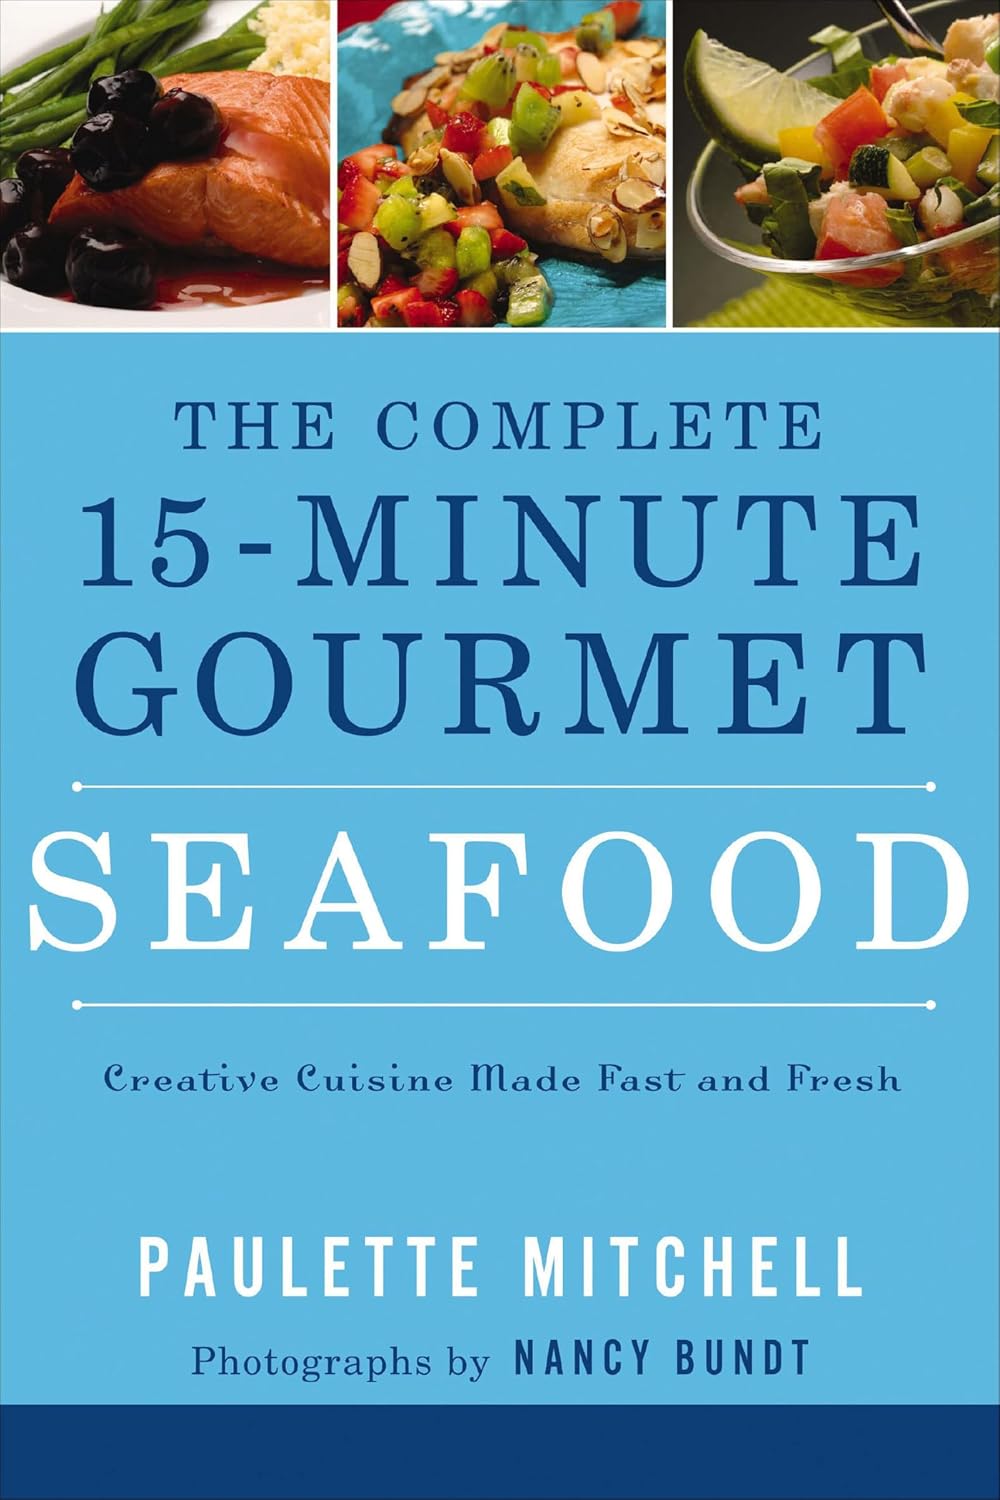
The Complete 15-Minute Gourmet: Seafood

Easily cook up an assortment of creative gourmet seafood recipes, including soups, salads, sandwiches, and entrees, in just fifteen minutes.
You don’t have to sacrifice flavor or nutrition just because your life is hectic. For more than twenty years, Paulette Mitchell has been creating gourmet dishes that can be prepared in fifteen minutes or less. Her speedy meals are sophisticated enough to please the palates of savvy gourmets, yet simple enough that a novice can prepare them. In just fifteen minutes, you could be feasting on:

  • Tuna Salad Niçoise
  • Salmon Ramen
  • Warm Crab Salad Sandwiches
  • Grilled Pesto Shrimp with Israeli Couscous
  • Shrimp Coconut Milk Curry
  • Mahi Mahi with Tomatillo Sauce

Whether you crave cuisine with an international flair or want a new spin on a traditional favorite, The Complete 15-Minute Gourmet Seafood has recipes that yield extraordinary results with minimal time and effort. You’ll be amazed by what you can create in just fifteen minutes.

Posted in Skillet Meals

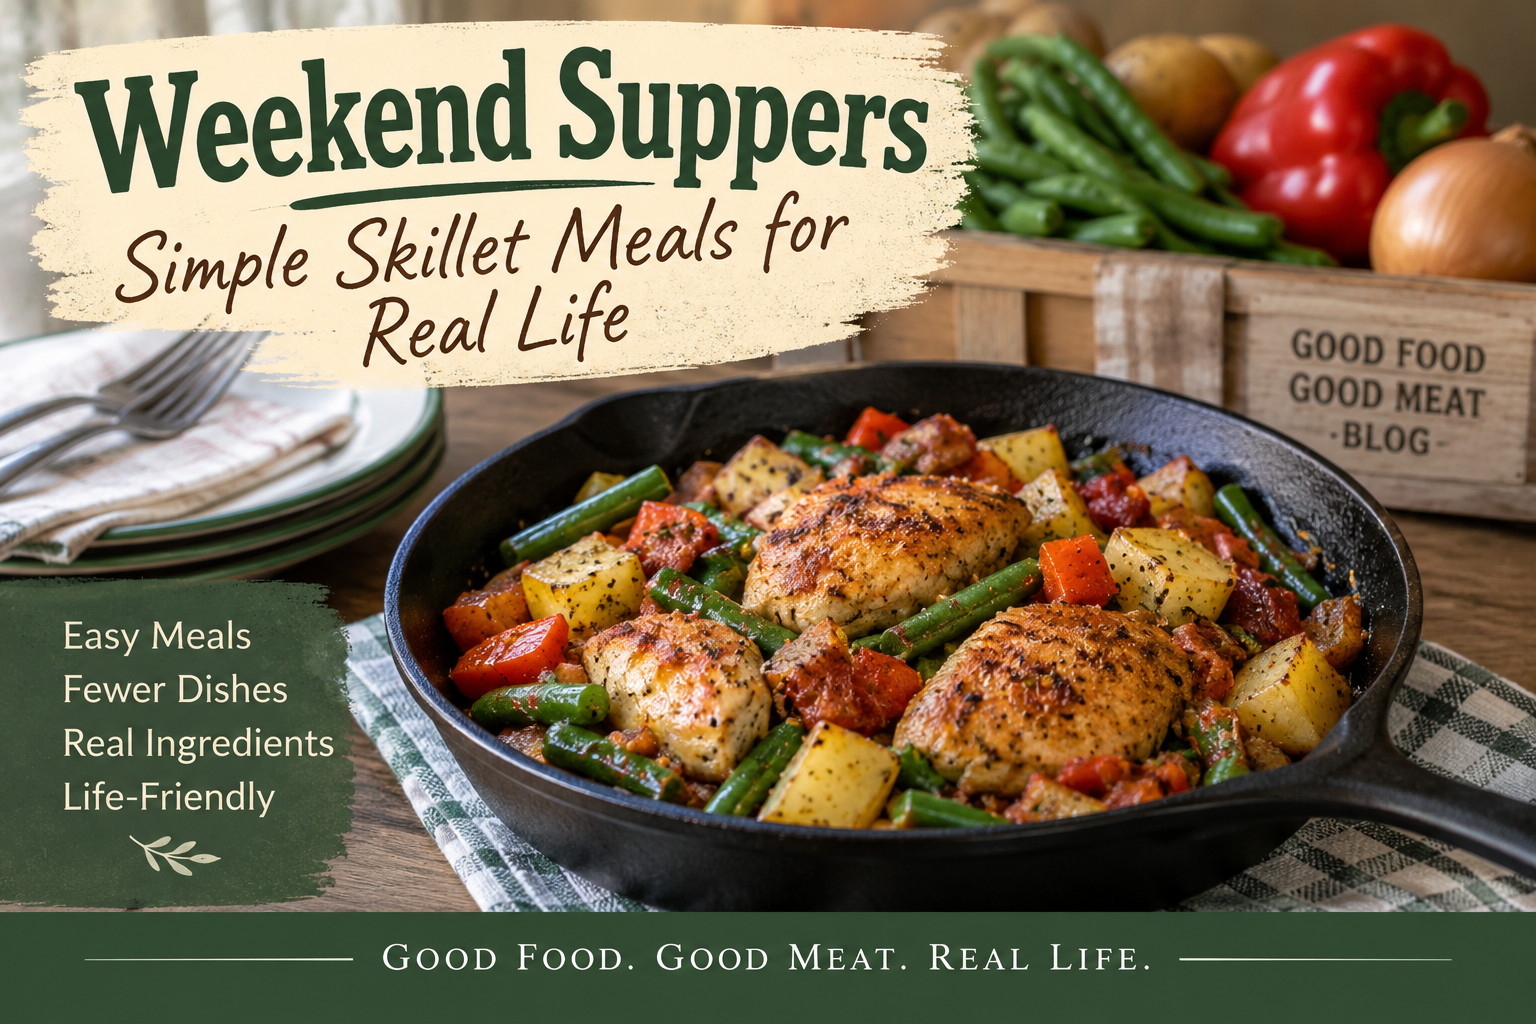
Weekend Suppers: Simple Skillet Meals for Fall

There is something wonderfully practical about a skillet supper.

One pan. A handful of ingredients. Enough food for supper without ending up with a refrigerator full of leftovers.

And as September winds down and we head into October, skillet meals are especially welcome. They’re hearty enough for a cool evening, but they don’t require the oven to be running for an hour.

So, this week’s Weekend Suppers is all about simple skillet meals — the kind of dinners that make sense when you’re cooking for one or two.

Three Skillet Suppers to Try

🍗 Chicken & Veggie Skillet

Chicken and vegetables come together in one skillet for a simple supper that doesn’t require a lot of ingredients or complicated preparation.

This is a good choice when you’re looking for something that’s satisfying without being especially heavy.

Main Protein: Chicken
Meal Category: Skillet Meals


🥔 Sausage & Potato Skillet

If you’re looking for something a little heartier, potatoes and sausage make a classic combination.

This is the kind of supper that feels right as the weather starts cooling down — filling, familiar, and made in one pan.

Main Protein: Sausage
Meal Category: Skillet Meals


🍚 Cajun Sausage & Rice Skillet

Sometimes you want a skillet supper with a little more personality.

Sausage and rice make this one filling enough for supper, while the Cajun seasoning brings a little extra flavor to the table.

And because it’s a skillet meal, cleanup stays pleasantly simple.

Main Protein: Sausage
Meal Category: Skillet Meals


More Skillet Suppers

If those three don’t quite fit what you’re hungry for, there are more skillet meals in the Good Food Good Meat kitchen.

🧀 Philly Cheesesteak Skillet

All the familiar flavors of a cheesesteak in an easy skillet meal.

🌭 Easy Sausage & Potato Skillet Dinner

Another sausage-and-potato option when you want a straightforward, budget-friendly supper.

🥬 Beef & Cabbage Skillet

Beef and cabbage are a particularly good pairing when you’re looking for a simple meal built around inexpensive ingredients.


Why I Keep Coming Back to Skillet Meals

Skillet meals solve a lot of the problems that come with cooking for one or two.

You don’t need a big roasting pan.

You don’t have to make a recipe designed for six people and figure out what to do with the leftovers.

And most of the time, you can get dinner on the table with one pan to wash.

That’s a pretty good combination.

They’re also flexible. A little leftover cooked meat, a potato or two, some vegetables, and a handful of rice or pasta can often become the foundation for supper.

That’s practical cooking.

And practical cooking is what Good Food Good Meat is all about.

Cooking for One or Two

When you’re cooking for a smaller household, don’t be afraid to scale a skillet recipe down.

You may not need to cut every ingredient exactly in half. Sometimes it’s easier to make the full amount of one component — such as cooked rice or potatoes — and use the leftovers in another meal.

That’s one of the easiest ways to make a small kitchen work harder without making your cooking feel like a production.

Your Turn: Pick a Skillet for Supper

Which one sounds good tonight?

Pick a skillet, grab what you have on hand, and put supper on the table.

If you make one of these recipes, I’d love to know which one you chose — and what you thought of it. And if you have a favorite skillet supper of your own, share it in the comments.

Sometimes the best recipes are the ones that become regulars simply because they’re easy, affordable, and good enough to make again.

Looking Toward October

This is our final Weekend Supper of September, and we’ve spent the month thinking about Harvest & Putting Things Back — taking advantage of seasonal food, preserving what we can, and thinking ahead to the meals those foods can become.

Tomorrow, we’ll begin the final week of the series by looking at one of the most familiar foods to preserve from the late-summer harvest:

tomatoes. 🍅

But before we start putting tomatoes into jars, we’re going to talk about something that every new home canner needs to understand:

Why can some foods be processed in a boiling-water canner while others cannot?

That’s an important question, and understanding the answer is more useful than simply memorizing a processing time.

For tonight, though, let’s keep it simple.

Grab a skillet and make supper.