Posted in Arrival Day Dinner, Breakfast

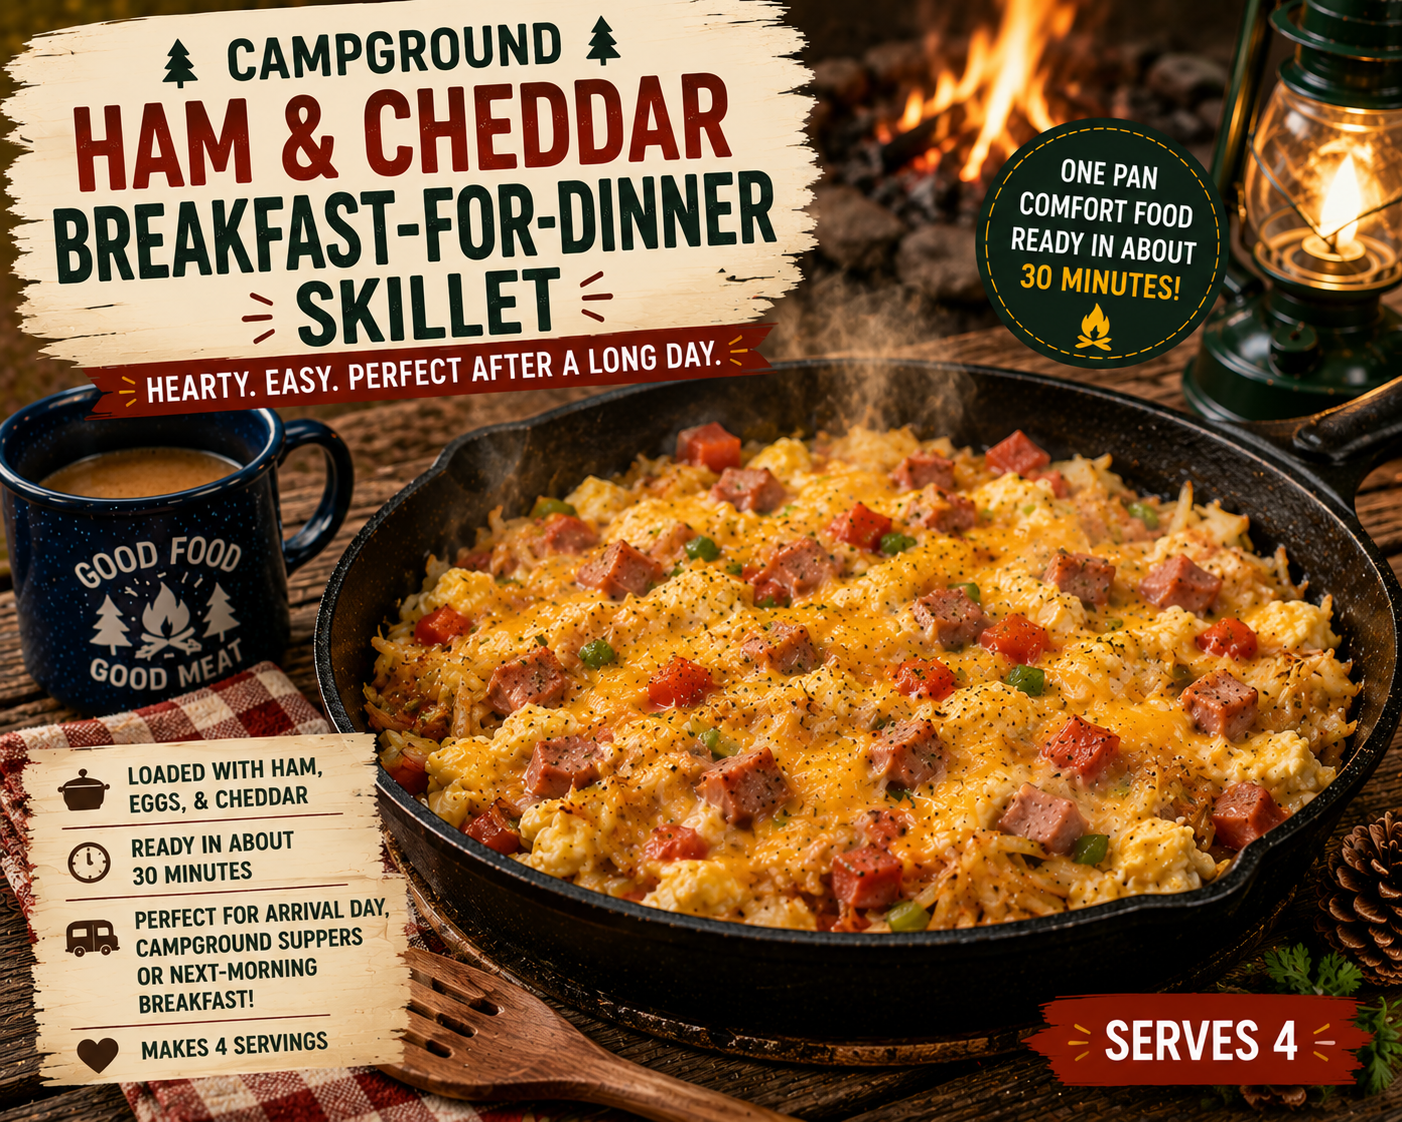
Campground Ham & Cheddar Breakfast-for-Dinner Skillet

After a long day of driving, checking in, and setting up camp, the last thing you want is a complicated dinner. This Campground Ham & Cheddar Breakfast-for-Dinner Skillet comes together in one pan with simple ingredients that are easy to keep in the cooler.

It’s hearty enough for supper, quick enough for arrival day, and just as delicious for breakfast the next morning.

simplegoodfood's avatarsimplegoodfood

Campground Ham & Cheddar Breakfast-for-Dinner Skillet

It's hearty enough for supper, quick enough for arrival day, and just as delicious for breakfast the next morning.
Prep Time 10 minutes
Cook Time 20 minutes
Total Time 30 minutes
Servings: 4
Course: Breakfast, Dinner
Cuisine: American
Calories: 390

Ingredients
  

  • 1 tablespoon butter
  • 2 cups frozen hash browns or refrigerated shredded potatoes
  • 1 cup diced cooked ham
  • ½ cup diced onion
  • ½ cup diced bell pepper
  • 6 large eggs
  • ¼ cup milk
  • 1 teaspoon garlic powder
  • ½ teaspoon onion powder
  • ½ teaspoon smoked paprika
  • Salt and black pepper to taste
  • 1 cup shredded sharp cheddar cheese
  • Chopped parsley or green onions for garnish optional

Method
 

  1. Heat the butter in a large cast-iron skillet over medium heat.
  2. Add the hash browns and cook for 8–10 minutes until lightly browned.
  3. Stir in the ham, onion, and bell pepper. Cook another 4–5 minutes.
  4. Whisk together the eggs, milk, garlic powder, onion powder, smoked paprika, salt, and pepper.
  5. Pour the egg mixture evenly over the skillet.
  6. Reduce heat to medium-low and cook until the eggs begin to set.
  7. Sprinkle the cheddar cheese over the top.
  8. Cover with a lid for 3–4 minutes until the cheese melts and the eggs are fully cooked.
  9. Garnish with parsley or green onions before serving.

Notes

Easy Substitutions
  • Ham: Cooked bacon, breakfast sausage, turkey sausage, or leftover grilled chicken all work well.
  • Hash Browns: Diced potatoes or leftover roasted potatoes make a great substitute.
  • Cheddar: Colby Jack, Monterey Jack, Swiss, or Pepper Jack (for those who like a little heat).
  • Vegetables: Mushrooms, spinach, tomatoes, or zucchini can be added depending on what’s in the cooler.
Camp Cook’s Tips
  • Cook the hash browns until they’re nicely browned before adding the eggs for the best texture.
  • Covering the skillet helps the eggs cook evenly without burning the bottom.
  • A cast-iron skillet retains heat well, making it ideal for camp cooking.
  • Prep the onion and pepper at home to make arrival-day cooking even faster.
Serving Suggestions
  • Buttered toast or English muffins
  • Fresh fruit
  • Orange juice
  • Camp coffee
  • Salsa or hot sauce on the side
Storage
Refrigerate leftovers in an airtight container for up to 3 days.
Reheat gently in a skillet or microwave.
🥪 Leftover Lunch Idea
Slice leftover skillet into wedges and tuck one into an English muffin or tortilla for an easy breakfast sandwich before heading out for the day’s adventures.
Stretch Your Camping Dollar
This recipe is perfect for using up leftover holiday ham or the last few slices from sandwich lunches. You can also toss in vegetables that need to be used before heading home, making it a great way to reduce food waste while creating a filling meal.

#GoodFoodGoodMeat, #SimplePracticalMeals, #RealFoodRealLife,
#SummerCampgroundMeals, #CookingForOneOrTwo, #BreakfastForDinner, #CampgroundCooking, #OneSkilletMeal, #CampingRecipes, #HamAndCheddar, #EasyCampingMeals, #RVRecipes, #CastIronCooking, #ArrivalDayMeals, #CampBreakfast, #QuickDinner, #OutdoorCooking,

Posted in One-Pot Meals

Dutch Oven Beef & Vegetable Stew

Nothing says campground comfort quite like a hearty pot of Dutch Oven Beef & Vegetable Stew simmering over the fire. Tender chunks of beef, colorful vegetables, and a rich, savory broth come together in one pot for a meal that’s both satisfying and surprisingly simple.

Sized for four servings, it’s perfect for solo campers who enjoy leftovers or couples looking for an easy dinner with lunch ready for the next day.

simplegoodfood's avatarsimplegoodfood

Dutch Oven Beef & Vegetable Stew

Nothing beats a Dutch oven simmering over the campfire!
Prep Time 15 minutes
Cook Time 3 hours 15 minutes
Total Time 1 hour 30 minutes
Servings: 4
Course: Dinner, Main Course
Cuisine: American
Calories: 430

Ingredients
  

  • 1 pound beef stew meat cut into bite-sized pieces
  • 1 tablespoon olive oil
  • 1 small onion chopped
  • 2 cloves garlic minced
  • 2 carrots sliced
  • 2 celery stalks sliced
  • 2 medium Yukon Gold potatoes cut into 1-inch cubes
  • 1 cup green beans trimmed and cut into 2-inch pieces
  • 2 tablespoons tomato paste
  • 3 cups low-sodium beef broth
  • 1 teaspoon Worcestershire sauce
  • 1 teaspoon dried thyme
  • 1 teaspoon dried parsley
  • ½ teaspoon smoked paprika
  • 1 bay leaf
  • 1 tablespoon cornstarch
  • 2 tablespoons cold water
  • Salt and black pepper to taste

Method
 

  1. Heat the olive oil in a Dutch oven over medium-high heat.
  2. Brown the beef in batches for 4–5 minutes. Remove and set aside.
  3. Add the onion and celery and cook for about 4 minutes until softened.
  4. Stir in the garlic and tomato paste. Cook for 1 minute.
  5. Return the beef to the pot.
  6. Add the broth, Worcestershire sauce, thyme, parsley, smoked paprika, and bay leaf.
  7. Bring to a gentle boil, then reduce to a simmer. Cover and cook for 40 minutes.
  8. Add the carrots and potatoes. Simmer for another 20 minutes.
  9. Stir in the green beans and cook for 10 more minutes.
  10. Mix the cornstarch and cold water until smooth. Stir into the stew and simmer for 2–3 minutes until slightly thickened.
  11. Remove the bay leaf, season to taste, and serve hot.

Notes

Easy Substitutions
  • Beef: Chuck roast cut into cubes works beautifully if stew meat isn’t available.
  • Potatoes: Red potatoes or baby potatoes hold their shape well.
  • Green Beans: Frozen green beans can be added during the last 10 minutes.
  • Vegetables: Add peas, mushrooms, corn, or parsnips depending on what you have on hand.
  • Broth: Beef stock creates a richer flavor than broth if available.
Camp Cook’s Tips
  • Browning the beef first adds tremendous flavor to the finished stew.
  • Keep the Dutch oven covered to retain moisture while simmering.
  • If cooking over a campfire, maintain a bed of hot coals instead of high flames for even cooking.
  • Taste before adding extra salt since the broth and Worcestershire already contribute seasoning.
Serving Suggestions
  • Crusty French bread
  • Buttermilk biscuits
  • Cornbread
  • Side salad
  • Fresh fruit for dessert
Storage
Cool leftovers before refrigerating in an airtight container for up to 3 days.
Reheat gently over medium-low heat, adding a splash of broth if needed.
🥪 Leftover Lunch Idea
Warm a bowl for lunch, or spoon the leftover stew over a baked potato or cooked egg noodles for a completely different meal.

#GoodFoodGoodMeat, #SimplePracticalMeals, #RealFoodRealLife,
#SummerCampgroundMeals, #CookingForOneOrTwo,

#DutchOvenCooking, #BeefStew, #CampgroundCooking, #CampfireMeals, #OnePotDinner, #RVRecipes, #OutdoorCooking, #ComfortFood, #EasyCampingMeals, #DutchOvenRecipes, #BeefRecipes, #CampingLife,

Posted in Skillet Meals

Creamy Ranch Chicken Pasta

When you’re camping, sometimes you just want a comforting meal that’s quick to make and easy to clean up. This Creamy Ranch Chicken Pasta combines tender chicken, pasta, a rich ranch-seasoned cream sauce, and melted cheddar cheese into one satisfying skillet meal that’s perfect after a day outdoors.

Best of all, it comes together in about 30 minutes, making it an excellent choice for busy campground evenings.

simplegoodfood's avatarsimplegoodfood

Creamy Ranch Chicken Pasta

This easy Creamy Ranch Chicken Pasta comes together in about 30 minutes and is the perfect comfort food after a day of camping adventures.
Prep Time 10 minutes
Cook Time 20 minutes
Total Time 30 minutes
Servings: 4
Course: Dinner, Lunch, Main Course
Cuisine: American
Calories: 495

Ingredients
  

  • 2 cups cooked chicken diced or shredded
  • 8 ounces rotini or penne pasta
  • 1 tablespoon butter
  • 2 cloves garlic minced
  • 1 cup chicken broth
  • 1 cup milk
  • 4 ounces reduced-fat cream cheese softened
  • 1 tablespoon ranch seasoning mix
  • 1 cup shredded cheddar cheese
  • ½ teaspoon onion powder
  • ¼ teaspoon smoked paprika
  • Salt and black pepper to taste
  • Chopped parsley for garnish optional

Method
 

  1. Cook the pasta according to package directions. Drain and set aside.
  2. In a large skillet, melt the butter over medium heat.
  3. Add the garlic and cook for about 30 seconds until fragrant.
  4. Stir in the chicken broth, milk, cream cheese, ranch seasoning, onion powder, and smoked paprika. Stir until smooth.
  5. Add the cooked chicken and simmer for 3–4 minutes.
  6. Stir in the cooked pasta.
  7. Add the shredded cheddar cheese and stir until melted and creamy.
  8. Garnish with parsley and serve hot.

Notes

Easy Substitutions
  • Chicken: Leftover grilled chicken, rotisserie chicken, or turkey all work well.
  • Pasta: Penne, rotini, shells, or bow ties can be used interchangeably.
  • Cheese: Monterey Jack, Colby Jack, or mozzarella can replace cheddar.
  • Milk: Evaporated milk makes an extra creamy sauce and stores well in the pantry until opened.
Cream Cheese: Neufchâtel cheese is a lighter substitute with a similar texture.
Serving Suggestions
  • Garlic bread
  • Steamed broccoli
  • Green beans
  • Garden salad
  • Sliced tomatoes
  • Fresh fruit for dessert
Storage
Refrigerate leftovers in an airtight container for up to 3 days.
Reheat gently with a splash of milk to restore the creamy texture.
🥪 Leftover Lunch Idea
Warm leftovers for an easy lunch, or spoon the creamy chicken pasta into a tortilla, sprinkle with a little extra cheddar, and toast it in a skillet for a crispy chicken ranch wrap.

#GoodFoodGoodMeat, #SimplePracticalMeals, #RealFoodRealLife,
#SummerCampgroundMeals, #CookingForOneOrTwo,

#ChickenPasta, #CreamyPasta, #CampgroundCooking, #OneSkilletMeal, #EasyCampingMeals, #ChickenRecipes, #ComfortFood, #RVRecipes,
#CampfireCooking, #WeeknightDinner, #PastaLovers, #EasyMeals,

Posted in One-Pot Meals

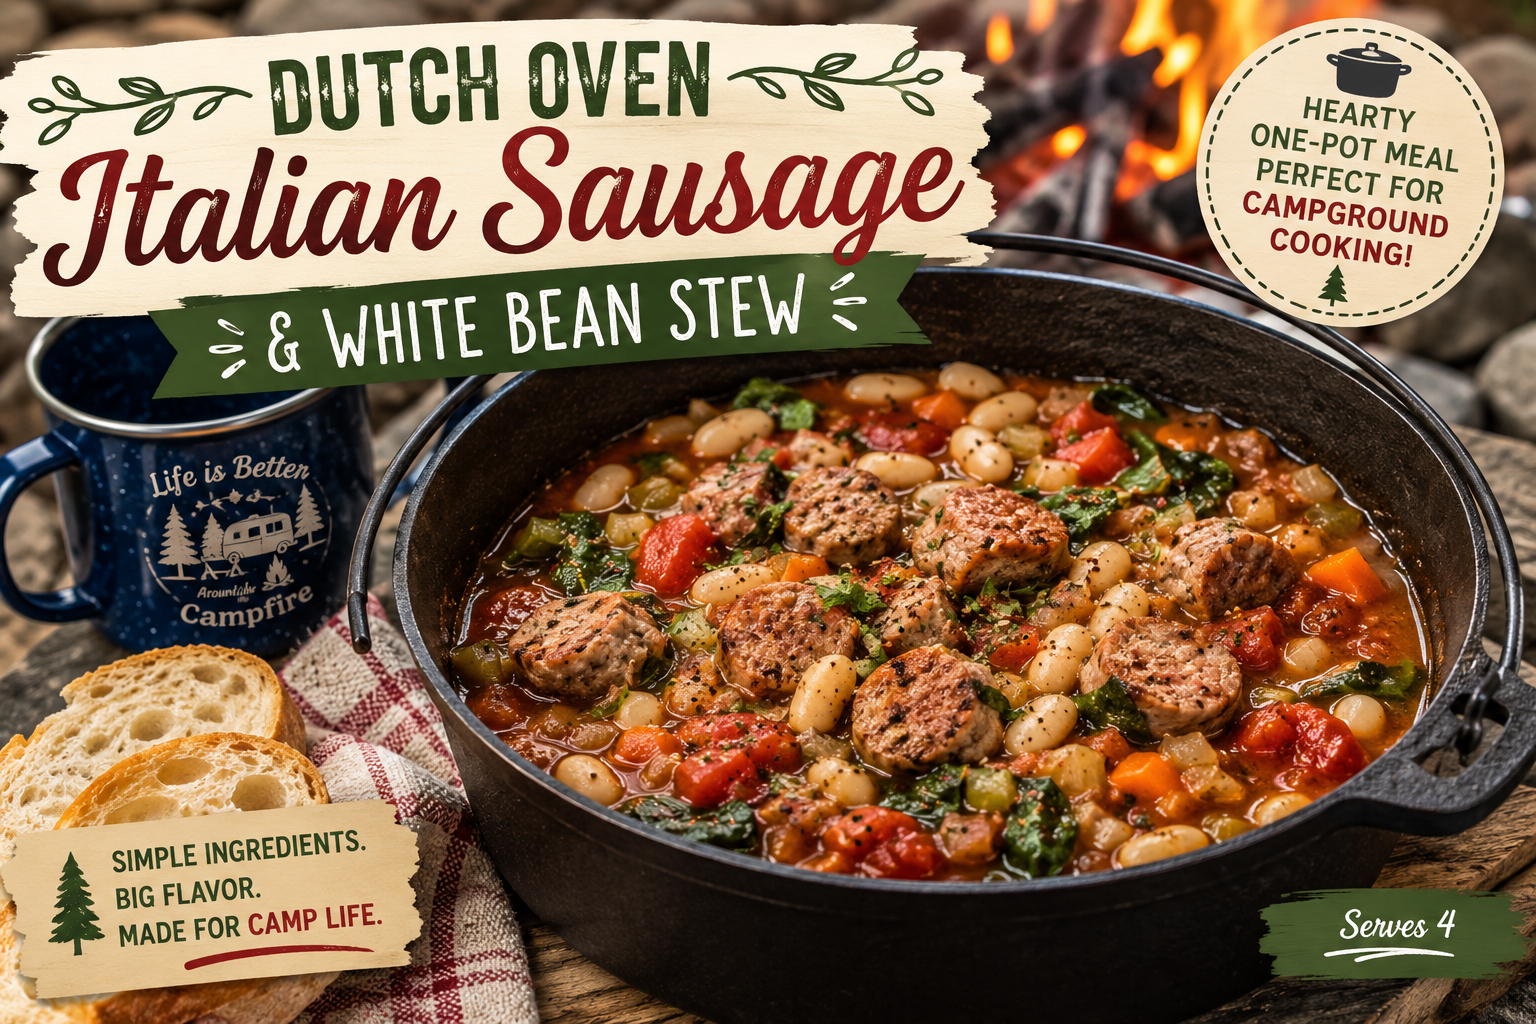
Dutch Oven Italian Sausage & White Bean Stew

Nothing says campground comfort quite like a hearty Dutch oven simmering over the fire. This Dutch Oven Italian Sausage & White Bean Stew combines savory Italian sausage, tender vegetables, creamy white beans, and tomatoes into a rich, satisfying meal that’s easy to make whether you’re cooking over campfire coals or on a camp stove.

It’s filling enough to satisfy hungry campers while using simple pantry staples that are easy to pack. Serve with crusty bread or biscuits to soak up every last spoonful.

simplegoodfood's avatarsimplegoodfood

Dutch Oven Italian Sausage & White Bean Stew

Nothing says campground comfort quite like a hearty Dutch oven simmering over the fire.
Prep Time 15 minutes
Cook Time 40 minutes
Total Time 55 minutes
Servings: 4
Course: Dinner, Main Course
Cuisine: American
Calories: 430

Ingredients
  

  • 1 pound Italian sausage mild
  • 1 tablespoon olive oil if needed
  • 1 medium onion diced
  • 2 carrots sliced
  • 2 celery stalks sliced
  • 3 cloves garlic minced
  • 1 teaspoon Italian seasoning
  • ½ teaspoon dried oregano
  • ¼ teaspoon crushed red pepper flakes optional
  • 2 15-ounce cans cannellini or Great Northern beans, drained and rinsed
  • 1 14.5-ounce can diced tomatoes
  • 3 cups low-sodium chicken broth
  • 2 cups baby spinach
  • Salt and black pepper to taste
  • Fresh parsley or grated Parmesan for garnish optional

Method
 

  1. Heat the Dutch oven over medium heat or campfire coals.
  2. Brown the Italian sausage, breaking it into bite-sized pieces.
  3. Add onion, carrots, and celery. Cook for about 5 minutes until beginning to soften.
  4. Stir in garlic, Italian seasoning, oregano, and red pepper flakes. Cook 1 minute.
  5. Add beans, diced tomatoes with their juices, and chicken broth.
  6. Bring to a gentle boil.
  7. Reduce heat and simmer for 25–30 minutes until vegetables are tender.
  8. Stir in spinach during the final 2–3 minutes until wilted.
  9. Taste and season with salt and pepper.
  10. Garnish with parsley or Parmesan if desired.

Notes

Serving Suggestions
Serve with:
  • Crusty French bread
  • Dutch oven biscuits
  • Garlic toast
  • Small side salad
  • Fresh fruit for dessert
Storage
Refrigerate leftovers for up to 3 days.
Reheat gently on the stove or over the campfire.

#GoodFoodGoodMeat, #SummerCampgroundMeals, #DutchOvenCooking, #CampgroundCooking, #CampfireMeals, #CampingRecipes, #OnePotMeals, #EasyCampingMeals, #RVLiving, #CampingLife, #OutdoorCooking, #SimpleMeals, #ComfortFood, #ItalianSausage, #BeanStew, #CampCooking, #FamilyCamping, #WeekendCamping, #BudgetFriendlyMeals, #RealFoodRealLife,

Posted in Arrival Day Dinner, Cold/No Heat Meals

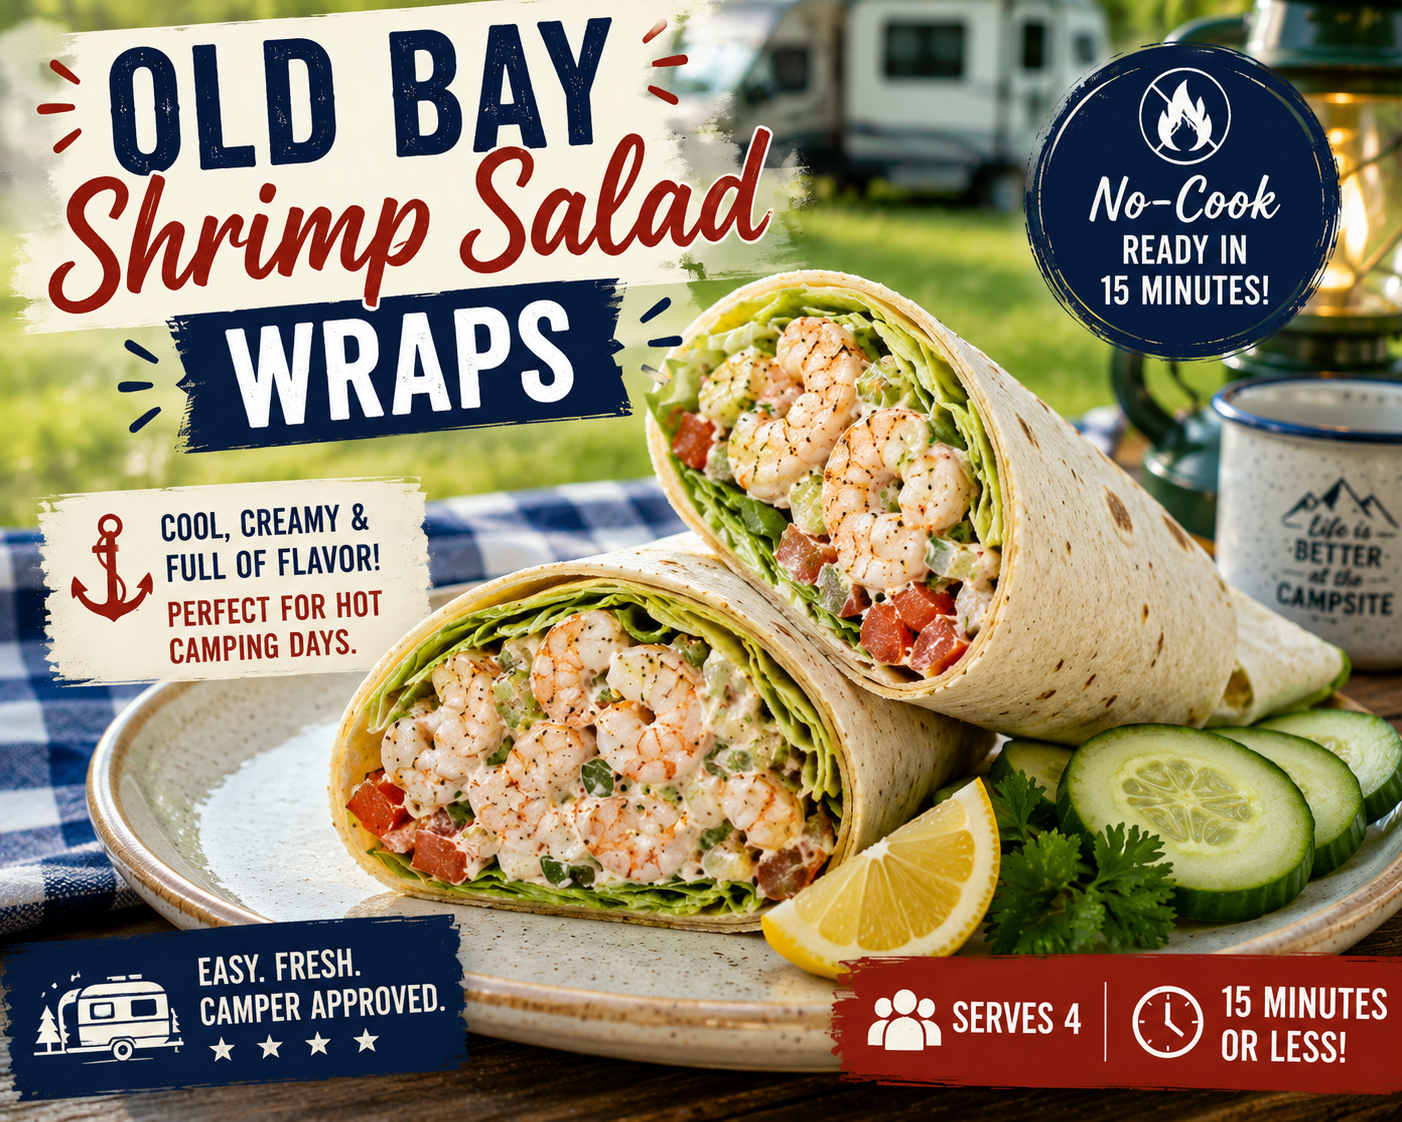
Old Bay Shrimp Salad Wraps

When summer temperatures climb, sometimes the best campground dinner is one that doesn’t require heating up the grill or camp stove. These Old Bay Shrimp Salad Wraps are cool, refreshing, and packed with flavor. Tender shrimp are tossed in a light dressing seasoned with Old Bay, then wrapped in soft tortillas with crisp lettuce and crunchy vegetables. They’re perfect for hot afternoons, beachside campsites, and RV travelers looking for a quick meal with minimal cleanup.

simplegoodfood's avatarsimplegoodfood

Old Bay Shrimp Salad Wraps

A cool, no-cook meal ideal for hot campground afternoons.
Prep Time 15 minutes
Cook Time 5 minutes
Total Time 20 minutes
Servings: 4
Course: Dinner, Lunch, Main Course
Cuisine: American
Calories: 320

Ingredients
  

  • 1 pound cooked shrimp peeled, deveined, and chopped
  • ¼ cup light mayonnaise
  • 2 tablespoons plain Greek yogurt
  • 1 teaspoon Old Bay seasoning
  • 1 teaspoon lemon juice
  • ¼ teaspoon black pepper
  • 2 celery stalks finely diced
  • 2 green onions sliced
  • 1 cup shredded lettuce
  • 4 large flour tortillas
  • Optional: sliced tomato or cucumber

Method
 

Prepare the Shrimp Salad
  1. In a large bowl, combine the mayonnaise, Greek yogurt, Old Bay seasoning, lemon juice, and black pepper.
  2. Stir until smooth.
  3. Add the chopped shrimp, celery, and green onions.
  4. Mix until everything is evenly coated.
Assemble the Wraps
  1. Lay the tortillas flat on a clean surface.
  2. Divide the lettuce evenly among the tortillas.
  3. Spoon the shrimp salad onto the center of each tortilla.
  4. Add tomato or cucumber slices if desired.
Wrap and Serve
  1. Fold in the sides of each tortilla.
  2. Roll tightly into wraps.
  3. Slice in half and serve immediately.

Notes

Storage & Reheating Tips
  • Store the shrimp salad separately from the tortillas if making ahead.
  • Keep refrigerated and use within 2 days.
  • Assemble wraps just before serving to prevent sogginess.
  • Not recommended for freezing.
Posted in One-Pot Meals

Dutch Oven BBQ Chicken & Potato Bake

This Dutch Oven BBQ Chicken & Potato Bake is the kind of campground dinner that feels hearty and satisfying without requiring a lot of fuss. Tender chicken, potatoes, onions, and a smoky BBQ sauce cook together in one pot for an easy meal that’s perfect after a day of hiking, fishing, or relaxing around camp. With only a handful of ingredients and minimal cleanup, it’s a great addition to your campground meal rotation.

simplegoodfood's avatarsimplegoodfood

Dutch Oven BBQ Chicken & Potato Bake

This Dutch Oven BBQ Chicken & Potato Bake is the kind of campground dinner that feels hearty and satisfying without requiring a lot of fuss.
Prep Time 15 minutes
Cook Time 45 minutes
Total Time 1 hour
Servings: 4
Course: Dinner, Main Course
Cuisine: American
Calories: 425

Ingredients
  

  • 1 pound boneless skinless chicken breasts or thighs, cut into bite-sized pieces
  • 1 pound potatoes diced into 1-inch pieces
  • 1 small onion diced
  • 1 cup BBQ sauce
  • 1 tablespoon olive oil
  • 1 teaspoon garlic powder
  • 1 teaspoon paprika
  • ½ teaspoon salt
  • ¼ teaspoon black pepper
  • 1 cup shredded cheddar cheese optional
  • Chopped green onions for garnish optional

Method
 

Campground Dutch Oven Method
  1. Preheat a 12-inch Dutch oven over medium campfire coals.
  2. Add olive oil and the diced chicken. Cook for 4-5 minutes until lightly browned.
  3. Stir in the potatoes and onion.
  4. Sprinkle with garlic powder, paprika, salt, and pepper.
  5. Pour the BBQ sauce over the mixture and stir until everything is evenly coated.
  6. Cover the Dutch oven and cook for 30-35 minutes, stirring once or twice, until the potatoes are tender and the chicken reaches 165°F.
  7. If using cheese, sprinkle it over the top during the last 5 minutes of cooking and cover until melted.
  8. Garnish with green onions before serving.
Home Kitchen Method
  1. Preheat oven to 375°F.
  2. Combine chicken, potatoes, onion, seasonings, olive oil, and BBQ sauce in a greased 9×13-inch baking dish.
  3. Cover with foil and bake for 35-40 minutes.
  4. Remove foil, top with cheese if desired, and bake an additional 5 minutes.
  5. Serve hot.

Notes

Recipe Tips
  • Chicken thighs stay especially moist during campfire cooking.
  • Baby potatoes work well and require little prep.
  • Use your favorite BBQ sauce to customize the flavor.
  • Add bell peppers during the last 15 minutes for extra vegetables.
  • Leftovers reheat well for lunch the next day.
Storage
Store leftovers in an airtight container in the campground refrigerator or cooler for up to 3 days. Reheat in a skillet, microwave, or covered Dutch oven.

#CampgroundMeals, #CampingRecipes, #DutchOvenCooking, #OutdoorCooking, #RVCooking, #CampfireCooking, #EasyCampingMeals, #OnePotMeals, #ChickenDinner, #GoodFoodGoodMeatBlog,