Posted in One-Pot Meals

Easy Slow Cooker Pulled Pork

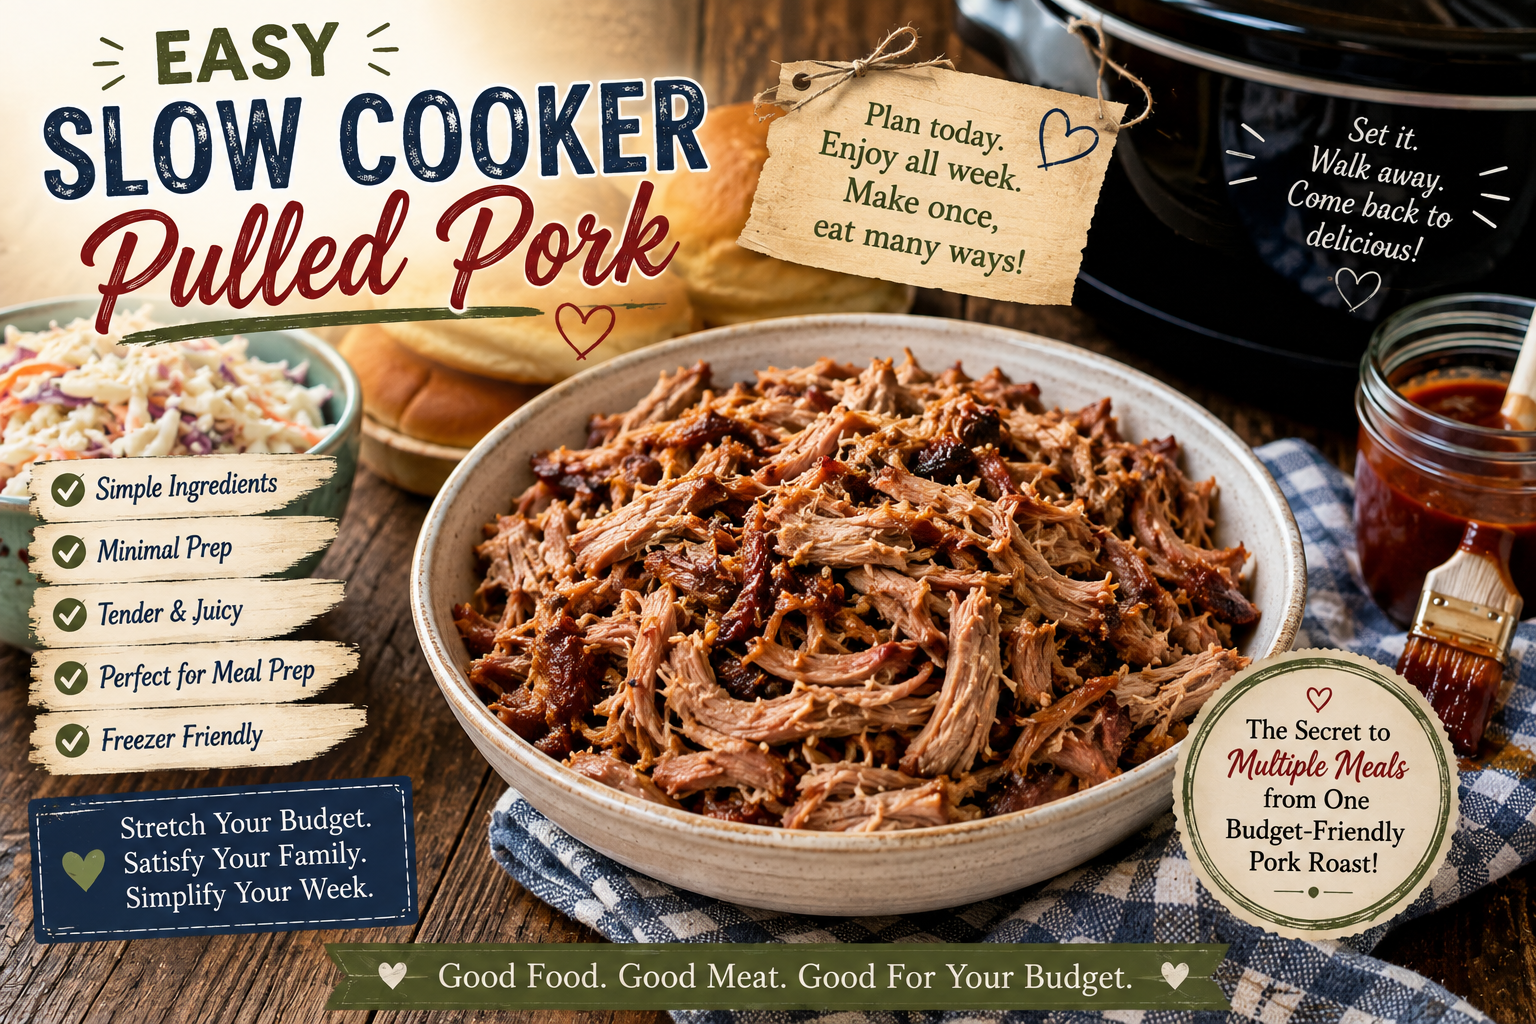
Some recipes feel almost magical, and this is one of them. With just a few minutes of preparation, an inexpensive pork shoulder transforms into tender, flavorful pulled pork that can become several different meals throughout the week.

Whether you’re feeding a family, cooking for one, or planning meals for two, this recipe proves that a little planning goes a long way. It’s nearly impossible to mess up, freezes beautifully, and is one of the best ways to stretch your grocery budget.

This recipe is also the perfect place to begin building kitchen confidence. You don’t need fancy equipment or years of cooking experience—just a slow cooker, a handful of simple ingredients, and a little patience.


❤️ Why You’ll Love This Recipe

  • Budget-friendly and economical
  • Beginner-friendly with minimal prep
  • Great for meal prep and freezer meals
  • Makes several different meals from one roast
  • Perfect for campers, busy families, retirees, and small households

simplegoodfood's avatarsimplegoodfood

Easy Slow Cooker Pulled Pork

Some recipes feel almost magical, and this is one of them.
Prep Time 10 minutes
Cook Time 10 hours
Total Time 10 hours 10 minutes
Servings: 8
Course: Dinner, Main Course
Cuisine: American
Calories: 325

Ingredients
  

  • 3 –4 pound boneless pork shoulder Boston Butt
  • 1 medium onion sliced
  • 3 cloves garlic minced
  • 1 cup low-sodium chicken broth
  • 2 tablespoons apple cider vinegar
  • 2 tablespoons brown sugar
  • 1 tablespoon smoked paprika
  • 2 teaspoons garlic powder
  • 2 teaspoons onion powder
  • 1 teaspoon kosher salt
  • ½ teaspoon black pepper
  • 1 teaspoon Worcestershire sauce
Optional for serving:
  • Your favorite BBQ sauce
  • Hamburger buns
  • Coleslaw
  • Pickles

Method
 

  1. Place the sliced onions in the bottom of the slow cooker.
  2. Set the pork shoulder on top of the onions.
  3. In a small bowl, combine the smoked paprika, garlic powder, onion powder, salt, pepper, and brown sugar. Rub the mixture over the pork.
  4. Pour the chicken broth, apple cider vinegar, Worcestershire sauce, and garlic around the roast.
  5. Cover and cook on Low for 8–10 hours or High for 5–6 hours, until the pork easily falls apart with a fork.
  6. Remove the pork to a large bowl or cutting board.
  7. Using two forks, shred the meat into bite-sized pieces.
  8. Return the shredded pork to the slow cooker and stir it into the cooking juices.
  9. Serve immediately or cool for meal prep.

Notes

🧺 Kitchen Confidence
This Week’s Skill: The Easiest Way to Shred Cooked Meat
Here’s a little kitchen shortcut that can save both time and effort.
After the pork has finished cooking, remove it from the slow cooker and cut it into a few large chunks while it’s still warm. Place the chunks in a large mixing bowl.
Using either a stand mixer fitted with the paddle attachment or a hand mixer, mix on low speed for 30–60 seconds. The meat will quickly shred into perfect, even pieces with very little work.
This trick works beautifully for pulled pork, shredded chicken, and even cooked beef roasts.
Tip: Don’t overmix. Stop as soon as the meat reaches the texture you like.
💰 Stretch Every Grocery Dollar
Pork shoulder is one of the best values in the meat department. Watch for sales and compare the price per pound, not just the package price. Buying a larger roast often costs less per pound and gives you several meals for only a little more money.
♻️ Waste Not, Want Not
Plan ahead by dividing the finished pulled pork into meal-sized containers.
This week’s menu turns one roast into:
  • BBQ Pulled Pork Sandwiches
  • BBQ Pulled Pork Rice Bowls
  • Sweet & Tangy Pork & Veggie Rice Bowls
  • Loaded BBQ Pork Baked Potatoes
You may even have enough left for the freezer.
🍽️ Cooking for One or Two
A large roast might seem like too much, but it’s actually one of the smartest purchases for a small household.
Enjoy pulled pork for dinner tonight, refrigerate a couple of portions for lunches, and freeze the remaining servings in individual containers. Future you will appreciate having a homemade meal ready to reheat on busy days.
🥣 Meal Prep Note
This recipe is the foundation for several meals throughout the week. Cook a batch of rice while the pork finishes, and you’ll already be halfway to tomorrow’s rice bowl. If you’re planning to make homemade coleslaw later in the week, pick up a fresh cabbage during this shopping trip.
Storage & Freezing
Refrigerator: Store in an airtight container for up to 4 days.
Freezer: Freeze in meal-sized portions for up to 3 months. For the best results, freeze with a little of the cooking juices to help keep the meat moist when reheated.
Reheating: Warm gently on the stovetop, in the microwave, or in a slow cooker with a splash of broth if needed.
Posted in Foil Packets

Campfire Sloppy Joe Foil Packets

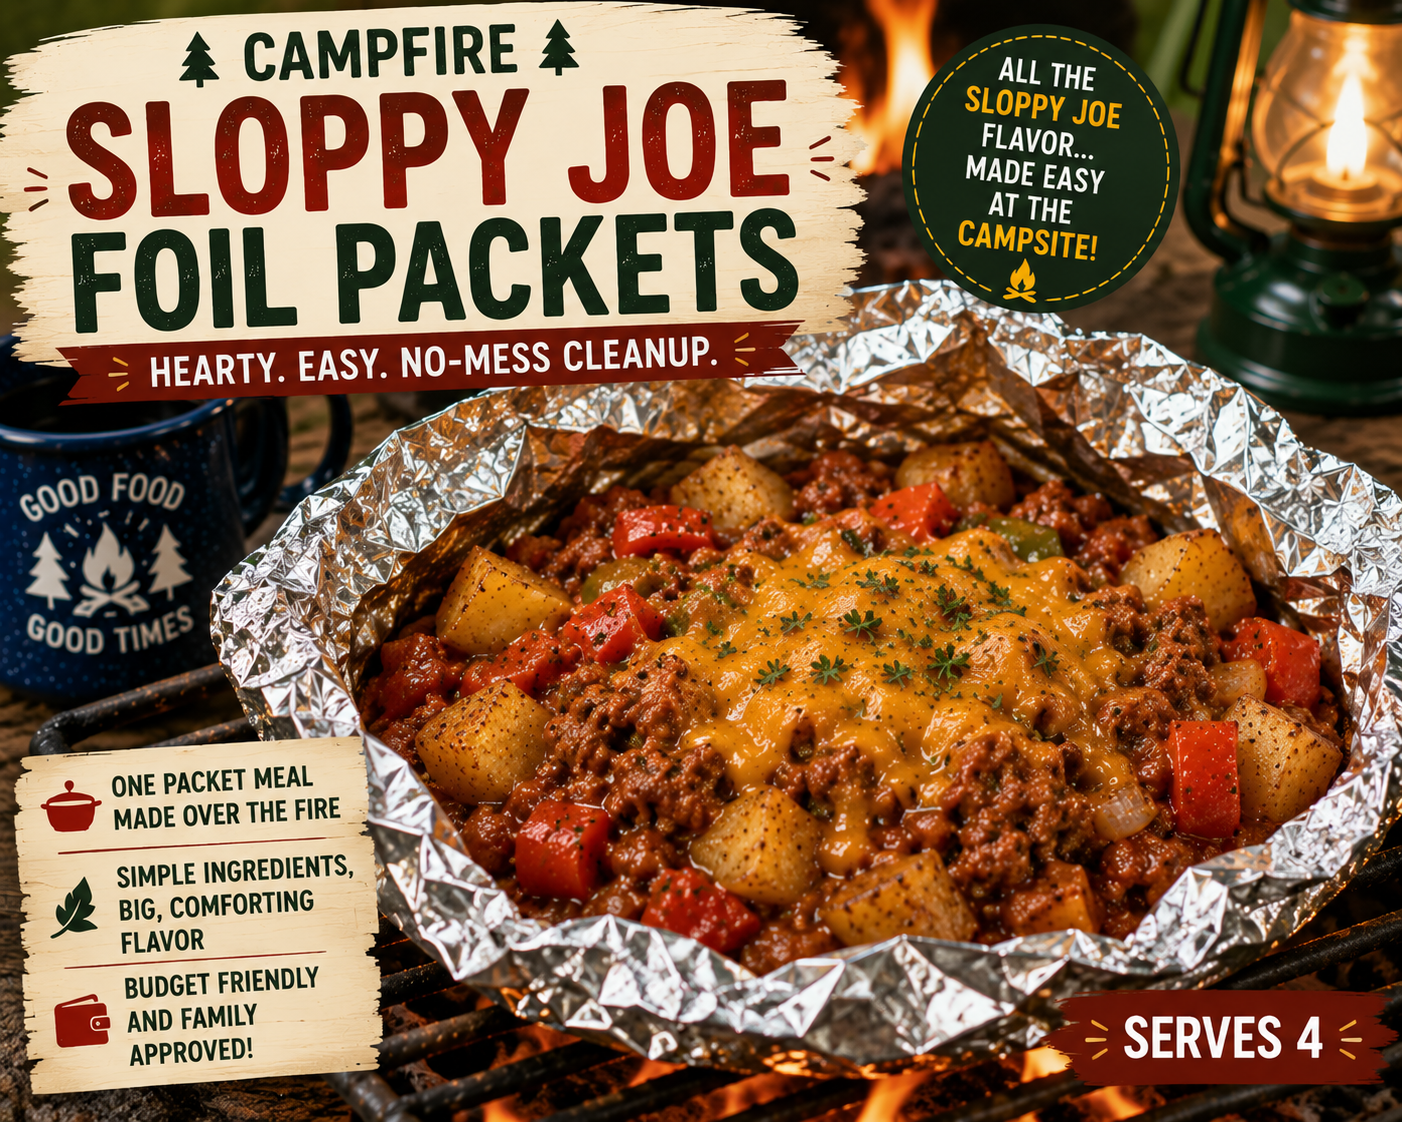
Looking for a fun twist on classic Sloppy Joes? These Campfire Sloppy Joe Foil Packets combine seasoned ground beef, tender potatoes, onions, and a tangy homemade Sloppy Joe sauce in an easy foil packet meal. Everything cooks together over the campfire or grill, creating a hearty dinner with almost no cleanup.

It’s a simple recipe that’s perfect for busy camping weekends and uses affordable ingredients that are easy to keep on hand.

simplegoodfood's avatarsimplegoodfood

Campfire Sloppy Joe Foil Packets

A campground favorite with a fun twist!
Prep Time 15 minutes
Cook Time 25 minutes
Total Time 40 minutes
Servings: 4
Course: Dinner, Lunch
Cuisine: American
Calories: 465

Ingredients
  

  • 1 pound lean ground beef
  • 1 tablespoon olive oil if needed
  • 1 small onion diced
  • 2 cups baby potatoes quartered
  • 1 cup diced bell pepper
  • 2 cloves garlic minced
  • ¾ cup Sloppy Joe sauce homemade or your favorite bottled variety
  • 1 tablespoon Worcestershire sauce
  • 1 teaspoon smoked paprika
  • ½ teaspoon garlic powder
  • Salt and black pepper to taste
  • 1 cup shredded cheddar cheese
  • Chopped parsley optional
  • Heavy-duty aluminum foil

Method
 

  1. Preheat a grill or prepare a medium campfire.
  2. Brown the ground beef with the onion and garlic in a skillet. Drain excess grease if necessary.
  3. Stir in the Sloppy Joe sauce, Worcestershire sauce, smoked paprika, garlic powder, salt, and pepper.
  4. Divide the potatoes evenly among four large sheets of heavy-duty foil.
  5. Top each with the Sloppy Joe mixture and diced bell peppers.
  6. Fold and seal each packet tightly.
  7. Cook over medium heat for 20–25 minutes, turning once halfway through, until the potatoes are tender.
  8. Carefully open each packet, sprinkle with cheddar cheese, and loosely reseal for 2–3 minutes until the cheese melts.
  9. Garnish with parsley before serving.

Notes

Camp Cook’s Tips
  • Parboil the potatoes for 5 minutes at home to reduce cooking time at camp.
  • Double-wrap the foil if cooking directly over campfire coals.
  • Add sliced mushrooms or corn for extra vegetables.
  • Serve with hamburger buns if you want the classic Sloppy Joe experience.
Serving Suggestions
  • Coleslaw
  • Pickles
  • Fresh watermelon
  • Pasta salad
  • Corn on the cob
  • Kettle-cooked potato chips
Storage
Store leftovers in an airtight container in the refrigerator for up to 3 days.
Reheat gently in a skillet or microwave until heated through.
🥪 Leftover Lunch Idea
Warm the leftover Sloppy Joe mixture and pile it onto toasted hamburger buns for a classic Sloppy Joe lunch.
Or spoon it over cooked rice or baked potatoes for a completely different meal that uses what you already have on hand.

#GoodFoodGoodMeat, #SimplePracticalMeals, #RealFoodRealLife,
#SummerCampgroundMeals, #CookingForOneOrTwo,

#FoilPacketMeals, #CampgroundCooking, #CampfireRecipes, #SloppyJoes, #GroundBeefRecipes, #CampingMeals, #OutdoorCooking, #EasyDinnerIdeas, #RVCooking, #CampfireCooking, #BudgetFriendlyMeals, #OnePacketMeal,

Posted in Grilled Meals

Grilled Italian Sausage & Vegetable Kabobs

These Grilled Italian Sausage & Vegetable Kabobs are a colorful, hearty meal that’s perfect for campground grilling. Smoky Italian sausage pairs beautifully with fresh bell peppers, onions, zucchini, and mushrooms for a simple dinner that’s packed with flavor and requires very little cleanup.

Assemble the kabobs before you leave home or while relaxing at camp, then grill until the vegetables are tender and lightly charred. Serve with rice, potatoes, or a slice of crusty bread for an easy meal everyone will enjoy.

simplegoodfood's avatarsimplegoodfood

Grilled Italian Sausage & Vegetable Kabobs

Fire up the grill for these easy Grilled Italian Sausage & Vegetable Kabobs!
Prep Time 15 minutes
Cook Time 15 minutes
Marinating (Optional) 30 minutes
Total Time 45 minutes
Servings: 4
Course: Dinner, Lunch
Cuisine: American
Calories: 460

Ingredients
  

  • 1 pound Italian sausage links mild or sweet
  • 2 bell peppers red, yellow, or green, cut into 1½-inch pieces
  • 1 medium zucchini sliced into thick rounds
  • 1 medium red onion cut into wedges
  • 8 ounces whole button mushrooms
  • 2 tablespoons olive oil
  • 1 teaspoon Italian seasoning
  • ½ teaspoon garlic powder
  • Salt and black pepper to taste
  • Wooden or metal skewers

Method
 

  1. If using wooden skewers, soak them in water for at least 30 minutes.
  2. Cut each sausage link into 2- to 3-inch pieces.
  3. In a large bowl, combine the peppers, zucchini, onion, and mushrooms.
  4. Drizzle with olive oil and season with Italian seasoning, garlic powder, salt, and pepper. Toss to coat evenly.
  5. Alternate sausage and vegetables on the skewers.
  6. Preheat the grill to medium heat.
  7. Grill the kabobs for 12–15 minutes, turning every few minutes until the sausage reaches 160°F and the vegetables are tender with light grill marks.
  8. Let rest for 3–5 minutes before serving.

Notes

Camp Cook’s Tips
  • Prepare the kabobs at home and store them in a covered container in the cooler until ready to grill.
  • Use colorful bell peppers for a brighter presentation.
  • Cherry tomatoes can be added during the last few minutes of grilling.
  • Brush with a little barbecue sauce during the final two minutes for a smoky-sweet finish.
Serving Suggestions
  • Seasoned rice
  • Campfire baked potatoes
  • Corn on the cob
  • Pasta salad
  • Fresh watermelon
  • Crusty Italian bread
Storage
Store leftover sausage and vegetables in an airtight container in the refrigerator for up to 3 days.
Reheat gently in a skillet or microwave until warmed through.
🥪 Leftover Lunch Idea
Slice the leftover sausage and vegetables and tuck them into a toasted hoagie roll with provolone cheese for an easy campground sausage sandwich.
They’re also delicious chopped and served over leftover rice for a quick lunch bowl.

#GoodFoodGoodMeat, #SimplePracticalMeals, #RealFoodRealLife
#CookingForOneOrTwo, #SummerCampgroundMeals,

#CampgroundCooking, #GrilledMeals, #ItalianSausage, #Kabobs,
#CampingRecipes, #RVCooking, #OutdoorCooking, #EasyDinnerIdeas,
#GrillSeason, #OneSkewerDinner, #CampfireCooking, #SimpleSuppers,

Posted in Skillet Meals

Campground Chicken & Broccoli Rice Skillet

Whether you’re cooking at the campground or at home after a busy day, this Campground Chicken & Broccoli Rice Skillet delivers a hearty, satisfying meal with minimal cleanup. Tender chicken, fluffy rice, broccoli, and melted cheddar cheese come together in one skillet for a comforting dinner that’s ready in about 35 minutes.

It’s an easy recipe to customize with vegetables you already have on hand, making it a practical choice for campers trying to make the most of their cooler and pantry supplies.

simplegoodfood's avatarsimplegoodfood

Campground Chicken & Broccoli Rice Skillet

Tender chicken, fluffy rice, broccoli, and melted cheddar cheese come together in one skillet for a comforting dinner that's ready in about 35 minutes.
Prep Time 10 minutes
Cook Time 25 minutes
Total Time 40 minutes
Servings: 4
Course: Dessert, Lunch, Main Course
Cuisine: American
Calories: 445

Ingredients
  

  • 1 pound boneless skinless chicken breasts or thighs, cut into bite-sized pieces
  • 1 tablespoon olive oil
  • 1 small onion diced
  • 2 cloves garlic minced
  • 1 cup long-grain white rice uncooked
  • 2¼ cups low-sodium chicken broth
  • 2 cups broccoli florets fresh or frozen
  • 1 teaspoon Italian seasoning
  • ½ teaspoon paprika
  • Salt and black pepper to taste
  • 1 cup shredded sharp cheddar cheese
  • 2 tablespoons chopped fresh parsley optional

Method
 

  1. Heat the olive oil in a large skillet over medium heat.
  2. Add the chicken and cook for 5–6 minutes until lightly browned.
  3. Stir in the onion and cook until softened, about 3 minutes.
  4. Add the garlic and cook for 30 seconds.
  5. Stir in the rice, Italian seasoning, paprika, salt, and pepper.
  6. Pour in the chicken broth and bring to a gentle boil.
  7. Reduce the heat to low, cover, and simmer for 15 minutes.
  8. Add the broccoli over the rice, cover again, and cook another 5–7 minutes until the rice is tender and the broccoli is crisp-tender.
  9. Sprinkle the cheddar cheese over the top. Cover for 2 minutes until melted.
  10. Garnish with parsley before serving.

Notes

Storage
Store leftovers in an airtight container in the refrigerator for up to 3 days.
To reheat, add a splash of chicken broth or water and warm gently in a skillet or microwave until heated through. The extra liquid helps keep the rice moist and prevents it from drying out.
🥪 Leftover Lunch Idea
Don’t let those leftovers go to waste! This Chicken & Broccoli Rice Skillet makes a delicious and filling lunch the next day.
Pack a serving in a reusable container and simply reheat when you’re ready to eat. It’s perfect for a quick campground lunch before heading out for a hike, fishing, sightseeing, or relaxing around camp.
For a different twist, spoon the leftover chicken and rice into a large tortilla, sprinkle with a little extra cheddar cheese, roll it up, and warm it in a skillet for a crispy lunch wrap.

#GoodFoodGoodMeat, #SimplePracticalMeals, #RealFoodRealLife,
#CookingForOneOrTwo, #BudgetFriendlyMeals,

#SummerCampgroundMeals, #CampgroundCooking, #SkilletMeals,
#OnePanDinner, #ChickenRecipes, #BroccoliRice, #CampingRecipes,
#RVCooking, #EasyDinnerIdeas, #OutdoorCooking, #FamilyCamping,
#CampCooking,

Posted in One-Pot Meals

Grill-Baked Beef Enchilada Casserole

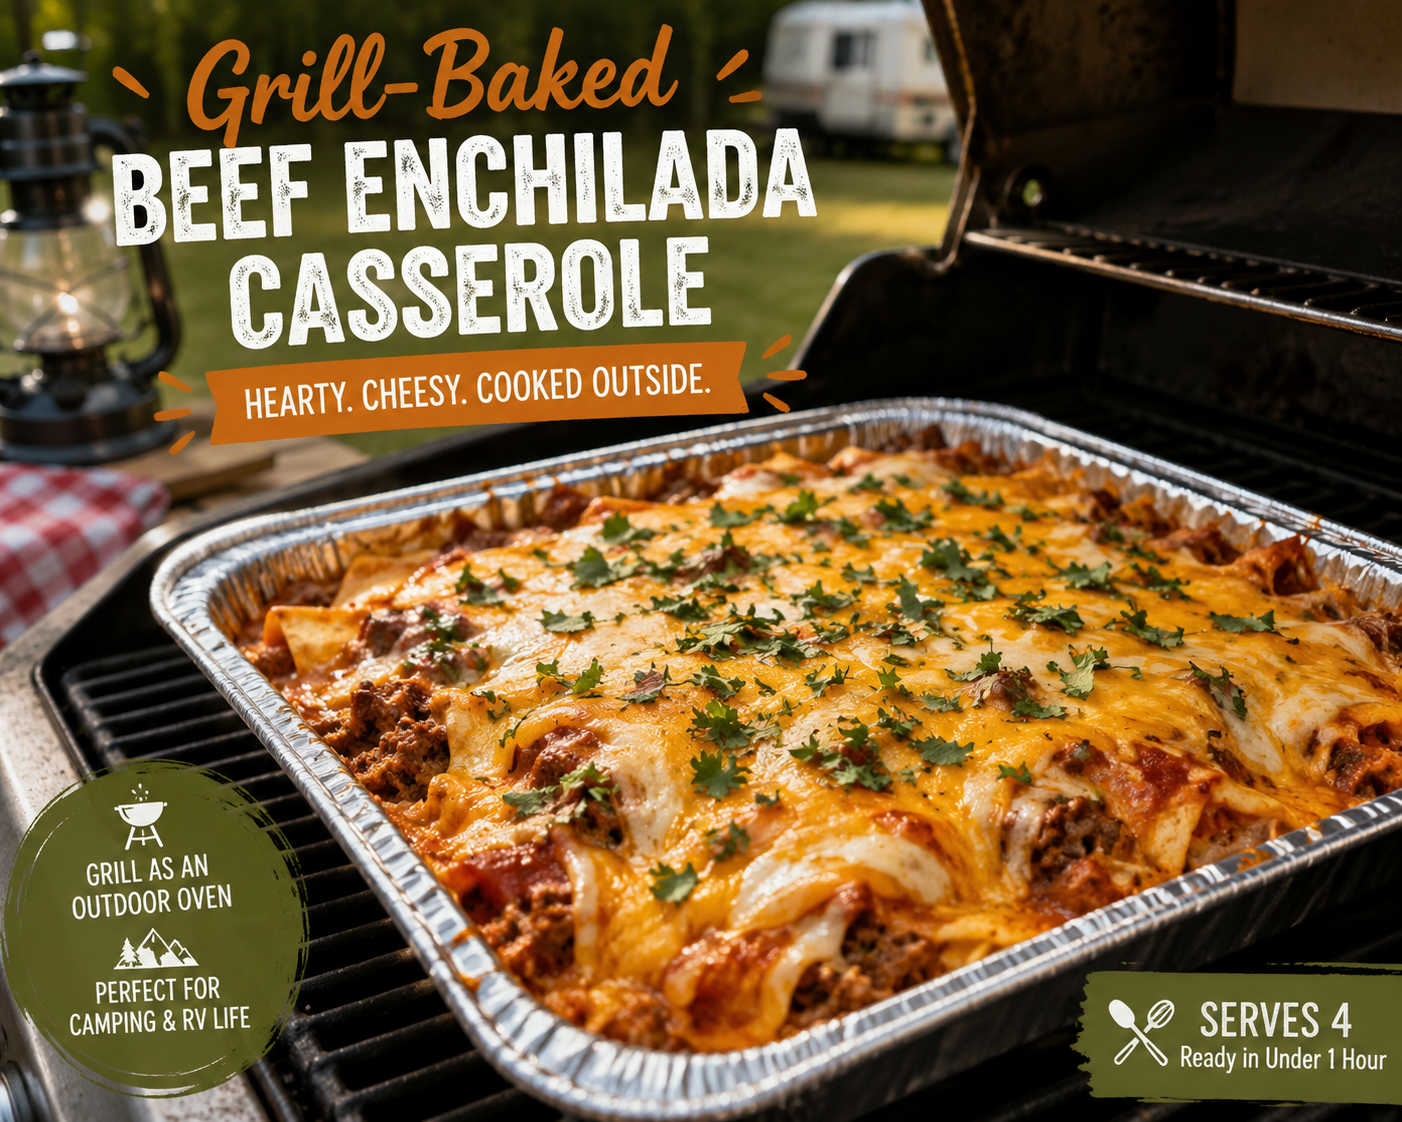
If you love the idea of a hearty casserole at the campground but don’t want to heat up the RV, this Grill-Baked Beef Enchilada Casserole is the answer. Cooked in a disposable foil pan over indirect heat, this meal delivers all the flavors of classic beef enchiladas with a fraction of the work. It’s perfect for seasonal campers, RV travelers, and anyone looking to turn their grill into an outdoor oven.

simplegoodfood's avatarsimplegoodfood

Grill-Baked Beef Enchilada Casserole

A foil-pan enchilada casserole cooked over indirect grill heat. Perfect example of using the grill as an outdoor oven.
Prep Time 15 minutes
Cook Time 40 minutes
Total Time 55 minutes
Servings: 4
Course: Dinner, Lunch, Main Course
Cuisine: American
Calories: 520

Ingredients
  

  • 1 pound lean ground beef
  • 1 small onion diced
  • 1 teaspoon chili powder
  • 1 teaspoon cumin
  • ½ teaspoon garlic powder
  • ½ teaspoon salt
  • 1 10-ounce can red enchilada sauce
  • 6 small flour tortillas cut into strips
  • 1 cup shredded cheddar cheese
  • 1 cup shredded Monterey Jack cheese
  • 1 4-ounce can diced green chiles, drained

Method
 

Prepare the Beef
  1. Heat a skillet over medium heat.
  2. Brown the ground beef and onion until the beef is cooked through.
  3. Drain excess grease if necessary.
  4. Stir in chili powder, cumin, garlic powder, and salt.
Assemble the Casserole
  1. Spray an 8 x 8-inch disposable foil pan with cooking spray.
  2. Spread a few spoonfuls of enchilada sauce on the bottom.
  3. Layer half of the tortilla strips in the pan.
  4. Add half of the beef mixture.
  5. Sprinkle with half of the green chiles.
  6. Pour over half of the remaining enchilada sauce.
  7. Top with half of each cheese.
  8. Repeat the layers with the remaining tortillas, beef, chiles, sauce, and cheese.
Grill-Bake
  1. Preheat a gas grill for indirect cooking to approximately 350°F.
  2. Turn off one side of the grill and place the foil pan on the unlit side.
  3. Close the lid and cook for 35–40 minutes, or until bubbly and heated through.
Serve
  1. Let stand for 5 minutes before serving.
  2. Serve with a simple salad, tortilla chips, or campground corn on the cob.

Notes

Storage & Reheating Tips
  • Store leftovers in a covered container in the refrigerator for up to 3 days.
  • Reheat individual portions in a skillet or microwave.
This casserole can be assembled at home, refrigerated in the cooler, and baked at the campground later the same day.

Posted in Foil Packets

Campground Shrimp Boil Foil Packets

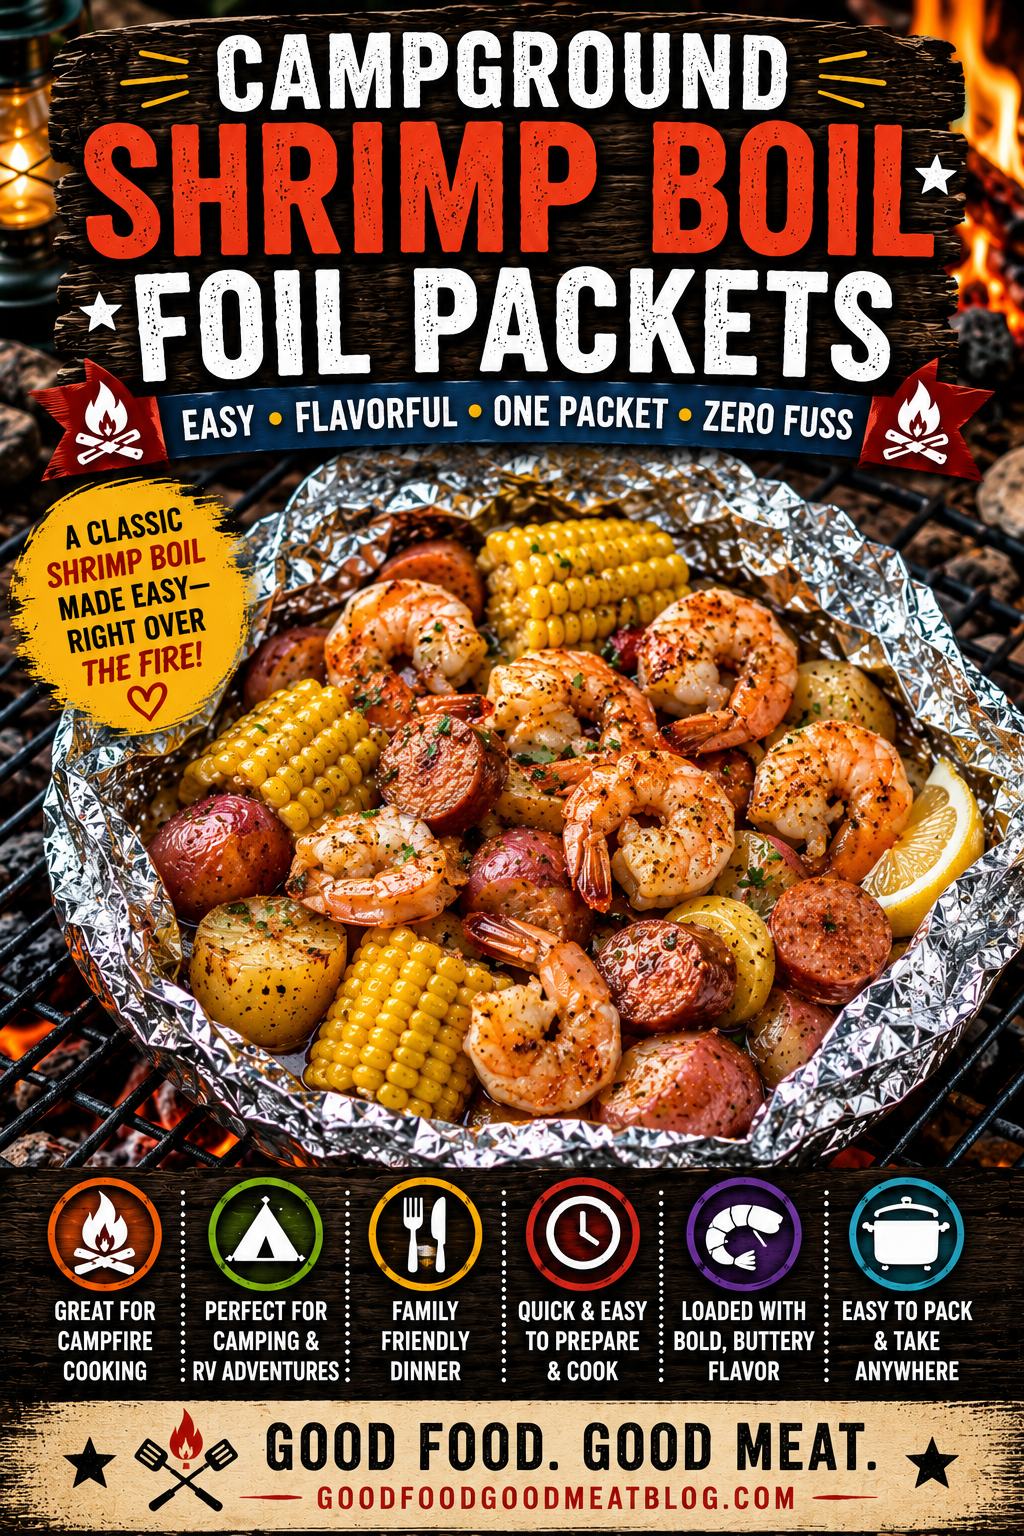
Bring the flavors of a classic shrimp boil to the campground with these easy Campground Shrimp Boil Foil Packets. Loaded with juicy shrimp, smoky sausage, tender potatoes, and sweet corn, these packets deliver all the flavor of a traditional seafood boil without needing a giant pot of water.

Everything cooks together in a convenient foil packet, making clean up a breeze and allowing you to spend more time enjoying the campground and less time washing dishes. Whether you’re gathered around the campfire or relaxing at your RV site, this fun and flavorful meal is a perfect way to kick off the weekend.

simplegoodfood's avatarsimplegoodfood

Campground Shrimp Boil Foil Packets

Enjoy all the flavors of a classic seafood boil with these Campground Shrimp Boil Foil Packets!
Prep Time 20 minutes
Cook Time 25 minutes
Total Time 45 minutes
Servings: 6
Course: Dinner, Lunch, Main Course
Cuisine: American
Calories: 385

Ingredients
  

  • 1½ pounds large shrimp peeled and deveined
  • 12 ounces smoked sausage sliced
  • 1 pound baby potatoes halved
  • 3 ears corn cut into thirds
  • 3 tablespoons butter melted
  • 1 tablespoon Old Bay seasoning
  • 1 teaspoon garlic powder
  • ½ teaspoon black pepper
  • 1 tablespoon lemon juice
  • 1 lemon sliced for serving
  • 2 tablespoons chopped parsley optional

Method
 

  1. Bring a pot of water to a boil and parboil the potatoes for 8–10 minutes. Drain well.
  2. In a large bowl, combine:
  3. o Shrimp
  4. o Smoked sausage
  5. o Parboiled potatoes
  6. o Corn
  7. o Melted butter
  8. o Old Bay seasoning
  9. o Garlic powder
  10. o Black pepper
  11. o Lemon juice
  12. Toss until everything is evenly coated.
  13. Divide the mixture among 6 large sheets of heavy-duty aluminum foil.
  14. Fold and seal the packets tightly.
  15. Place the packets on a grill grate or over medium campfire coals.
  16. Cook for 20–25 minutes, turning once halfway through cooking.
  17. Carefully open the packets and check that the shrimp are pink and fully cooked and the vegetables are tender.
  18. Garnish with parsley and serve with fresh lemon slices.

Notes

Campground Prep Tip
Parboil the potatoes and cut the corn at home before your trip. Store them in sealed containers in the cooler to make campsite assembly quick and easy.
RV Air Fryer Option
These shrimp boil packets adapt beautifully to an RV air fryer.
  1. Assemble the packets using air fryer-safe foil sized to fit your basket.
  2. Place one packet in the basket at a time.
  3. Cook at 380°F for 12–15 minutes.
  4. Carefully open and check for doneness. The shrimp should be pink and the potatoes fork-tender.
  5. Serve with fresh lemon wedges.
Because shrimp cooks quickly, avoid overcooking by checking the packet at the 12-minute mark.
Rainy Day Electric Skillet Option
No campfire? No problem.
  1. Parboil the potatoes as directed.
  2. Melt the butter in a large electric skillet.
  3. Add the potatoes, sausage, and corn.
  4. Cover and cook for 10–12 minutes.
  5. Add the shrimp and seasonings.
  6. Cook for an additional 4–5 minutes, or until the shrimp are pink and fully cooked.
  7. Finish with lemon juice and parsley before serving.
This method is perfect for RV camping, cabins, or rainy campground evenings.

#CampingRecipes, #CampgroundMeals, #ShrimpBoil, #FoilPacketRecipes, #CampfireCooking, #OutdoorCooking, #RVRecipes, #SeafoodRecipes, #CampingFood, #WeekendCamping, #FamilyCamping, #EasyDinnerIdeas, #AirFryerRecipes, #ElectricSkilletRecipes, #SummerCamping,